144
Setup menu - Level 2
General The following functions are located in a second menu level:
Setup menu
level 2 for the
Standard control
panel
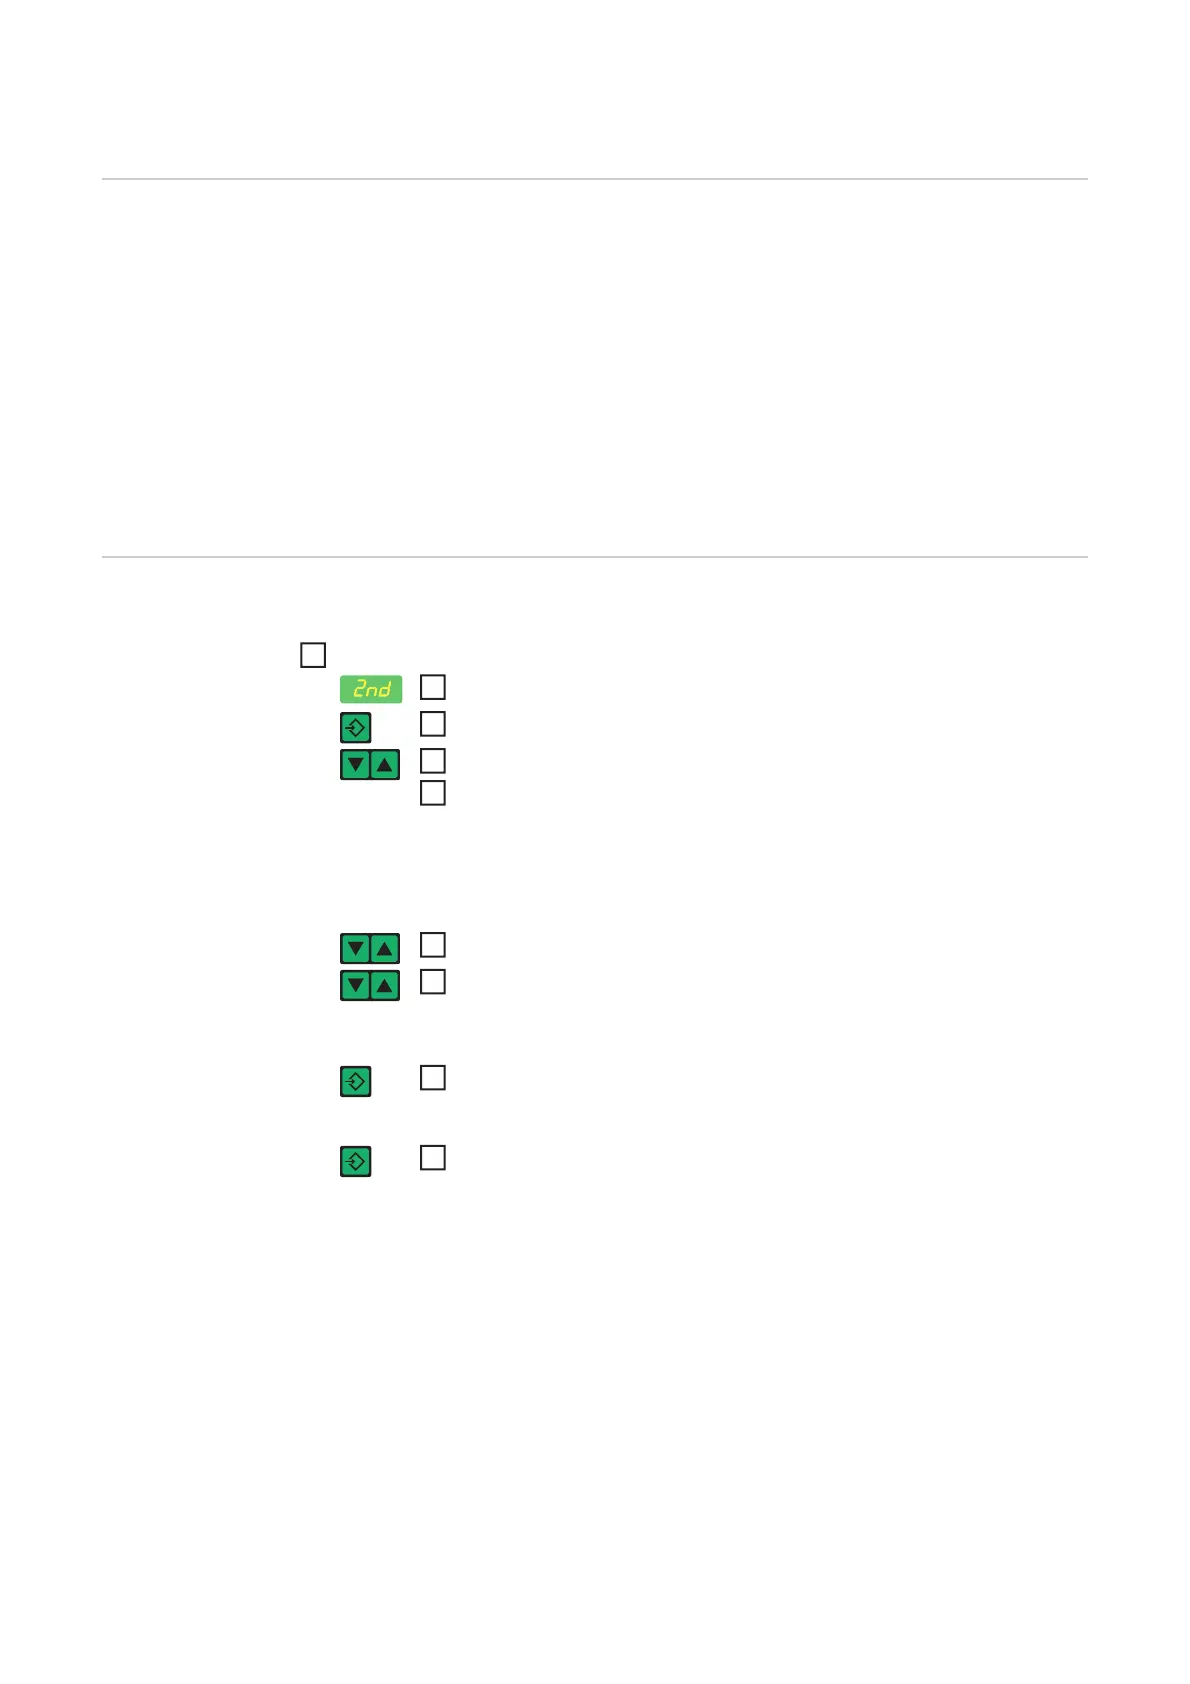
Changing to the second menu level (2nd)
Access the Setup menu for the Standard control panel
Select "2nd" welding parameter
Press and hold the Store button
Press the Mode button
Release the Store button
The power source is now in the second menu level (2nd) of the Setup menu. The func-
tion “PPU” (push-pull unit) is displayed.
Selecting the function
Use the Material button to select the desired function
Make the settings for this function with the Mode button
Exiting from the second menu level (2nd)
Press the Store button
The power source is now in the Setup menu for the Standard control panel.
To exit from the Setup menu for the Standard control panel
press the Store button again
- PPU (push-pull unit)
- C-C (cooling unit cut-out)
- Stc (wire-stick - only where there is a
robot interface)
- Ito (ignition time-out)
- Arc (arc break watchdog)
- S4t (gun trigger option)
- Gun (option for changing between
modes with the JobMaster welding
torch)
- r (welding circuit resistance measure-
ment)
- L (welding circuit inductivity display)
- Eln (characteristic selection - not on
standard control panel)
- ASt (Anti-stick - not on standard control
panel)
- COr (gas correction for digital gas con-
trol option)
- EnE (Real Energy Input)
1
 Loading...