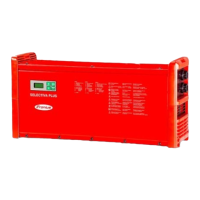
Connections
Bottom of housing
No. Function
(1) AC input - mains socket
(2) Mains cable safety bow
for fitting the mains cable.
(3) Connection P2 - I/O port
for options on the I/O port.
(4) Connection P1 - charger lead
socket
also for external stop and tem-
perature-controlled charging
options.
Top of housing
No. Function
(5) Removable display
(6) Connection P3 - Visual Port
for connecting the internal dis-
play.
(7) Connection P4 - Multi Port
for connecting the following op-
tions:
-
Status lamp.
-
Software update via USB
port.
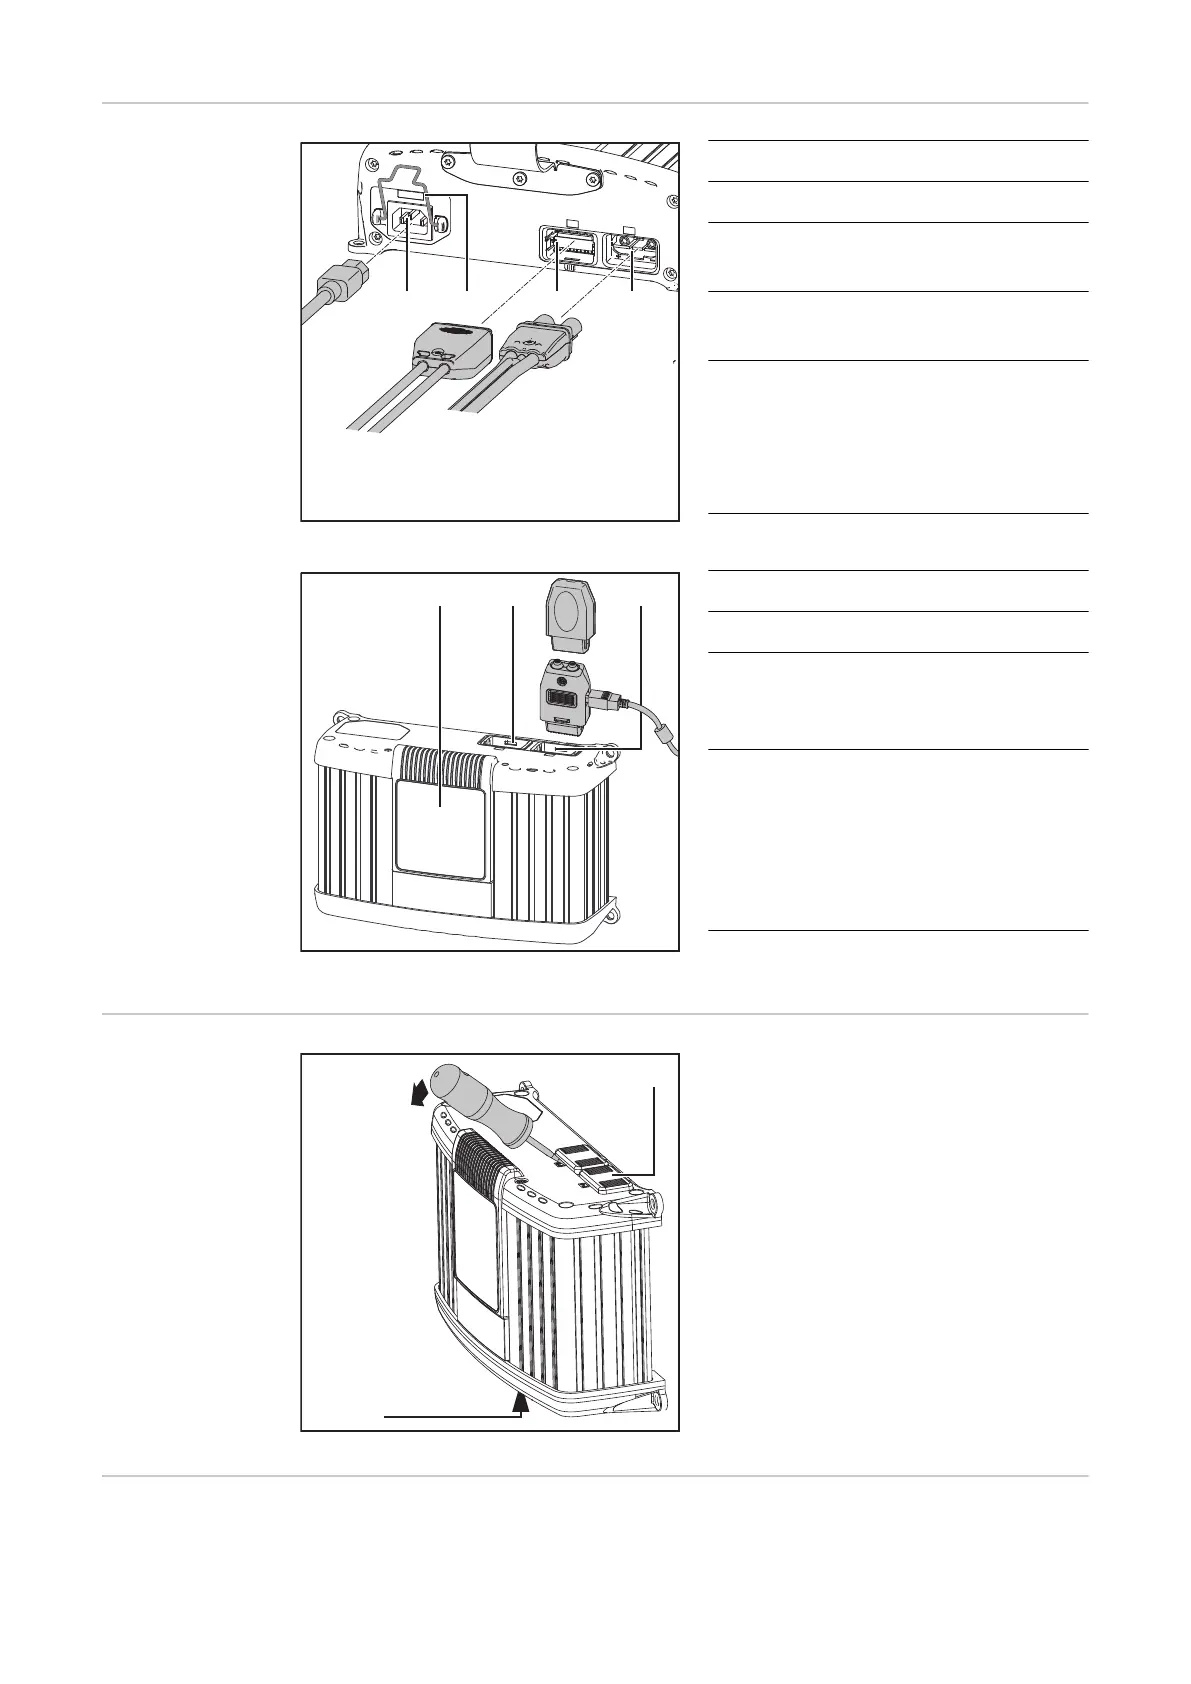
Removing covers
for connections
and options
If necessary, use a screwdriver to re-
move:
-
Cover (1) for connection P4 - Multi
Port.
-
Cover (2) for connection P2 - I/O
port.
Leave covers (1) and (2) in place on un-
used P2 and P4 connections.
USB update op-
tion
The USB update option allows the charger to be updated directly via the USB in-
terface.
16