24
General remarks
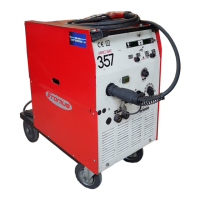
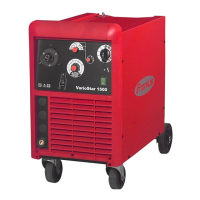
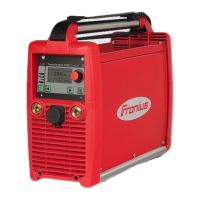
MIG/MAG welding
MIG/MAG wel-
ding
1. Plug the earthing cable into the current socket and twist it to fasten it
2. Establish a connection to the workpiece with the other end of the earthing cable
3. Plug welding torch into torch connection
4. Plug in the mains plug
Adjusting the
operating point
One of the fundamental preconditions for achieving the best welding result in MIG/MAG
welding is to determine the correct operating point. This is mainly done by synchronis-
ing the welding voltage (stage switch) and wirefeed speed (wirefeed speed adjuster).
To make synchronisation easier, setting tables are printed on the right side panel of the
power source. These setting tables contain data based on unalloyed welding wires of
various diameters, welded using different shielding gases (CO2, mixed gases)
NOTE! Adjustments to the welding voltage and/or wirefeed speed may be
necessary due to manufacturing or alloy tolerances in the welding wire. This
also applies to the use of other shielding gas mixes.
CAUTION! Risk of injury and damage from electric shock and from welding
wire emerging at speed from the torch. When you press the torch trigger:
- hold the torch so that it points away from your face and body
- do not point the welding torch at people
- make sure that the welding wire does not touch any electrically conduc-
ting or earthed (grounded) parts, such as the housing, etc.
WARNING! An electric shock can be fatal. If the machine is connected to the
mains electricity supply during installation, there is a high risk of very serious
injury and damage. Only carry out work on the machine when
- the mains switch is in the “O” position,
- the machine is unplugged from the mains.
WARNING! Operating the equipment incorrectly can cause serious injury and
damage. Do not use the functions described here until you have read and
completely understood all of the following documents:
- these Operating Instructions
- all operating instructions for the system components, especially the
“Safety rules”
5. Move the mains switch to the “I” position
6. Set welding voltage and wirefeed speed
7. Select desired operating mode
8. Open the gas-cylinder valve
9. Set the shielding gas flow rate
10. Press the torch trigger and start welding