3
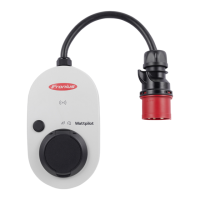
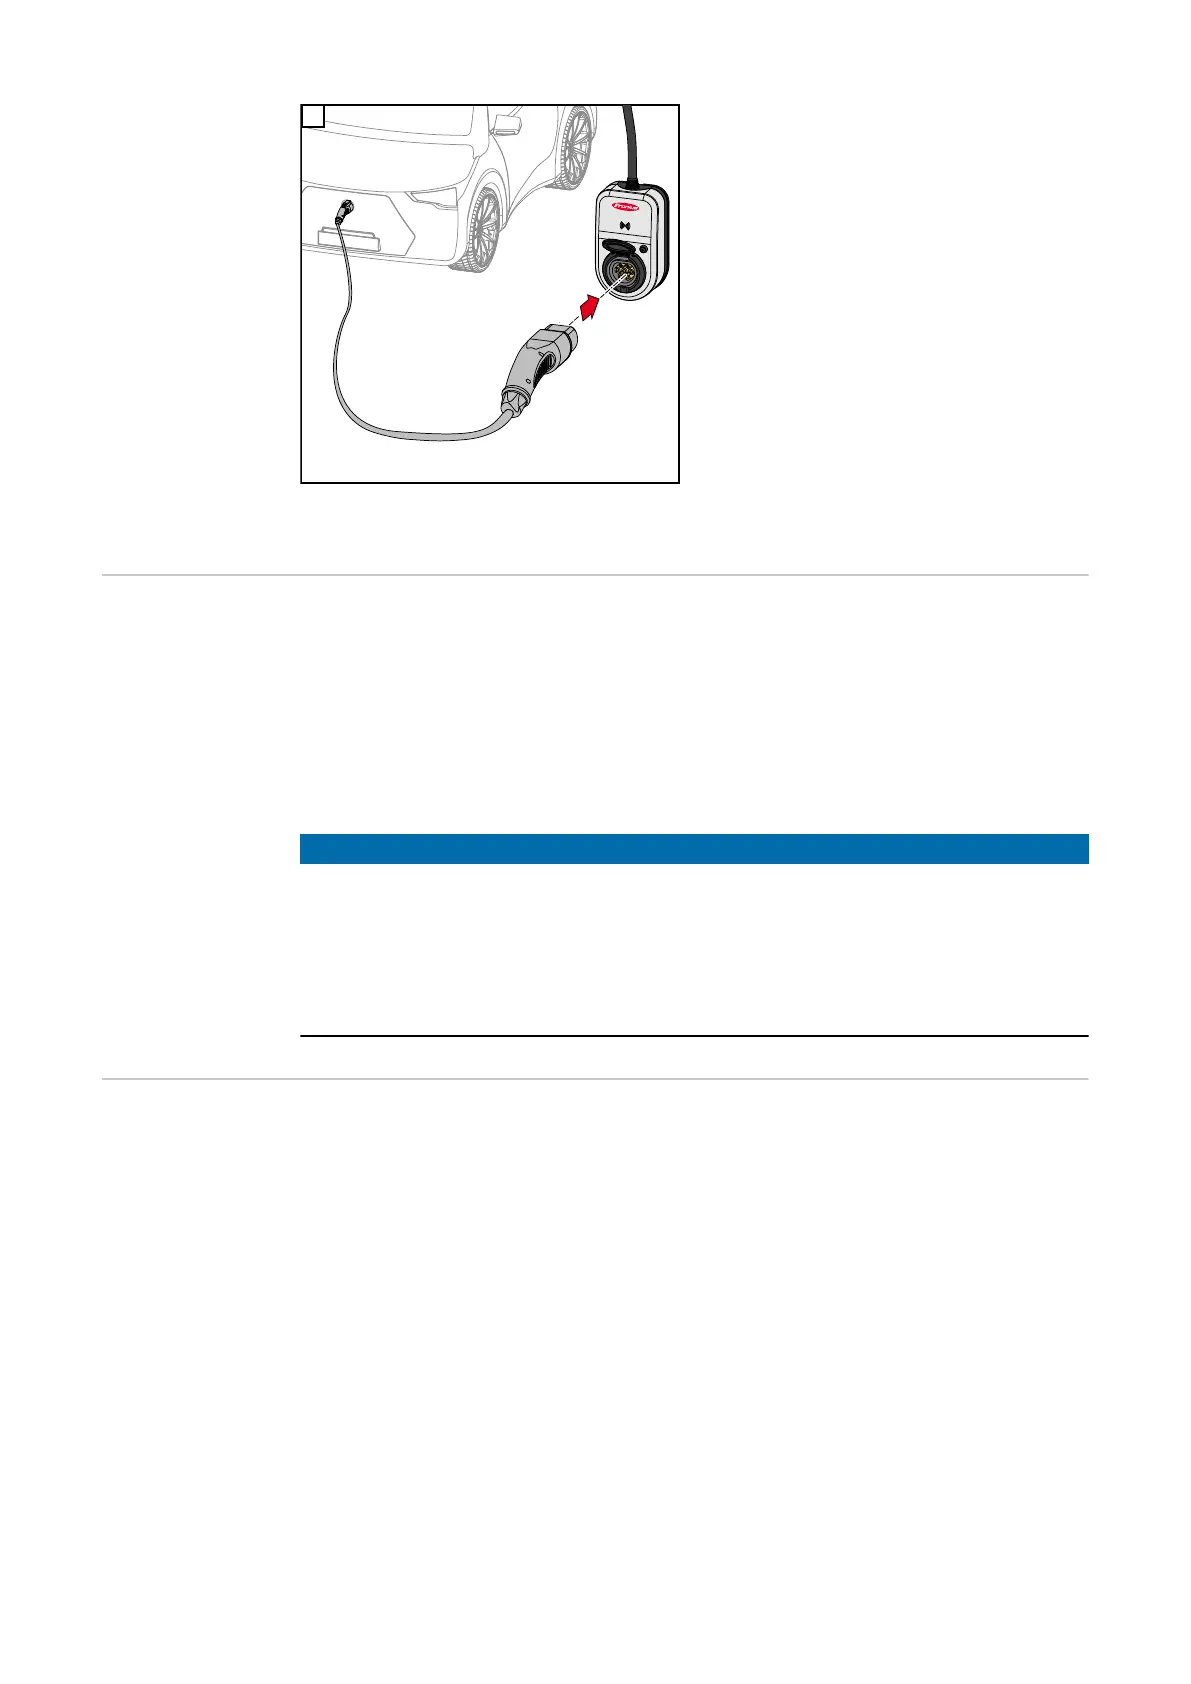
Connect a Type 2 to Type 2/Type 1 char-
ging cable to the Wattpilot and the car.
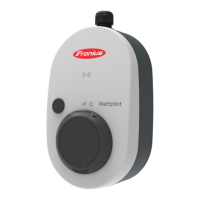
During a test, all LEDs light up yellow.
The charging process is started with a
clicking sound from the Wattpilot and indic-
ated by the switching of the LEDs.
For more information on LED status indic-
ators, see chapter LED status indicator.
The vehicle is charging.
Stopping char-
ging
The charging process is terminated by the vehicle. This is normally the case when the
vehicle's battery is fully charged. By default, the charging cable remains locked to the
Wattpilot after charging is complete until the cable is disconnected from the vehicle (anti-
theft protection, see chapter Cable release).
Aborting the charging process prematurely
- In the vehicle via the "cable release" function
- In the app by clicking on "Stop" (see chapter Homepage).
NOTE!
The way in which the cable is released can be configured in the app.
If the power supply is interrupted, the charging cable remains locked in the Wattpilot for
reasons of theft protection. The cable release can be activated in the app under "Unlock
in case of power failure".
▶
Restore the power supply to the Wattpilot to unlock the charging cable.
▶
Configure the cable release in the app.
Data communica-
tion with the
inverter
Charging with PV surplus (see PV surplus) is possible with a supported Fronius inverter
to which a primary Fronius Smart Meter is connected. As soon as an inverter is in the
network, the Wattpilot automatically connects once with the first inverter that is found.
Another inverter can be coupled via the Fronius Solar.wattpilot app (see Cost optimisa-
tion).
Prerequisites
- The inverter is supported (Fronius GEN24, Fronius Symo Hybrid, Fronius SnapIN-
verter, except Light versions).
- The Wattpilot and the inverter are in the same network.
- A primary Fronius Smart Meter (at the feed-in point) must be connected to the
inverter. If there are several inverters with primary Fronius Smart Meters in the net-
work, only one of them may be coupled.
36
 Loading...