Controls and indicators
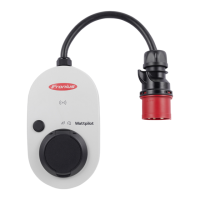
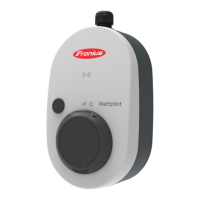
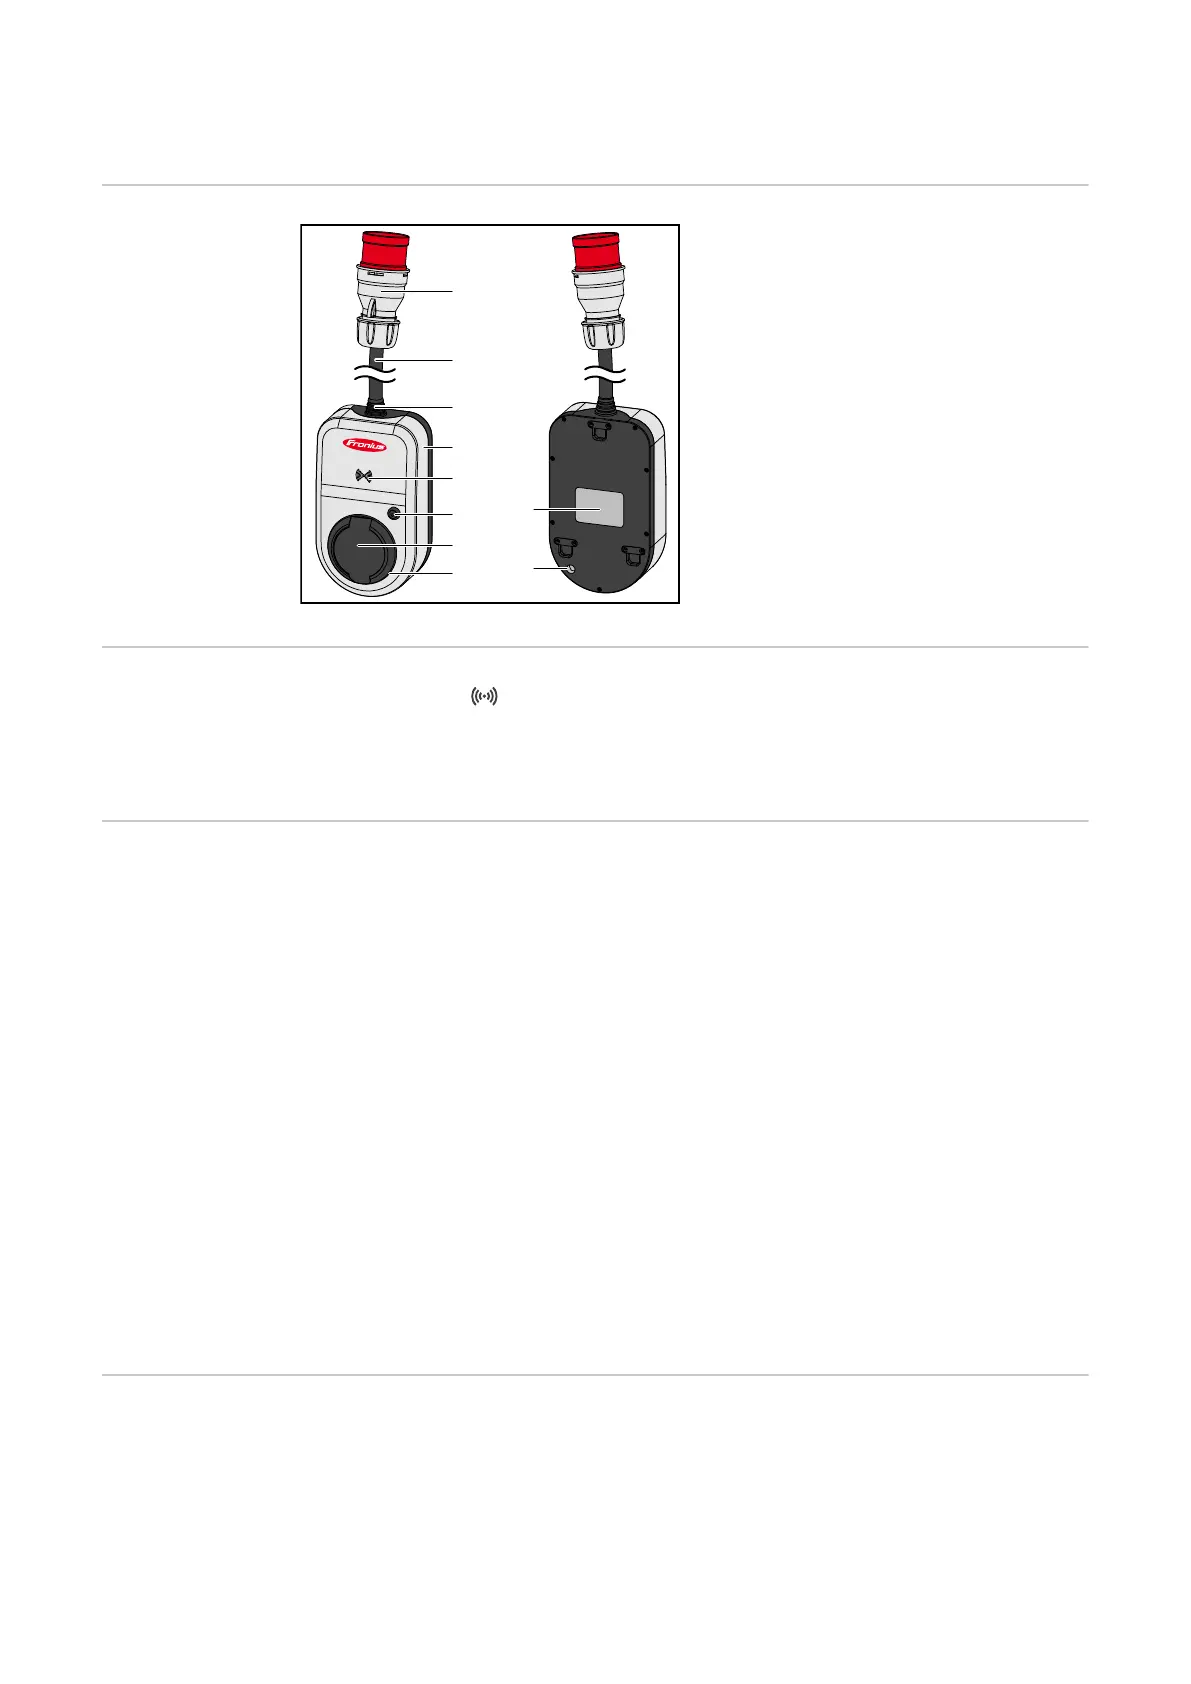
Product overview
(1)
(2)
(3)
(4)
(5)
(6)
(7)
(8)
(10)
(9)
(1) CEE plug
(2) Connection cable
(3) Strain-relief device
(4) Housing
(5) Card reader
(6) Pushbutton
(7) Type 2 junction box
(8) LED ring
(9) Rating plate
(10) Miniature fuse (only use original
miniature fuses)
Card reader
Behind the symbol is the card reader for reading ID chips and the reset card.
The card reader uses RFID (radio-frequency identification). RFID is the transmit-
ter‑receiver technology for automatic and contactless identification with radio waves.
Pushbutton func-
tions
By pressing the pushbutton, the level of charging current can be adjusted or the operat-
ing mode can be changed.
Press briefly (less than 0.5 s)
Briefly pressing the pushbutton changes the operating mode. The charging modes are
Eco Mode and Next Trip Mode. The selected charging mode (see Different charging
modes) is indicated by the LED status indicator (see LED status indicator).
Press and hold (more than 2.0 s)
Pressing and holding (min. 2 seconds) the pushbutton repeatedly changes the preset
charging current (in amperes). The level of the set charging current is indicated by the
LED status indicator (see LED status indicator).
The level of the preset charging current can be adjusted in the app (see Current level).
Standard settings
- Fronius Wattpilot Go 11 J/Home 11 J: 6 A, 10 A, 12 A, 14 A, 16 A
- Fronius Wattpilot Go 22 J: 10 A, 16 A, 20 A, 24 A, 32 A
ID chip The ID chip can be used to personalise access to the Fronius Wattpilot. The ID chip is
used for authentication and for recording user-specific charging amounts.
In the app settings, authentication for charging can be activated under "Access manage-
ment" and "Authentication required" (see Access management). Charging with authen-
tication activated can be carried out after scanning the supplied ID chip or by providing
14
 Loading...