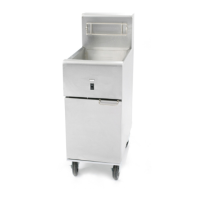
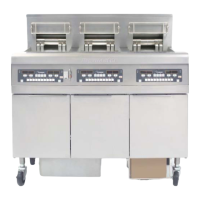
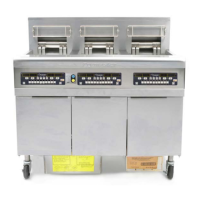
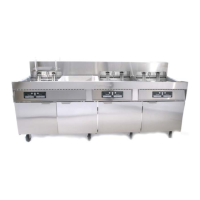
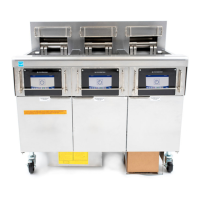
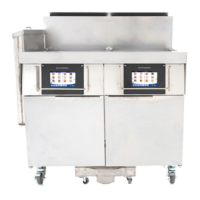
1-9
2. Drain the frypot.
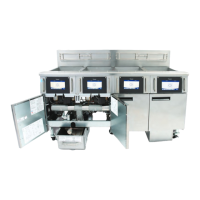
3. Remove the screws from the upper left and
right corners of the control panel. The panel
is hinged at the bottom and will swing open
from the top.
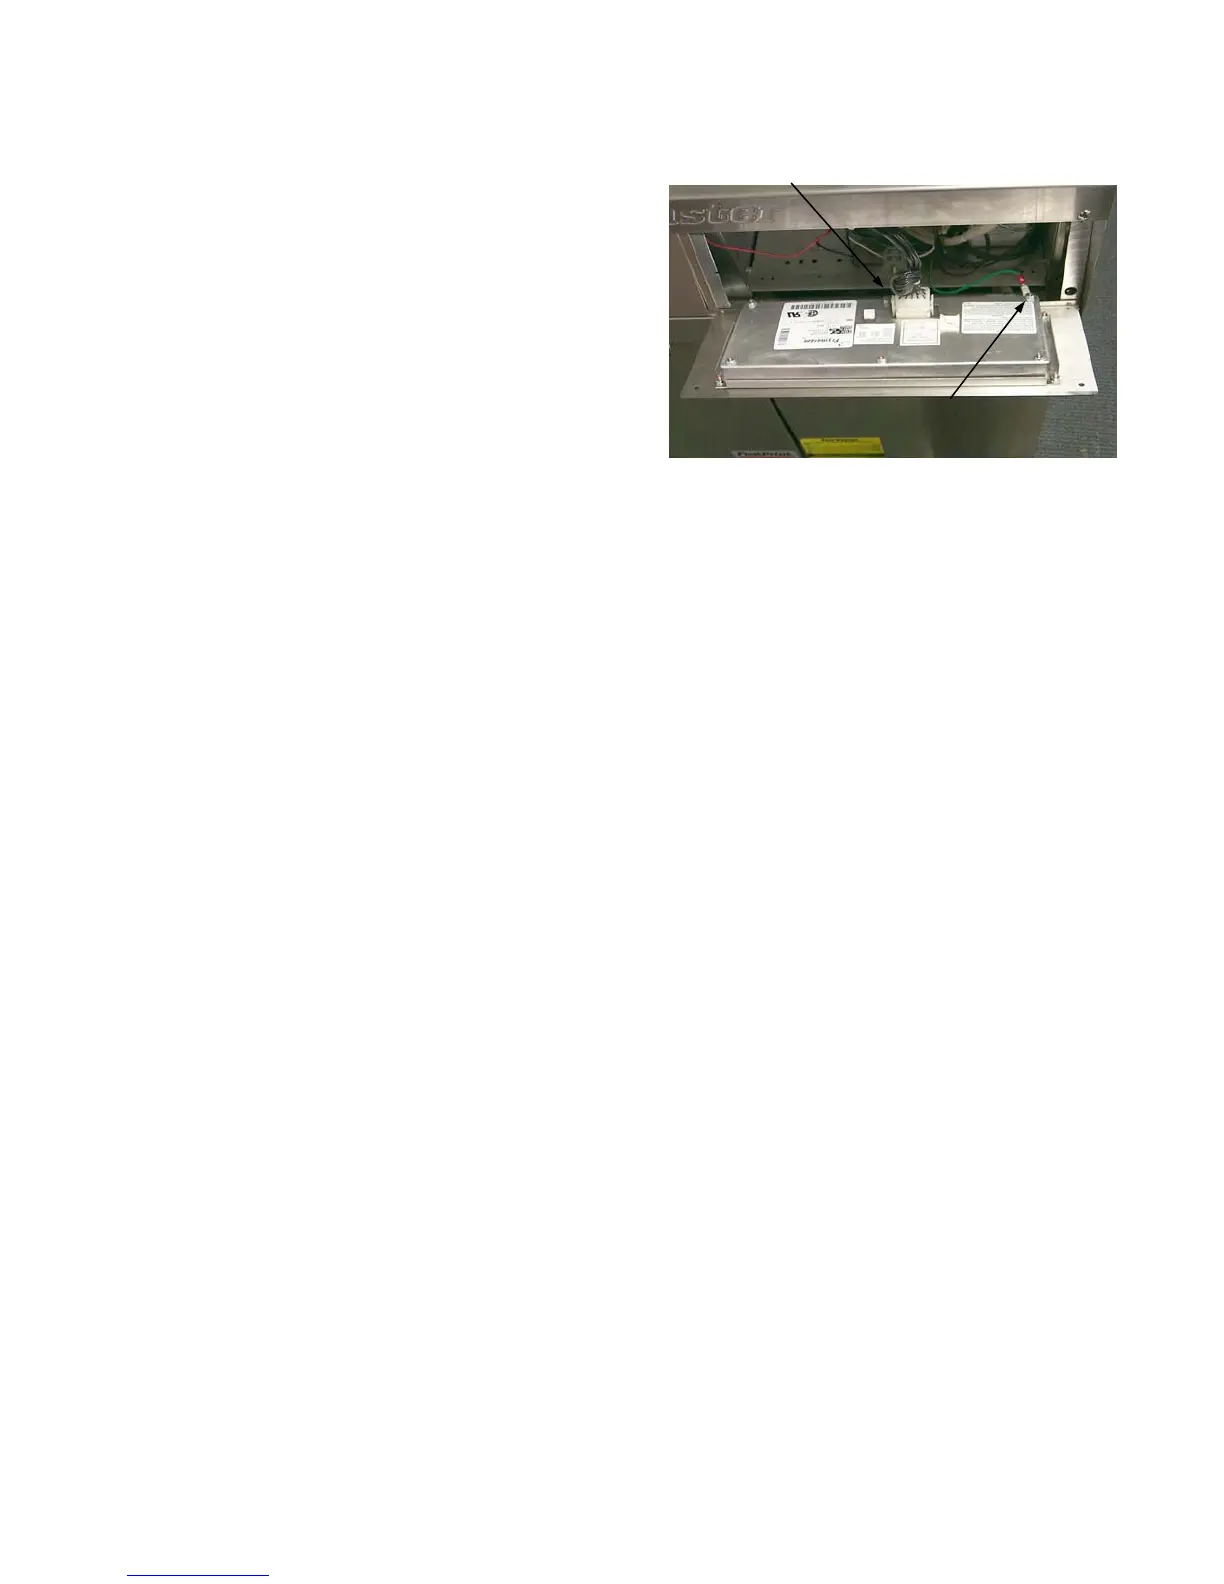
4. Unplug the wiring harness from the back of
the controller and disconnect the grounding
wire.
5. Remove the controller from the fryer by lift-
ing it from the hinge slots in the control panel
frame.
6. Remove the two screws from the base of the interface board mounting bracket.
7. Disconnect the 12-pin plug from the back of the interface board and lay the board in the left end
of the compartment with all other wires still connected.
8. Remove the 12-volt transformer from the component shield and lay it in the left end of the com-
partment with wires still connected.
9. Using a pin-pusher, remove the temperature probe wires (pins 1 and 2) from the 12-pin plug dis-
connected in step 7.
10. Unscrew the temperature probe from the frypot and remove.
11. Apply Loctite™ PST56765 thread sealant or equivalent to new probe threads.
12. Reverse steps 1 through 10 to install the replacement probe.
1.8.4 Replacing the High-Limit Thermostat in Fryers with Thermostat Controls
1. Disconnect the fryer from the electrical supply.
2. Drain the frypot.
3. Loosen the setscrew securing the thermostat knob and remove the knob. Remove the screws
from the upper left and right corners of the control panel. The control panel is hinged at the bot-
tom and will swing open from the top.
4. Disconnect the 9-Pin connector and remove the control panel from the fryer by disengaging its
tabs from the hinge slots in the mounting frame.
6. Disconnect the high-limit thermostat leads from the gas valve pilot coil.
7. Unscrew the high-limit thermostat from the frypot and remove.
8. Apply Loctite™ PST56765 thread sealant or equivalent to the replacement thermostat threads.
9. Reverse steps 1 through 7 to install the replacement.
Unplug
harness
Disconnect
grounding wire