16 Appendix
680
Appendix
16
Alignment Adjustment Setup
The following describes how to save result of Auto Alignment Adjustment in Alignment
Adjustment Type and to assign to a tray.
1 Select a type to set the alignment adjustment
setting and select [Change Settings].
2 Enter the type name and select [Save].
Note • We recommend that you use a name with
which you can recognize the content.
3 Select [Sample Printout].
4 Select a tray to assign the alignment adjustment settings and select 2 Sided, Output Color,
and Number of Sheets.
Note • You are recommended to average the variations that you print three and more sheets.
5 Select <Start>.
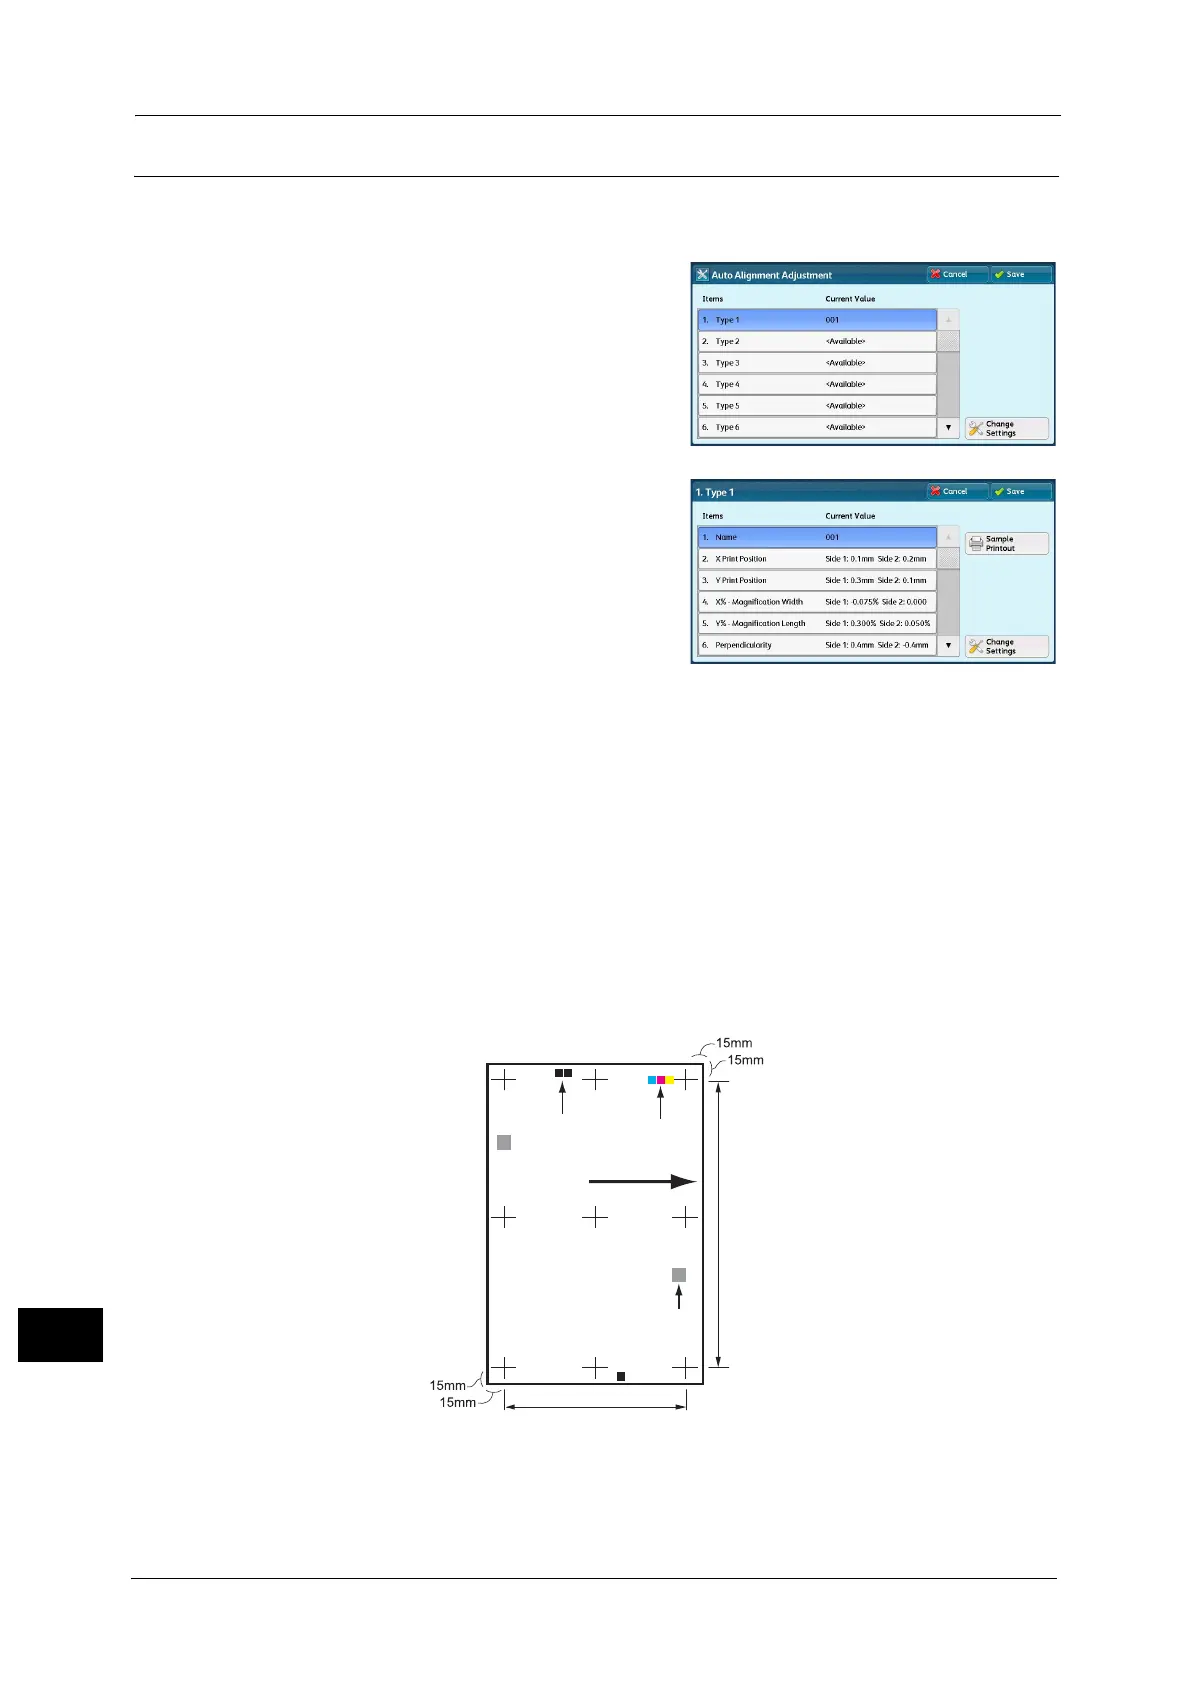
The current sample printout is printed.
If the position of the sample printout is correct, a line is printed at a position 15 mm from
the edge of the paper. If the position of the line on the sample printout is misaligned, adjust
it.
Note • A dark black patch is printed on the image of side 1 and a light black patch is printed on the image
of side 2 of the sample printed with [Sample Printout]. A color patch is printed to show the paper
feed direction.
6 Select [Save].
7 Select [Close].
8 Check the sample printout, and adjust the position if it is misaligned.
Color patch
Black patch
Paper feed direction
QR code
 Loading...


