182 7 Maintenance
Controlling Data Reception by IP Address
When the printer uses a LPD port or Port9100 port, the printer can deny or accept data from
certain IP addresses. The following explains how to set this feature using CentreWare
Internet Services.
Note
• To set this feature on the control panel, refer to "[IP Filter]" (P. 111).
• This feature can be used only when the printer uses LPD or Port9100.
1. Launch your web browser and access CentreWare Internet Services.
Note
• For information on how to access CentreWare Internet Services, refer to "Configuring the Printer Using
CentreWare Internet Services" (P. 28).
2. Click the [Properties] tab.
3. From the menu on the left, click [Protocol Settings] > [LPD] or [Port9100].
4. Click [IP Filter].
5. Enter the IP addresses/subnet masks that you want to control access from and select
the type of access (Reject, Permit, Disabled). The IP address/subnet should be series
of four numbers between 0 and 255. The current value is indicated with an asterisk (*).
6. When you are finished with the setting, click the [Apply] button located at the bottom of
the right frame and reboot the printer.
Note
• If you do not want to apply your new settings and want to reset them to the original values, click [Undo].
• When you are prompted to enter the administrator's ID and password, enter the ID and password and
click [OK].
Examples of IP Filter Setting
A maximum of five IP addresses/subnet masks can be set, and the first pair will have a
priority. If entering multiple addresses, enter the address that covers the smallest area first.
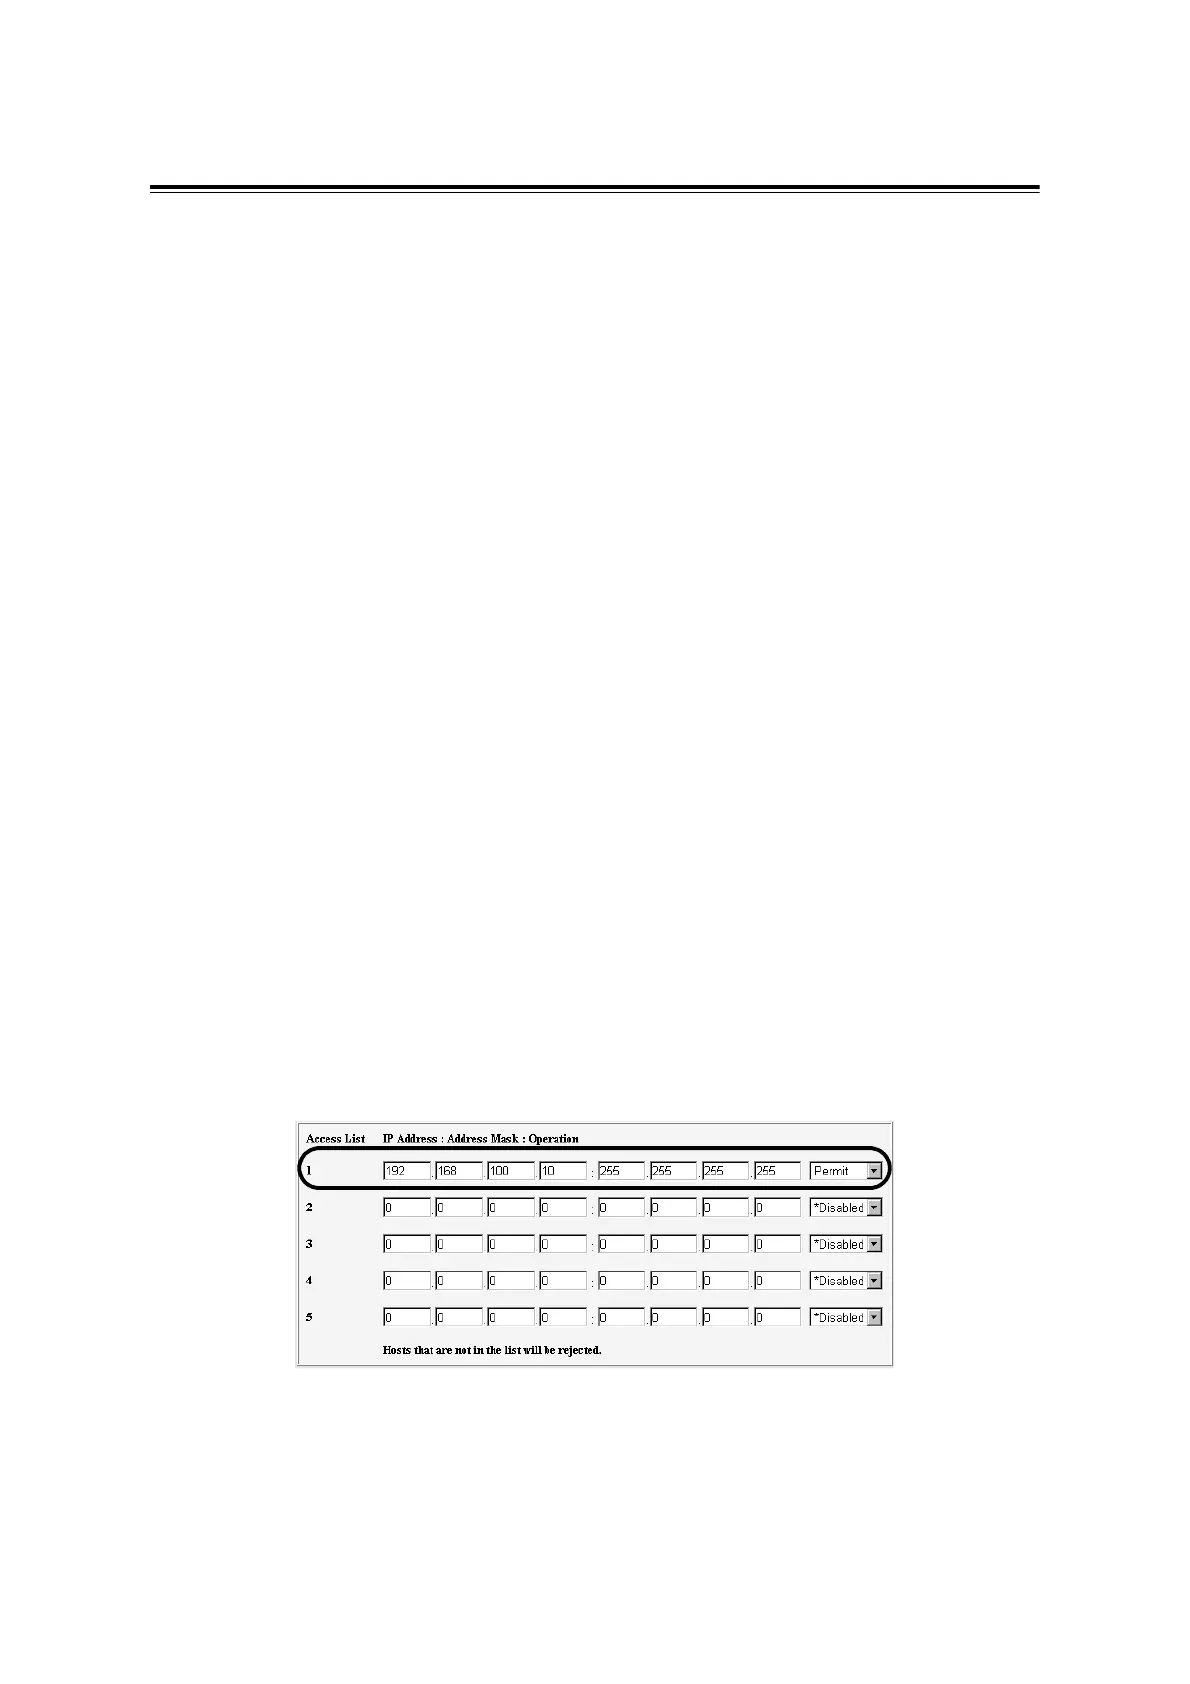
1. To permit printing from a specific user:
Example:
Permit printing from “192.168.100.10”

 Loading...


