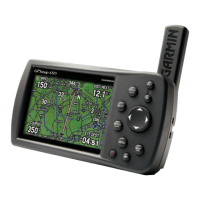
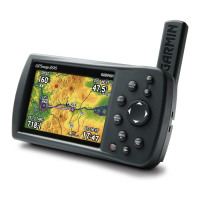
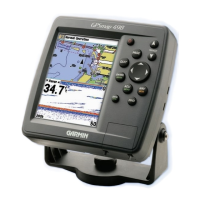
40 GPSMAP
®
400 Series Owner’s Manual
InStallInG the unIt
Step 2: Mount the Unit
You can mount your unit in one of two ways:
•
Surface Mount—mount the unit onto a bracket (included)
that attaches to the console or overhead.
•
Flush Mount—usetheoptionalushmountkittomount
theunitintoaatpanel.Seethe“Appendix”formore
information.
Surface Mounting the Unit
The unit’s compact, waterproof case is suitable for mounting in
exposed locations or at the navigation station. The unit comes with a
tilt/swivel mounting bracket that can be used for console mounting.
Mounting the Bracket Assembly
Tools (not included)—drill, screwdriver (Phillips or standard), and
one of the following:
• Three #8 (4 mm) pan-head machine bolts with matching nuts
and washers and a 5/32" (5 mm) drill bit.
• Three #8 pan-head self-tapping screws and a 1/16
" drill bit for
drilling starter holes.
Use a pan-head machine bolt or self-tapping screw to secure the
swivel base. If you use a screw with a countersunk head, you risk
damaging the mounting bracket.
OK