146
Chapter 7: Adding or Replacing Components
www.gateway.com
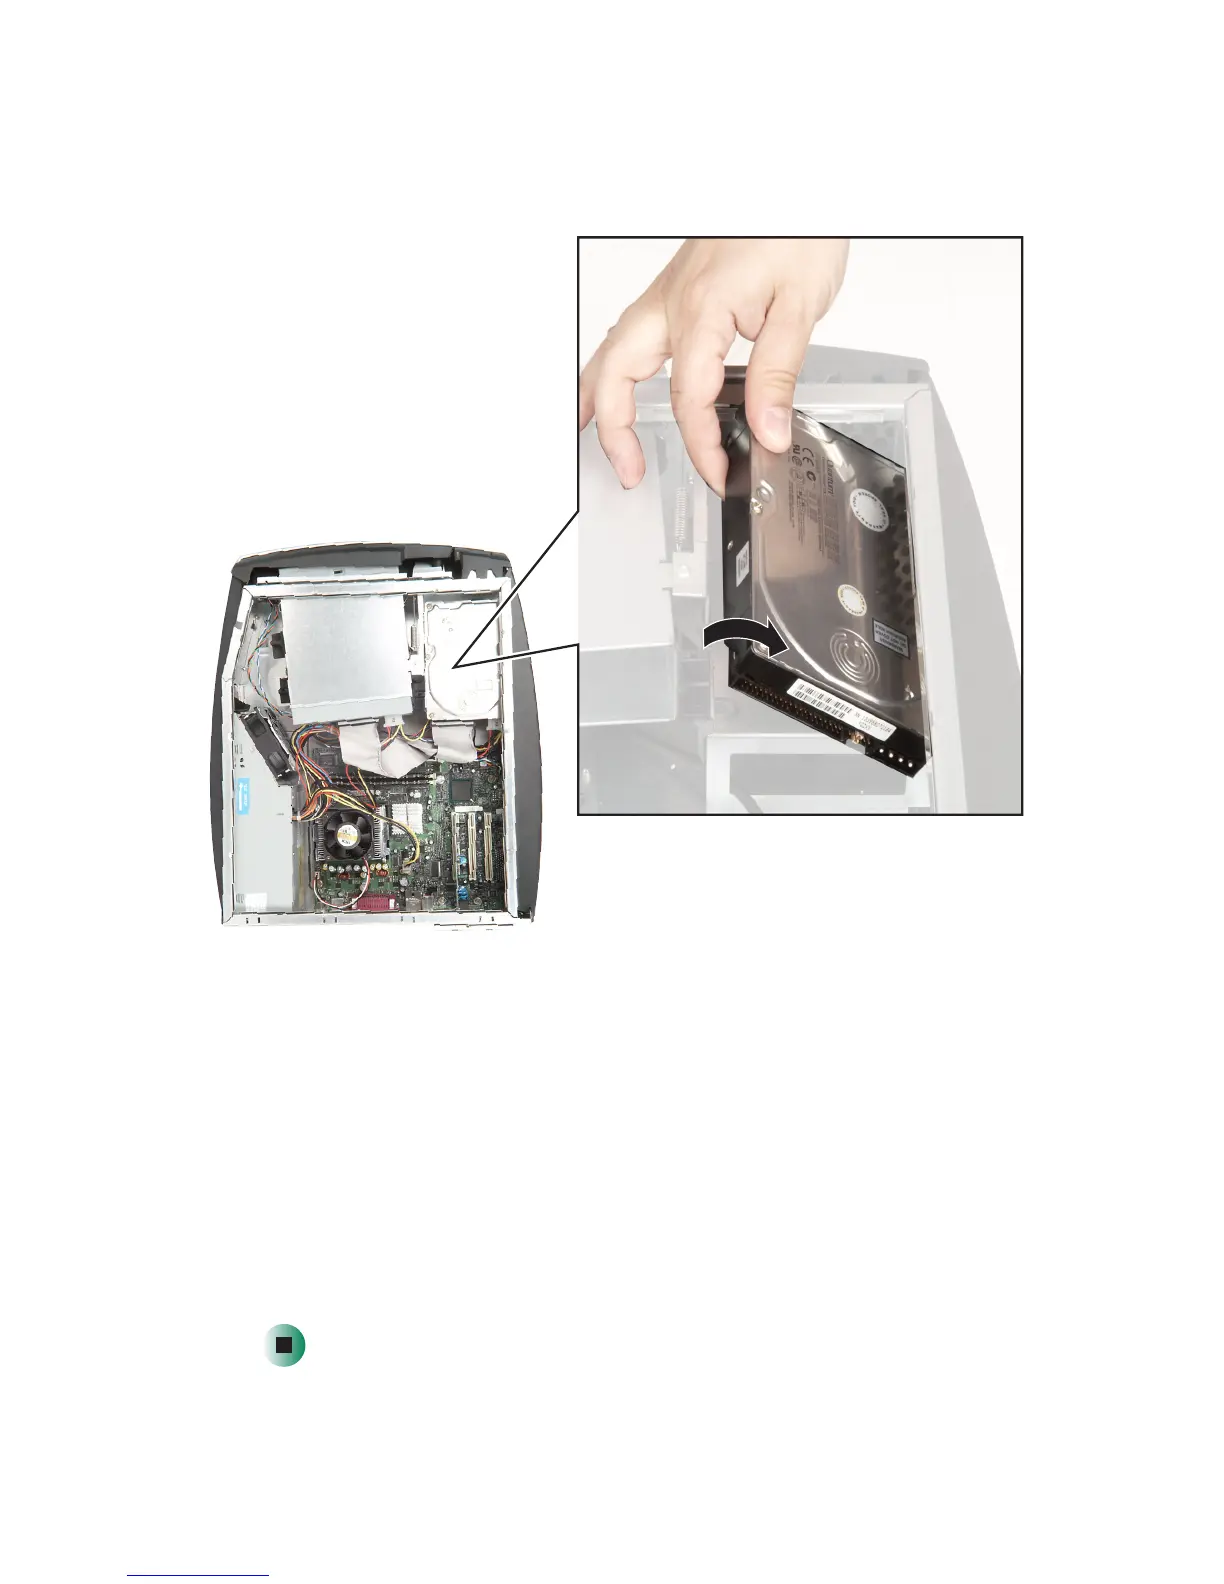
5 Pivot the drive, then lift the drive out of the drive bay.
6 Set any jumpers on the new drive to match the old drive. See the drive
documentation for further instructions.
7 Insert the edge of the new hard drive into the drive bay, pivot the new
drive into the bay, then slide the release lever toward the front of the case.
8 Reconnect the drive cables using your notes from Step 3. The red-striped
edge of the data ribbon cable indicates Pin 1 and corresponds with Pin 1
on the drive (typically on the side farthest from the power supply
connection). See the drive documentation for further instructions.
9 Close the case by following the instructions in “Closing the case” on
page 134.
 Loading...


