8.3 Cleaning the Optics System
8.3.1 Removing the Mirrors
We recommend you check the mirrors once or twice a week to see if they require cleaning. If any
debris or smoke residue is present, use the following steps to clean them.
NOTE
• It is highly recommended you remove, clean and replace each mirror one at a time!
• Refer to section 8.3.2 on how to clean the mirrors.
The following section will detail how to access and remove each of the four mirrors found on the
LaserPro C180 for cleaning.
Mirror 1
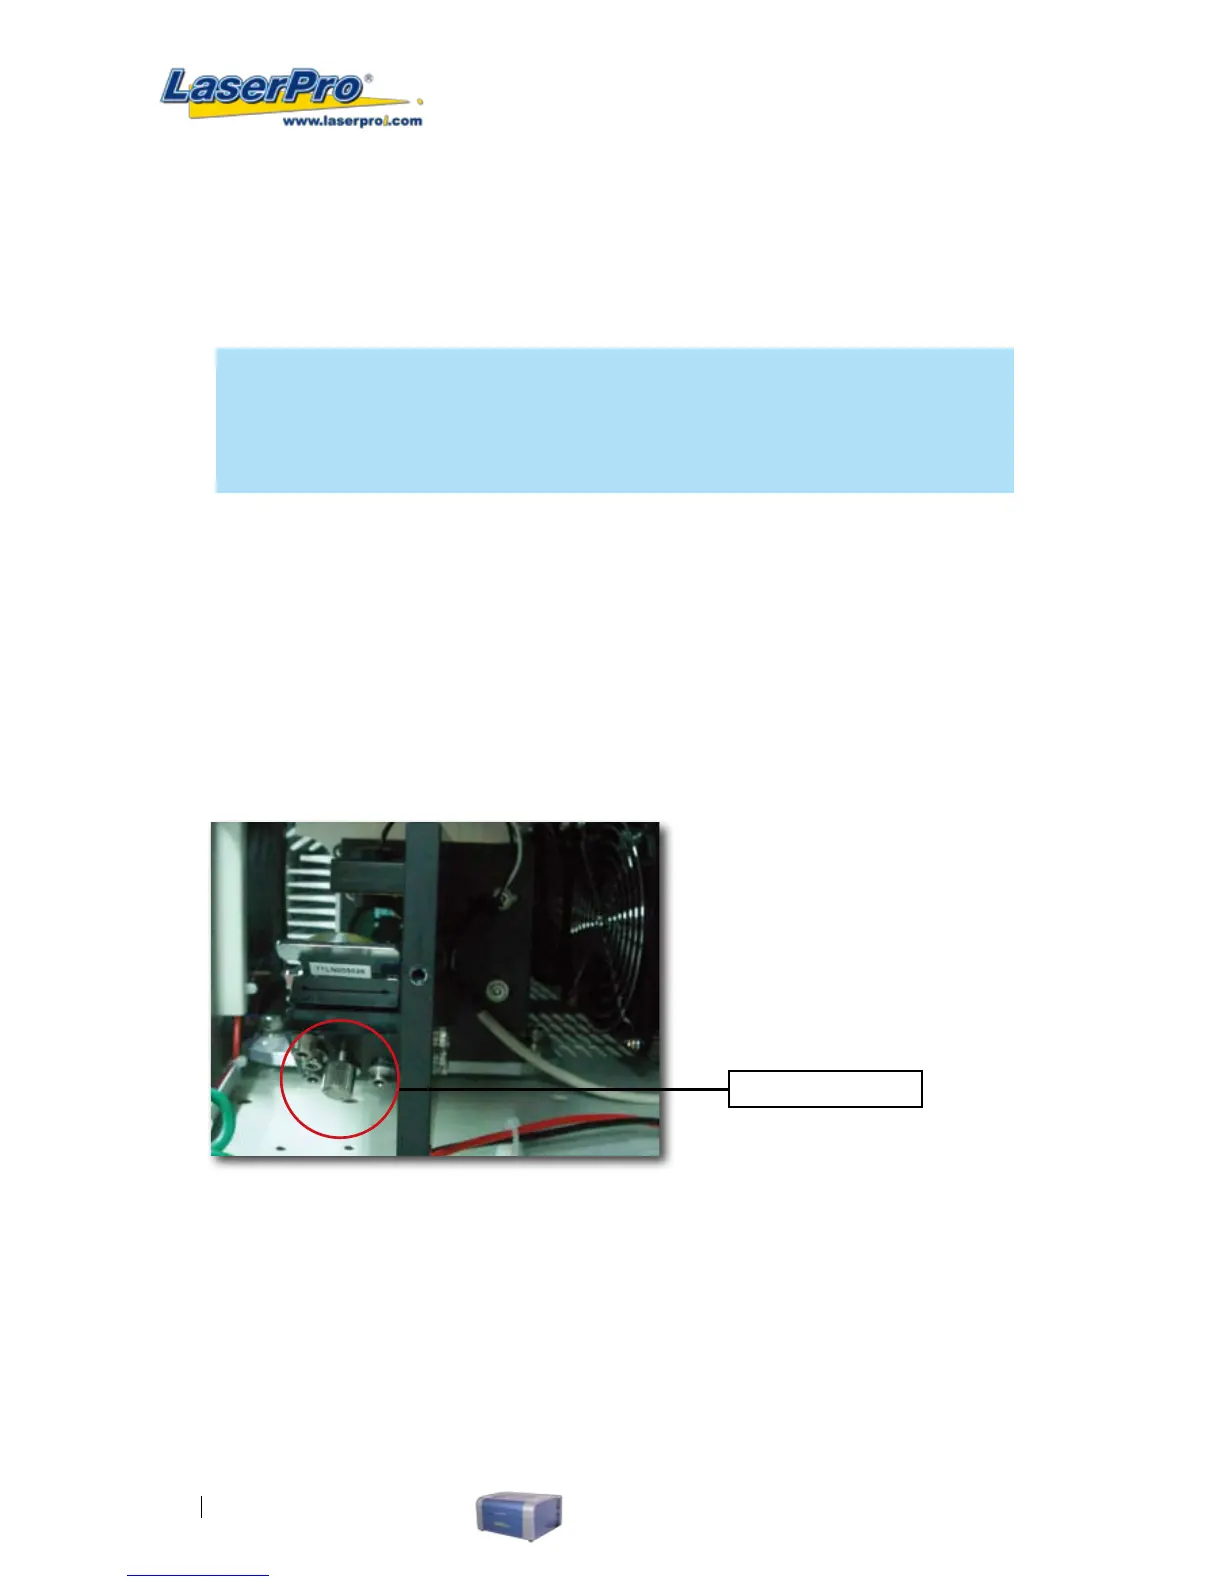
This mirror is located inside the bottom left access panel of the LaserPro C180.
1) Use a # 2 Phillips Screwdriver to remove the access panel located on the bottom left side of the
LaserPro C180.
2) Loosen the thumbscrew and remove the dust cover securing the mirror. (As shown in the
picture below).
Thumbscrew
3) Clean the lens in the proper manner.
4) Re-install the mirror after cleaning.
5) Tighten the thumbscrew.
6) Replace and secure the outer access panel.
Mirror 2
1) Unscrew and remove the black dust cover covering mirror 2.
2) Unscrew the thumbscrew holding mirror 2 in place.