3) Clean the lens in the proper manner.
4) Re-install mirror 4 after cleaning.
5) Tighten the top thumbscrew.
6) Reinstall the laser carriage panel and tighten the three thumbscrews.
8.3.2 Cleaning the Mirrors
After you have removed each mirror, you will want to inspect each mirror for scratches, smoke
residue, or debris. If any residue or debris is present, use the following steps to clean the mirror.
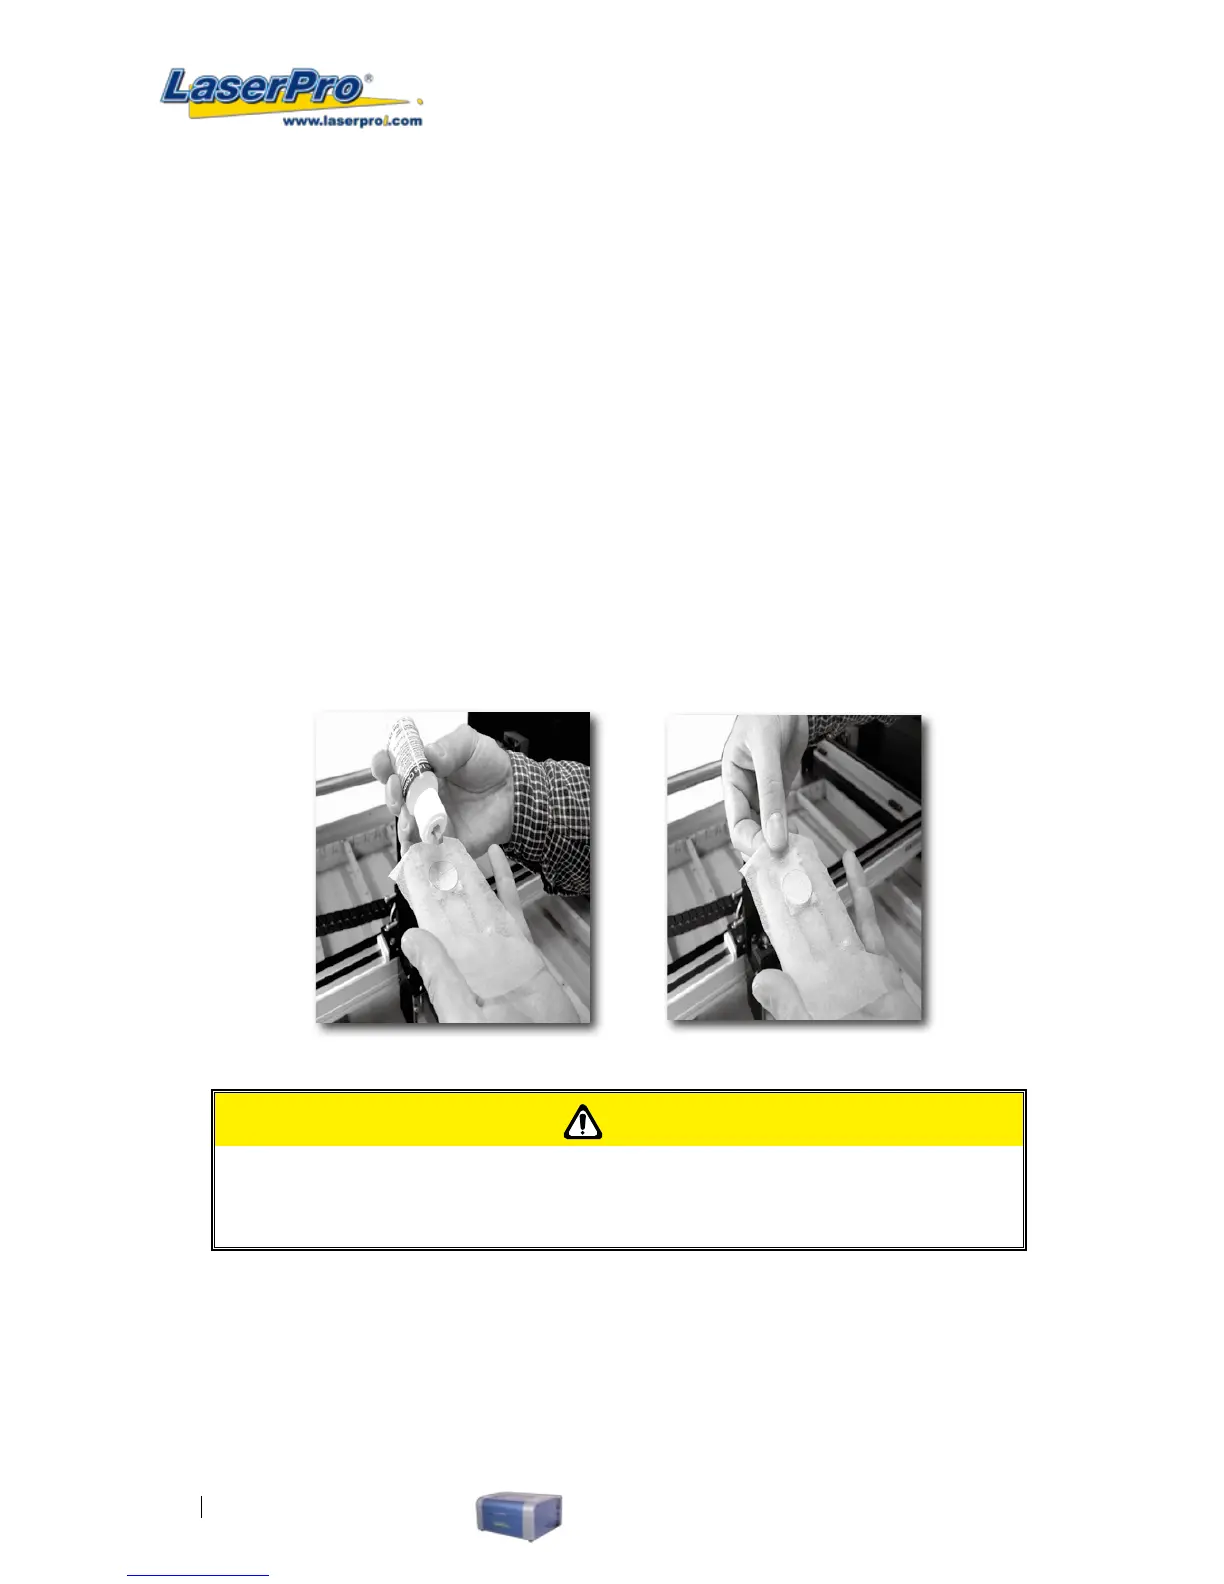
1) Hold the mirror with the reective side up, without touching the reective side of the mirror
(DO NOT apply any nger pressure or any other cleaning solutions to the mirror surface).
2) Drape a new sheet of lens tissue over the mirror.
3) Apply a few drops of lens cleaner on the tissue covered mirror (apply enough so that the tissue
absorbs just enough to cover the mirror surface).
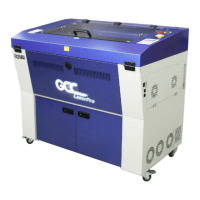
4) Pull the tissue across the mirror in only one direction.
5) Repeat the cleaning processes if the mirror is not completely clean after the rst attempt.
6) Make sure that the mirror is completely dry before reinstalling it.
CAUTION
If the center of the mirror is scratched, contact your LaserPro C180 dealer for a replacement.
8.3.3 Removing and Cleaning the Focal Lens
1) Unscrew the three thumbscrews (front face of the laser head) securing the laser carriage panel
and remove the laser carriage panel to reveal the focal lens.
2) Carefully pull out the focal lens (as indicated in the picture below).