6.4 3D Tips
When doing 3D sample on LaserPro C180 (C180-30), acrylic or MDF wood are ideal materials for the
purpose. For acrylic the suggested PWR is 100%, SPD around 30% (depends on how deep you want to cut).
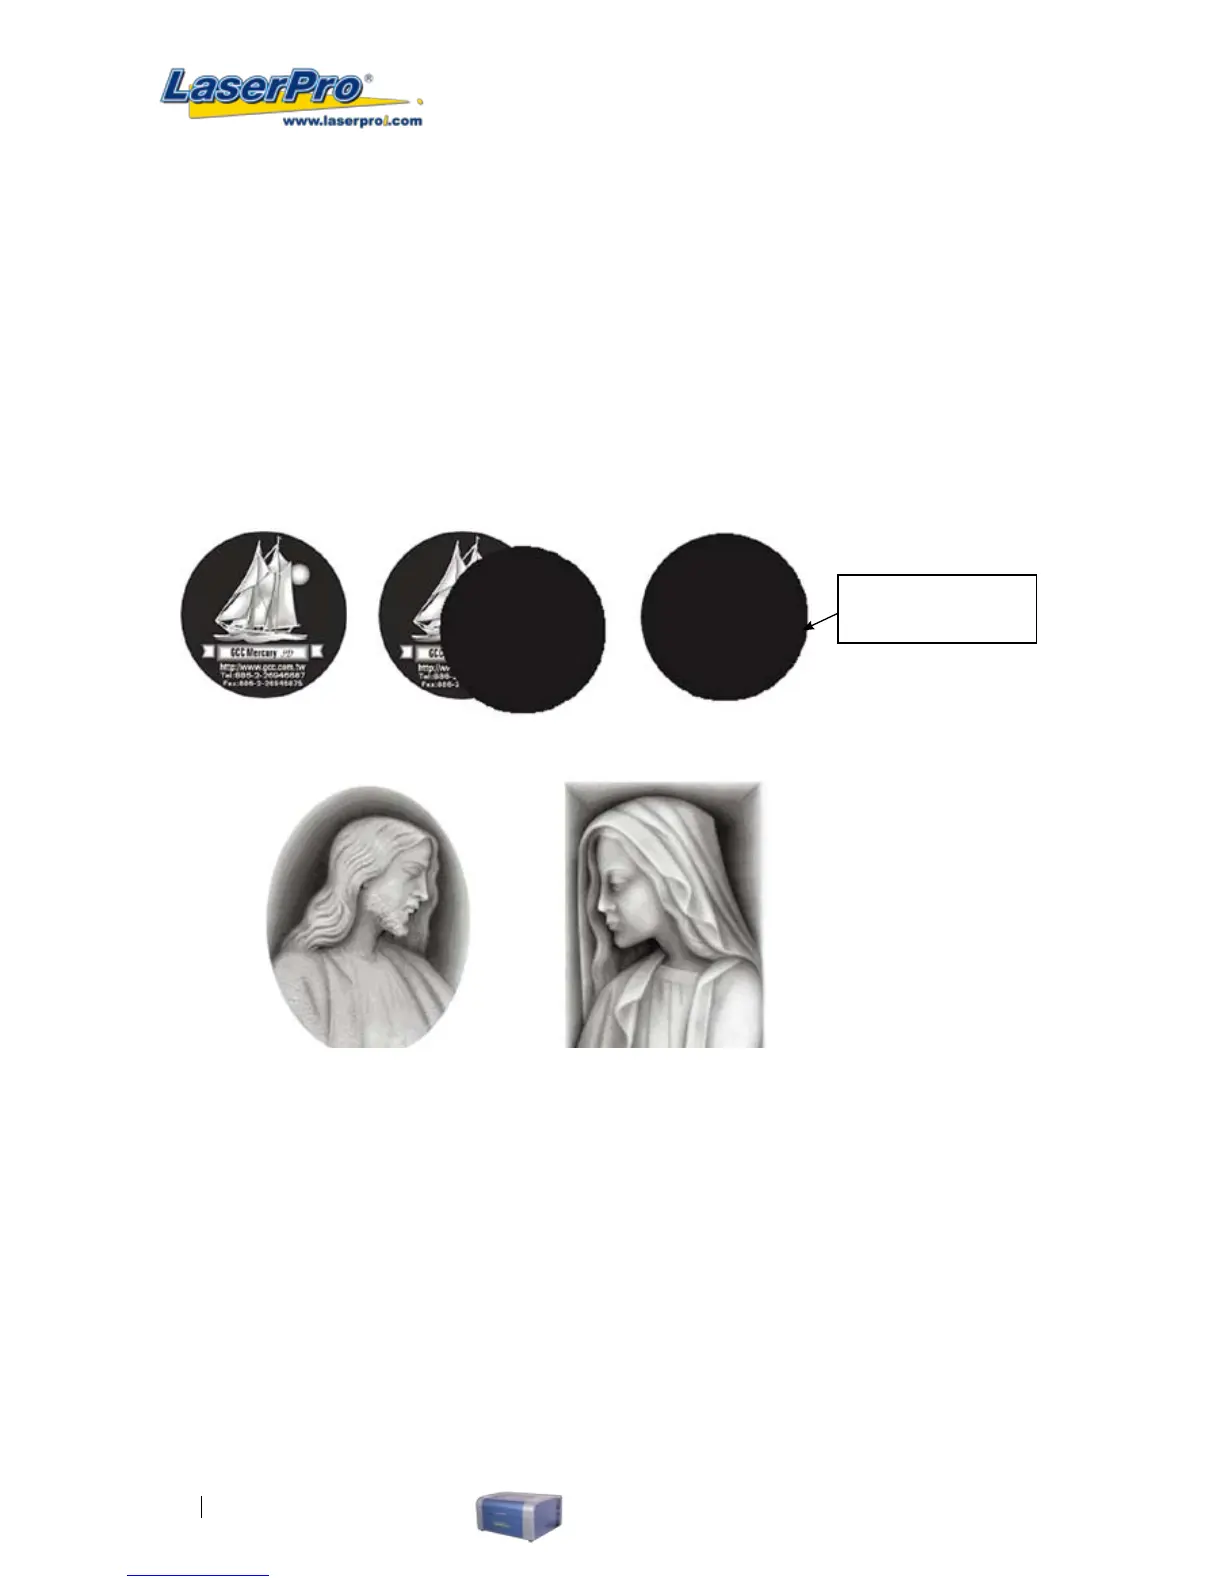
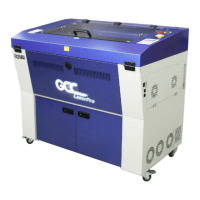
The perfect image for 3D is like those shown below. When image is ready, choose 3D Effect as the output
mode in the driver. Sometimes, some material shows better effect if you run the job with 2nd pass with laser
out-of-focus. Especially with acrylic, the 2nd pass will smooth out the surface.
For engraving wood, as it burns easily and leaves blackened surface after the 1st pass, it is necessary to run
the 2nd pass to remove the burned surface. To do that, simply ll the image with black color as the mask (see
below) and Run the black mask image with PWR 100% and SPD100%.
Create a black image
for polishing
6.5 To modied image settings of a picture for better engraving quality
1. Connect your digital camera to the computer by USB cable.
2. Download the picture from the digital camera to the computer
3. Select the picture that you want to engrave.
4. Import the image from the folder where the picture is located by selecting File/Import