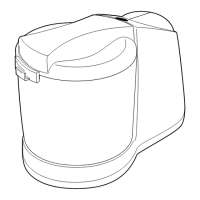
NOTE: The open Food Pusher holds slightly
mo
re than 1 cup. There
1s
a
line
on
the inside
of
the Pusher to mark a 1 cup
(8
ozs.) level (M). Use
1t,
if
desired, when adding
liq
uid ingredients
dur
i
ng
pro
cessing.
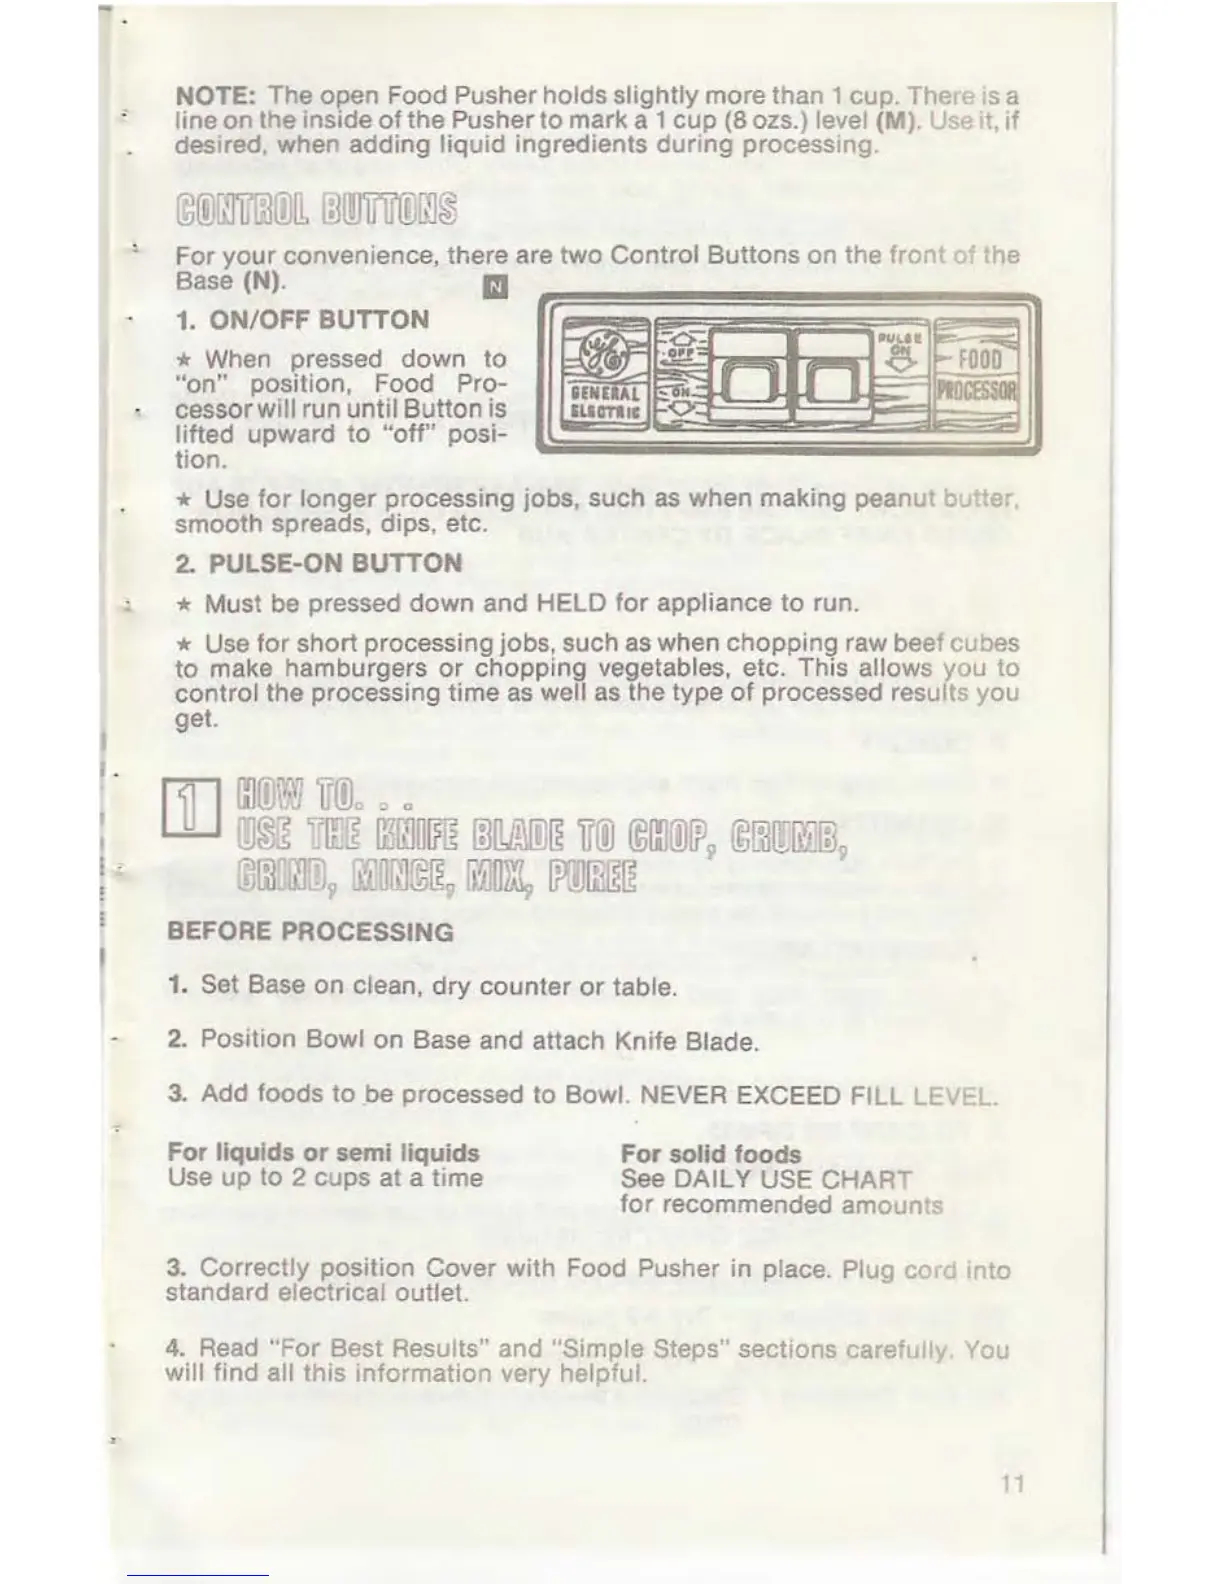
For
your
convenience, there are two Control Buttons on the front
of
the
Base (N).
m
1. ON/OFF
BUTTON
* When pressed down to
"on"
position, Food Pro-
cessorwill run until Button is
lifted upward
to
"off"
posi-
tion.
~
111~.1:::
~119
8ENUAL
uam•c
-.c;:
·~~
·
0~;
...
FOOD
=
ln.
lr1
;m
r--
~~~
0'
* Use
for
longer
processing jobs, such
as
when making pea
nut
butter,
smooth spreads, dips, etc.
2. PULSE-ON
BUTTON
* Must be pressed down and HELD
for
appliance
to
run.
* Use
for
short processing jobs, such as when chopping raw beef cubes
to
make hamburgers
or
chopping vegetables, etc. This allows you to
control the processing
time
as well
as
the type
of
processed results you
get.
[[)
l:J(0~9
tJffic
_ a
rJJ@~
um1
rnr11~~~
r;J~~
rroo
@!IlOOfP9
©rn~!)it;J~
OO!itw:IJlp
!Plflr.~~~g
fi~O~
lffillill~
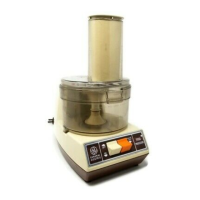
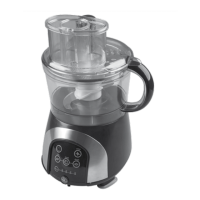
BEFORE PROCESSING
1. Set Base on clean,
dry
counter
or
table.
2.
Position Bowl
on
Base and attach Knife Blade.
3.
Add foods
to
be processed to Bowl. NEVER EXCEED FILL LEVEL.
For
liquids
or
semi
liquids
Use
up
to 2 cups at a
time
For
solid
foods
See DAILY USE CHART
for
recommended amounts
3.
Correctly position Cover
wit
h Food Pusher in place. Plug
cord
into
standard electrical outlet.
4.
Read
"For Best Results" and "Simple Steps" sections carefully. You
will find all this information very helpful.
11
 Loading...