– 53 –
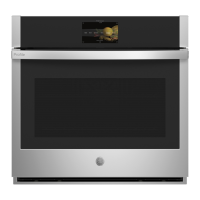
Latch Board Replacement
1. Place the oven in a partially removed position.
(See the Removing Upper Oven section in this
guide.)
2. Open the oven door.
3. Remove the single Phillips head screw that holds
the door switch access cover to the outer cover.
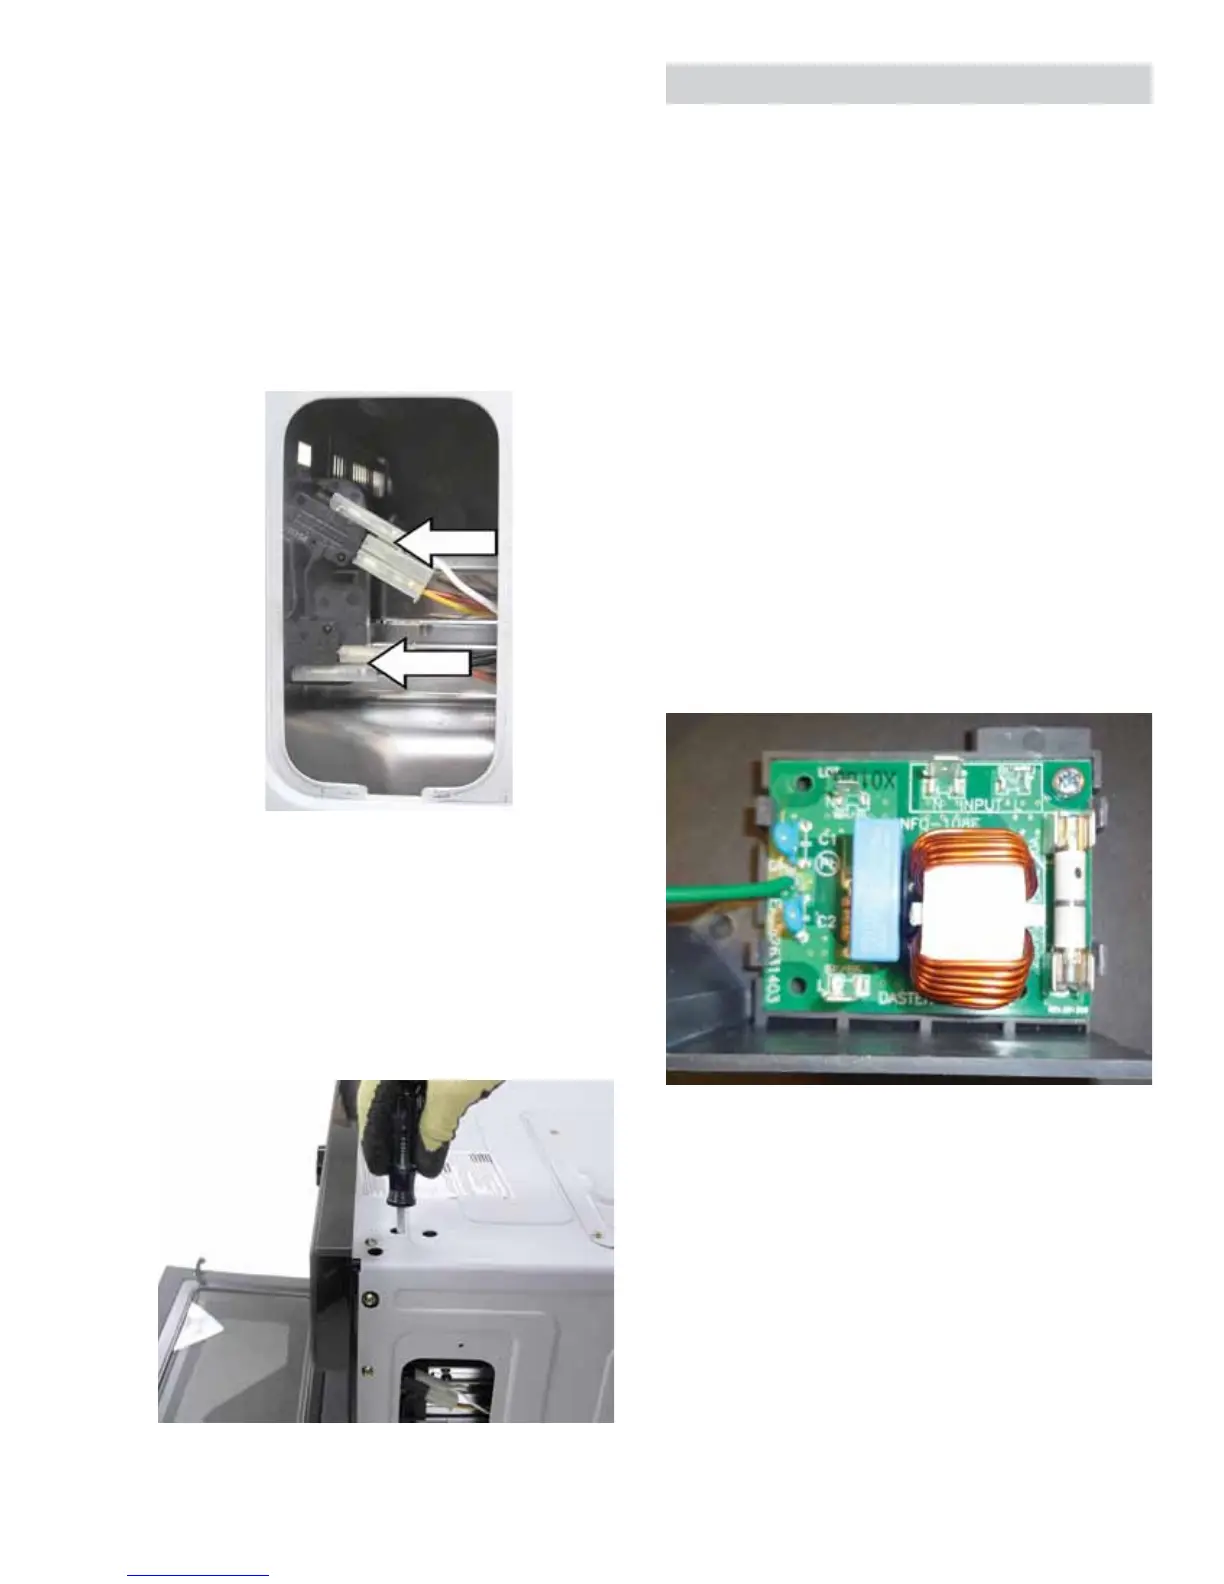
4. Disconnect the switch wiring.
NOTE: Each latch board is held in place with two
Phillips head screws. The screws are recessed from
the top of the outer cover. Access holes are provided.
A magnetic screwdriver is necessary to capture
these screws.
5. Remove the two Phillips head screws that attach
the latch board to the oven chassis.
6. Remove the door switches from the latch board.
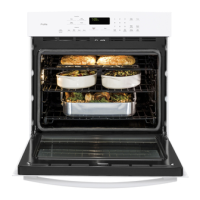
Noise Filter
7KHQRLVH¿OWHULVORFDWHGLQIURQWRIWKHEORZHU
assembly on the right side of the oven. The noise
¿OWHULVKHOGLQSODFHE\DVLQJOH3KLOOLSVKHDGVFUHZ
DQGWDEVVHFXULQJLQWRWKHSODVWLFIUDPH7KH¿OWHU
ground wire is attached to the oven chassis near
WKHQRLVH¿OWHUE\DVLQJOH3KLOOLSVKHDGVFUHZ7KH
outer cover must be removed to access the noise
¿OWHU6HHWKHRemoving Upper Oven section in this
guide.)
NOTE:KHQLQVWDOOLQJWKHQRLVH¿OWHUHQVXUHDOO¿OWHU
wiring is connected to the correct terminals.
Check to make sure the fuse is good. Check the
QRLVH¿OWHUIRUDSSUR[LPDWHUHVLVWDQFHYDOXHDWWKH
following locations:
• White (neutral input) to white (neutral output): 0 W
• Black (line input) to black/brown (line output): 0 W
• White (neutral input) to black (line input): 23 W
View of Noise Filter