– 64 –
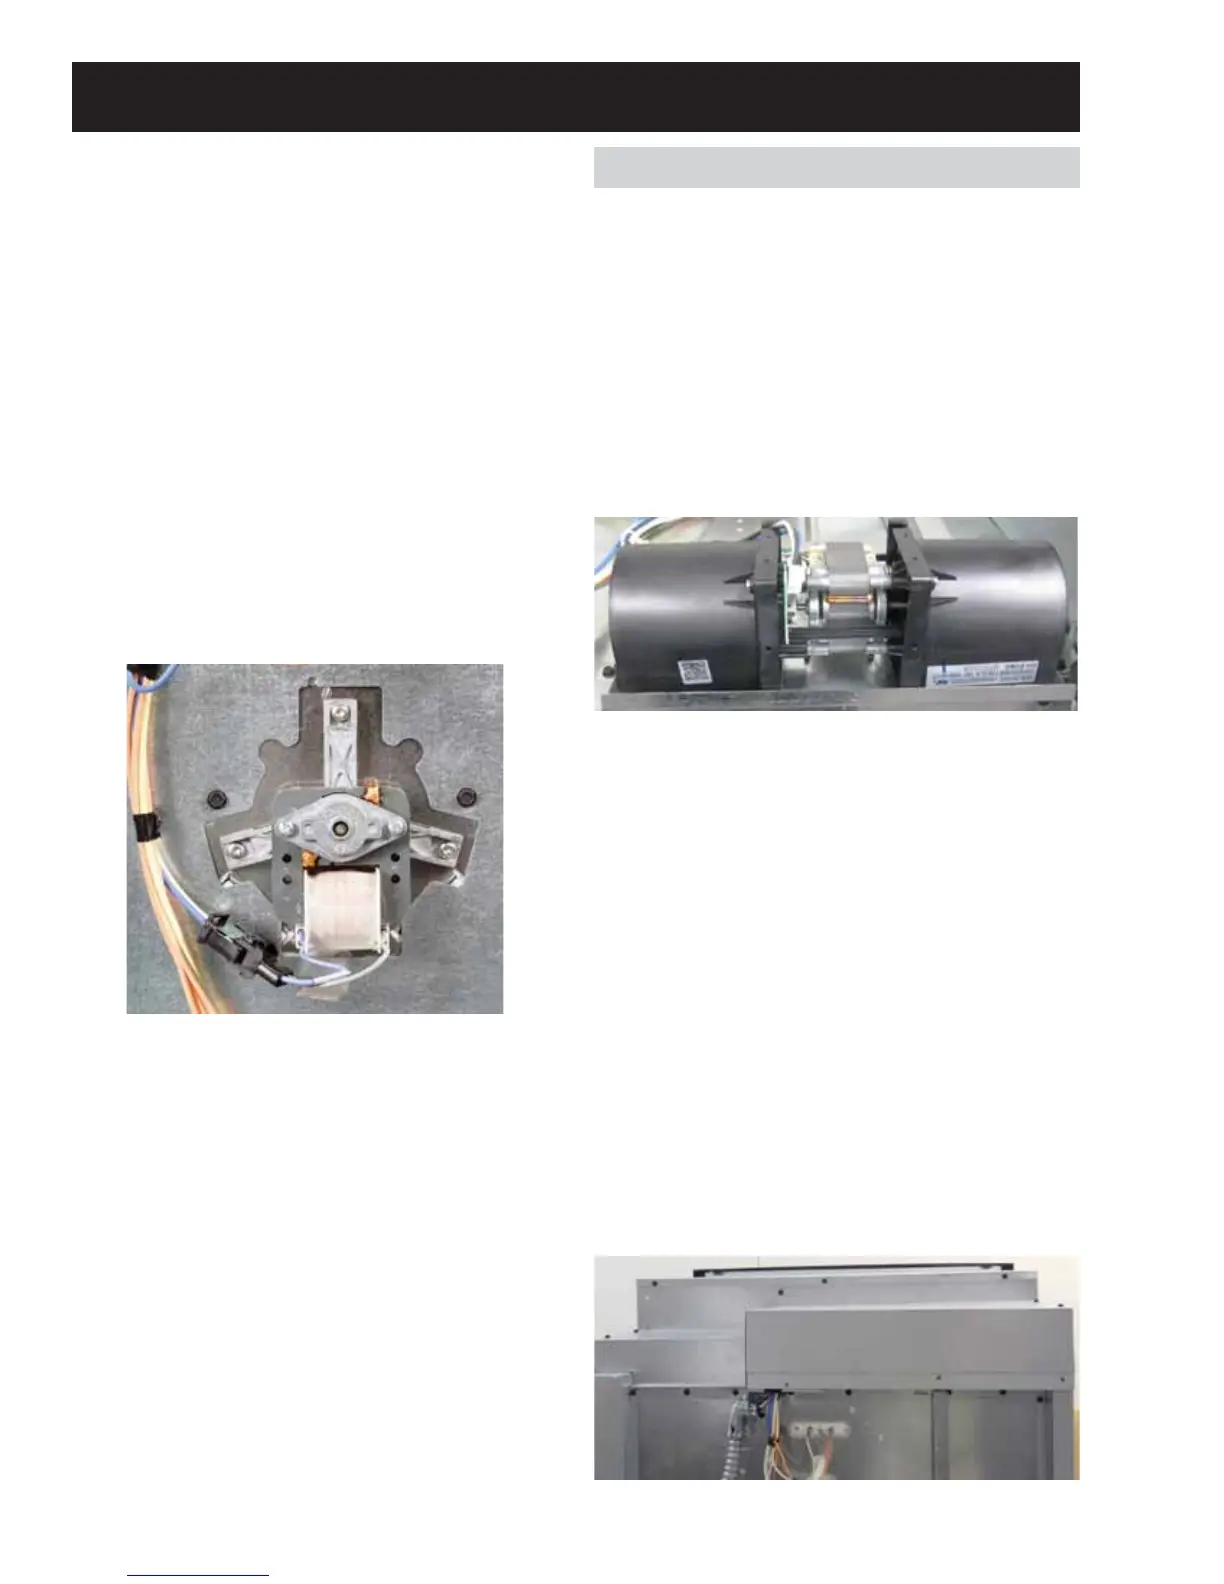
Cooling Fan Motor
The cooling fan is used to maintain standard
guidelines for external temperature, and preventing
components from getting to critical temperatures
that may cause premature failure.
The fan will operate during any function, and will
remain running after the cycle is complete until the
oven sensor temperature drops below 170°F. In Self
Clean cycles, the motors will run on the high speed
windings.
Cooling Fan
Resistance
• +,*+black to white
• /2:red to white
The oven must be removed from the installation for
fan motor replacement.
Cooling Fan Motor Removal
1. Remove the ten screws on the back panel.
2. Remove the eight screws securing the top cover,
DQGWKH¿YHUHPDLQLQJVFUHZVRQWKHULJKWVLGH
fan motor cover.
3. The FAD board mounted to the fan motor
assembly must be transferred to a new motor
assembly. It is held in place with a single T10
Torx screw.
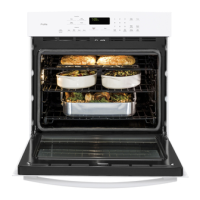
Rear Component Access Lower Oven
Convection Fan Motor
The Convection Fan Motor moves heated air
throughout the oven cavity. To replace the
Convection Fan Motor, begin from inside the oven
cavity with the following steps.
Convection Fan Motor Removal
1. From inside the oven cavity, remove the four or
six T20 Torx screws from the convection cover,
and remove the blade by using a 3/8 in. wrench.
The threads on the motor shaft are left hand, so
turn clockwise to remove.
2. From the rear of the unit, remove the three
screws securing the motor to the rear frame.
120 VAC Single Speed Motor
Resistanceblue to white
NOTICE: If any damage occurs to the blade upon
removal, REPLACE the blade as it is critical to proper
operation.
Convection Fan Motor Reassembly
1. Reinstall the three screws securing the motor to
the rear frame.
2. Ensure that all insulation pieces are returned to
their original location.
3. Reinstall the blade by using a 3/8 in. wrench. The
threads on the motor shaft are left hand, so turn
counter-clockwise to tighten.
4. Reinstall the four or six T20 Torx screws to the
convection cover.
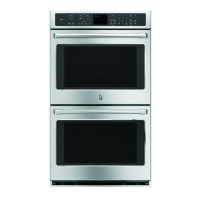
Lower Oven Electrical Components