Revision A Transport Pro 8-7
2012659-042
Disassembly: FRU Replacement
FRU Replacement
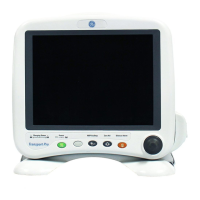
Display Subassembly
1. Remove the back plastic. See “Back Plastic Replacement” on page 8-
4.
2. Remove the display subassembly.
a. Remove the four screws holding the main processor PCB to the
display assembly.
b. Pull out the backlight friction connector from the inverter PCB.
Do not pull on the connector wires.
c. Squeeze the connector tabs and pull out the connector from the
629A
630A
 Loading...