Computer Installation Guide
Prox–DU & Prox–SU
www.gemalto.com
DOC119735A Public Use Page 22/59
Figure 17 – Prox–DU Installation popup dialog boxes (Windows 2K/XP)
xxxxxxxx is the serial number printed on the label located on the back of the reader/writer.
Your Prox–DU or Prox–SU device is now ready to use.
Note: the popup dialog boxes will only appear the first time the device is connected to the
computer.
Windows 2K/XP installation using the Windows Update
procedure
These installation steps will be effective if the CCID diver not available in the operating
system.
The next paragraphs will detail the Windows XP procedure. For Windows 2K, the procedure
is roughly the same with some differences in the screen captures.
When the USB cable is plugged into the USB port of the computer the previous popup
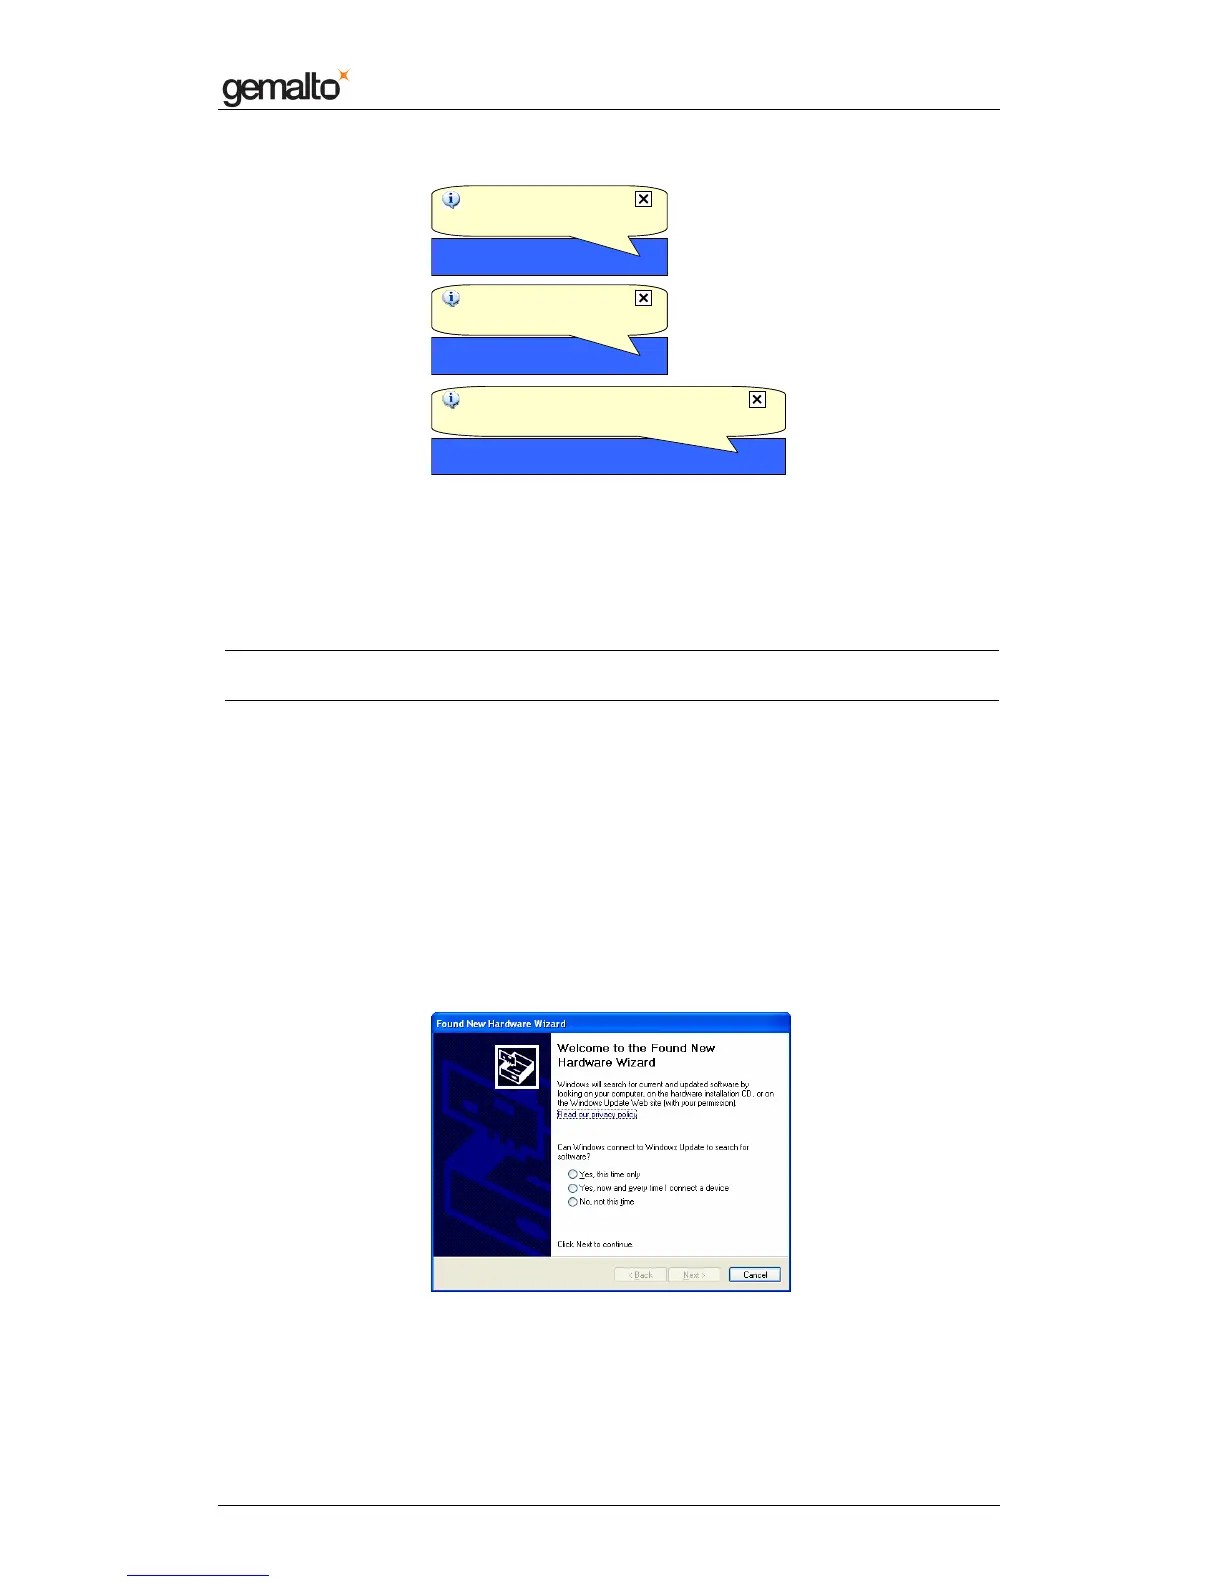
windows and the following wizard will appear:
Figure 18 – Windows XP Installation wizard: first window
• Click the “Yes, this time only” button to start the Windows Update procedure
• Click the “Next” button to continue (in the picture below 09A00235 is the serial
Found New Hardware
USB Smart Card reader
Found New Hardware
USB Smart Card reader
Found New Hardware
Your new hardware is installed and ready to use
Found New Hardware
Your new hardware is installed and ready to use
Found New Hardware
Prox-DU Contact_xxxxxxxx
Found New Hardware
Prox-DU Contact_xxxxxxxx
 Loading...