7.0 -
The system must be configured based on the vehicle model on which it is installed.
Here below is an example illustrating the configuration procedure. In this case the code to be entered
is 1-0-3 “FIAT XXXXX”.
VEHICLE CODE PROGRAMMING
which hypothetically corresponds to a
A separate leaflet, included in the alarm packaging, lists the available vehicles (codes
are updated at packaging time).
Up-to-date information on supported vehicle models can be found in the private area of
our website: www.gemini-alarm.com.
The system has an indicator LED that signals any wrong vehicle code inserted.
The code must range between 100 and 235 otherwise the LED on the unit blinks
repeatedly and the procedure is interrupted.
The previously inserted code remains stored.
The procedure is also invalidated if the LED blinks more than 10 times.
In this case there are no optical warnings, the procedure is simply interrupted.
In either case, repeat the entire procedure.
!
!
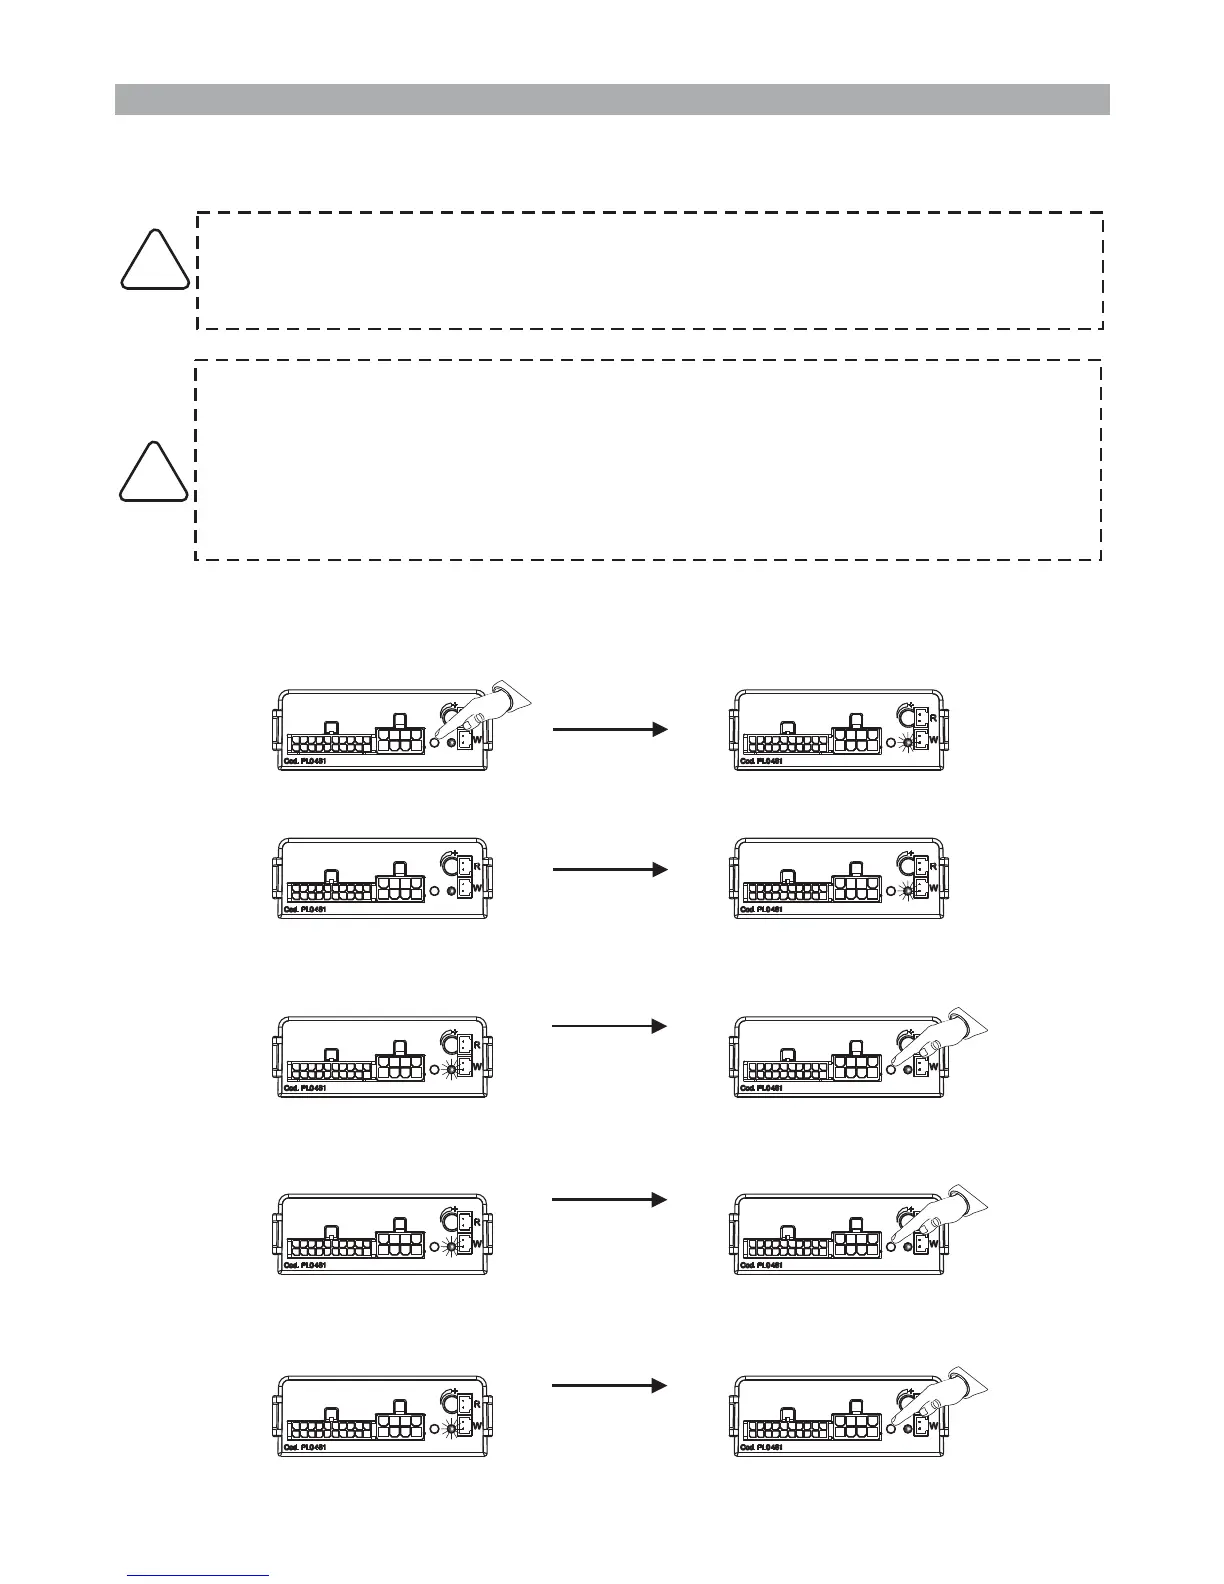
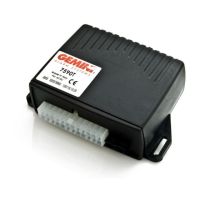
Connect the wiring harness connectors to the corresponding alarm connectors.
Press and hold the button shown below until the LED lights up.
Release the button, the LED will go out.
After 3 to 4 seconds, the LED will start flashing.
“1”.
Press the button at the first flash which corresponds to number
After another 4 seconds, the LED will start flashing again.
“0”.
Press the button at the 10th flash which corresponds to
After 4 more seconds, the LED will flash for the third and last time.
“3”.
Press the button at the 3rd flash which corresponds to number
Press
Press
Press
1st
FLASH
10th
FLASH
3rd
FLASH
3-4 seconds
INSTALLER MANUAL - PAGE 11