X
GEM-P9600 Programming Instructions
L
NAPCO Security Systems
WI777D 08/00
!
Page 34
PROGRAMMING OPTIONS & WORKSHEETS
R
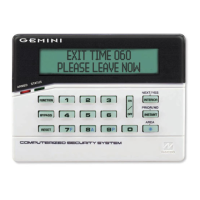
COMPUTERIZED SECURITY SYSTEM
GEMINI
ARMED
STATUS
SYSTEM ARMED
01/01/97 12:00AM
12
4
3
56
7890
A
B
C
D
E
F
G
NEXT/YES
PRIOR/NO
AREA
# OF ZONES IN AREA 1
ENTER # ZONES X X
AI #ZN=08 #KP=1
A2 #ZN=00 #KP=0
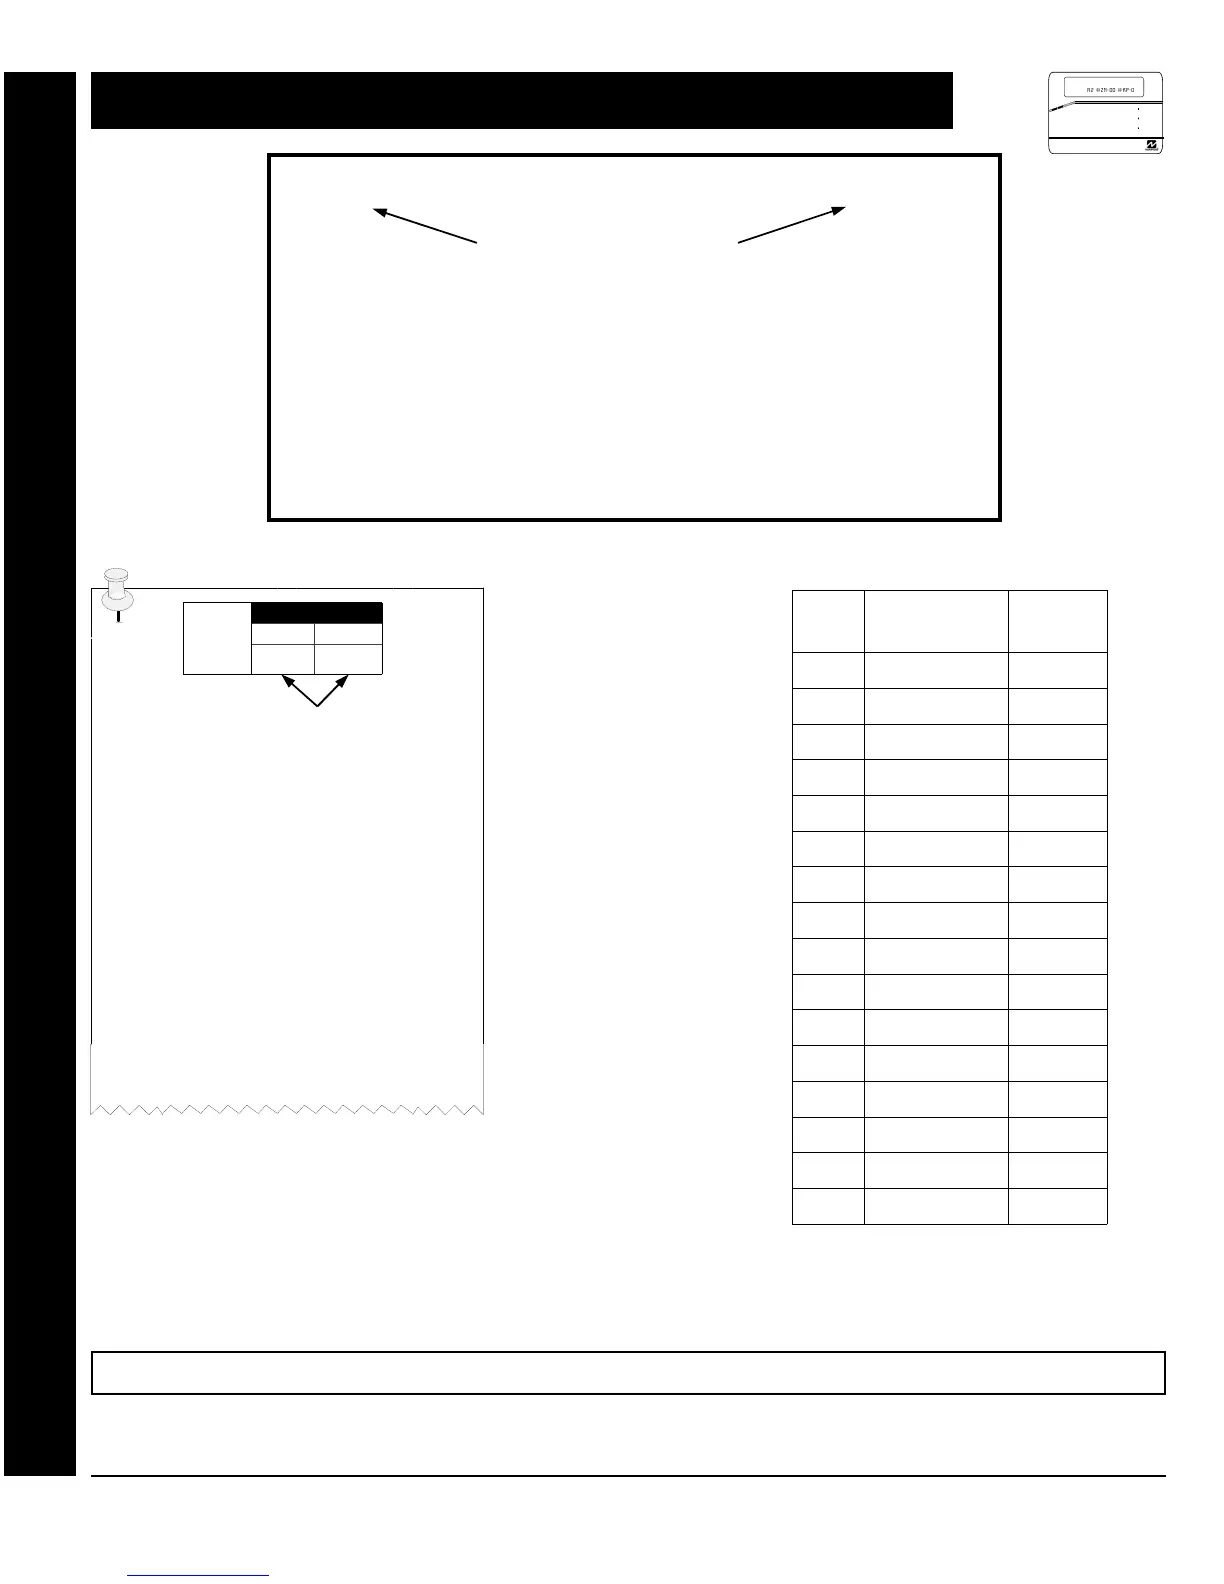
1. Press
EEEEEE A
2. Press
g
Until
“
ACTIVATE PROGRAM Y/N
”
(GEM-RP1CAe2) or
“
TURNON PROG Y/N
” (GEM-RP2ASe2)appears on LCD
screen
or Function “17”
(GEM-RP3DGTL).
3. Press
F
To Enter Dealer Program Mode
4. Press
C
To Exit Easy Menu Driven Program Mode
& Enter Direct Address Program Mode
Dealer Code (Address 0500)
Dete rmini
ng data entry for a location (each “nibble”). Numbers
in parentheses indicate data for selected zones or
features. (See Programming Worksheets that
DEFAULTS:
The defaults shown on the following pages are automatically set after exiting the Easy Menu Driven Mode.
ENTER DATA
"
ADDRESS LOC.
LEFT RIGHT
Program
Option
PROGRAMMING STEPS:
1. Lookup desired Programming Option by
Address Location (highlighted in black).
2. Select the programming option data entry
from the tables shown, by direct entry or by
adding binary values.
3. Enter the selected data entry in the boxes
shown.
4. For more information on a programming
option refer to the Glossary at the end of this
manual.
ENTRY
TOTAL
PRESS
N
KEYPAD
DISPLAYS
blank
0
•
1
1
1
2
2
2
3
3
3
4
4
4
5
5
5
6
6
6
7
7
7
8
8
8
9
9
9
10
G 0
0
11
G 1
B
12
G 2
C
13
G 3
D
14
G 4
E
15
G 5
F
Direct Address Program Mode: Programming Options & Worksheets
 Loading...