Charging the Main Battery
Before using the RP1100 for the first time, charge the main battery until the amber Charging/Battery Status
LED remains lit (see Table 1-1 for charge status indications). To charge the RP1100, use a cable or a cradle
with the appropriate power supply. For information about the accessories available for the RP1100, see
Accessories Chapter.
For cable and cradle setup and charging procedures see Accessories Chapter for more information.
USB Charging Cable
Charge Only Cable
Single Slot USB Cradle
To charge the main battery:
Connect the charging accessory to the appropriate power source.
Insert the RP1100 into a cradle or attach to a cable. The RP1100 begins charging.
The Charging/Battery Status LED red while charging, then turns LED green when fully charged. See
Table 1-1 for charging indications.
The 1860 mAh battery fully charges in approximately four hours and the 3600 mAh battery fully charges in
approximately six hours.
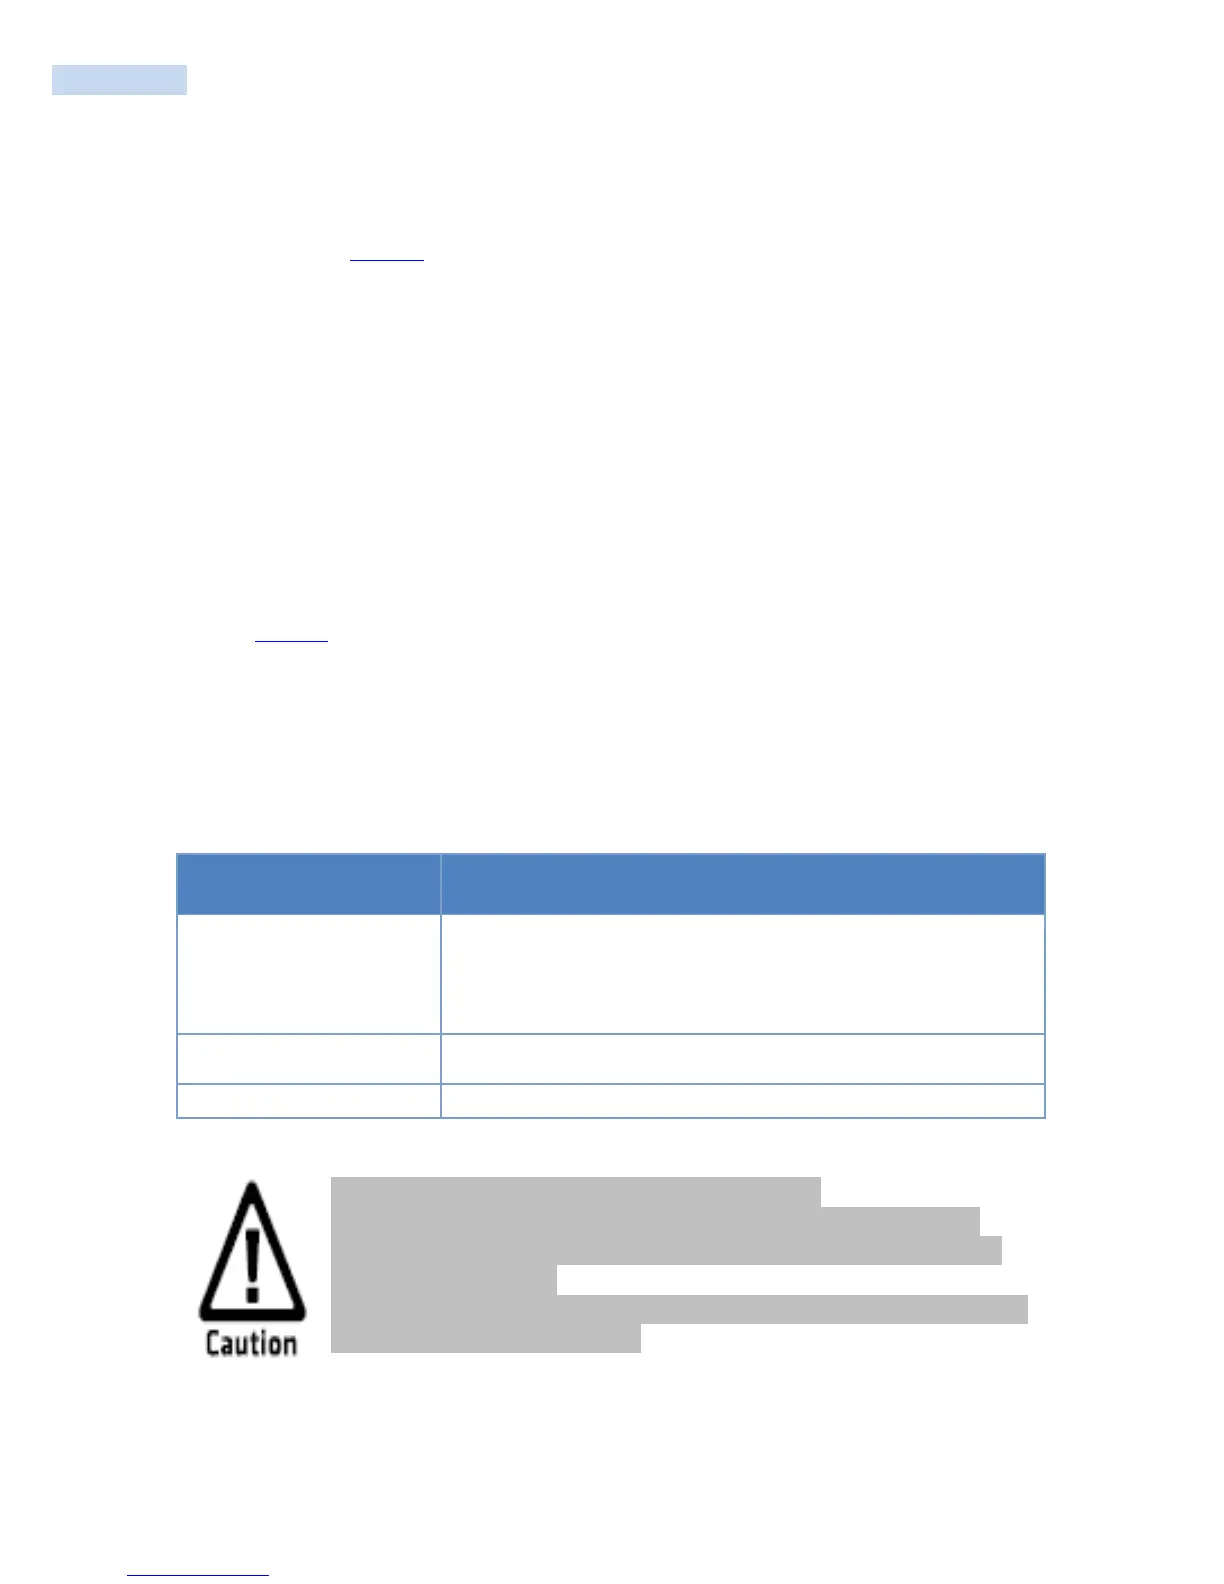
Table 1-1 LED Charge Indicators
RP1100 is not charging.
RP1100 is not inserted correctly in the cradle or connected to a power
source.
Charger/cradle is not powered.
Do not use any other charger except one (5.0V / 3.5A) provide.
Make sure to handle it gentle; damage with excessive force may cause no warranty.
Risk of explosion if battery is replaced by an incorrect type. Dispose of used batteries
according to the instructions.
When attached battery is completely discharged, plug charger to main body, then reset
the device to check if screen is back on.