12 Owner’s Manual for Snow Blower
General Information and Setup
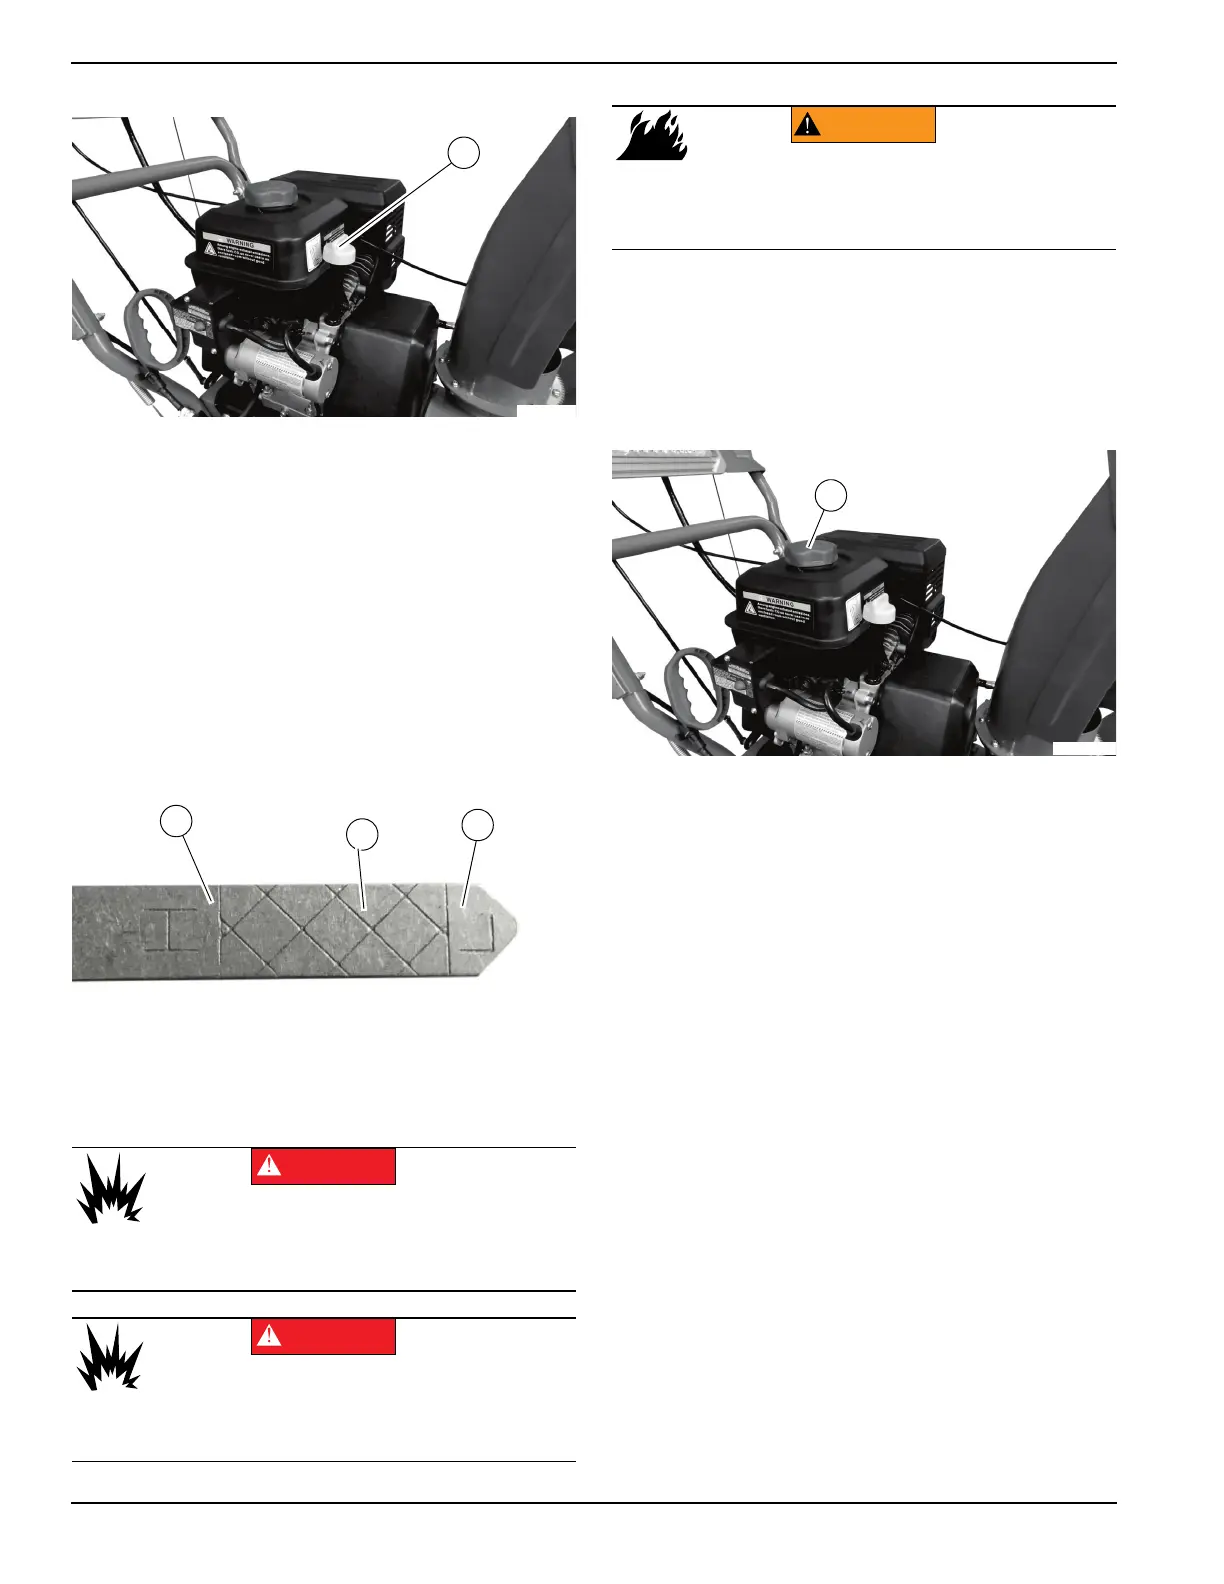
2. See Figure 2-20. Remove oil dipstick/fill cap (A).
Figure 2-20. Oil Dipstick and Fuel Fill
3. Add
17–20 oz (0.5–0.59 L) of oil recommended by
engine manufacturer. Wait one minute for oil to set-
tle.
4. Insert oil dipstic
k/fill cap into oil fill. Do not screw it
on completely.
5. Remove oil dipstick/fill cap and inspect
oil level.
Clean oil dipstick/fill cap with a clean rag after
inspecting.
6. See Figure 2-21. Continue adding a few ounces at
a time, checking the oil dipstic
k/fill cap until oil level
is in hatched area (B) between the bottom of the oil
dipstick/fill cap (C) and H(igh) mark (D). Do not
overfill.
Figure 2-21. Oil Fill Line
7. Replace the oil
dipstick/fill cap and tighten when
complete.
Adding Fuel
(000105)
Explosion and Fire. Fuel and vapors are extremely
flammable and explosive. Add fuel in a well
ventilated area. Keep fire and spark away. Failure
to do so will result in death or serious injury.
DANGER
(000214)
DANGER
Explosion and Fire. Do not fill fuel tank past full line.
Allow for fuel expansion. Overfilling may cause fuel
to spill onto engine causing fire or explosion, which
will result in death or serious injury.
WARNING
Explosion and Fire. Do not smoke while
refueling unit. Failure to do so could result in
death, serious injury, or property or equipment
damage.
(000284a)
NOTE: The unit is shipped without fuel. Fuel must be
added prior to first starting attempt.
Proceed as follows to add fuel:
1. Place un
it on a firm, level surface. Verify engine is
cooled.
2. See Figure 2-22. Remove fuel fill cap (A).
Figure 2-22. Fuel Fill Cap
3. Fill tank w
ith fresh, unleaded fuel with a minimum
85 octane rating to 1–1.5 in (25.4–38.1 mm) below
top of the fill neck to allow for fuel expansion. Do
not overfill.
4. Install fuel fill
cap. Secure tightly.
 Loading...