TECHNICAL SUPPORT: 1.800.283.5936 (USA) OR 1.801.974.3760
ADVANCED OPERATION • PRESET MODE
58
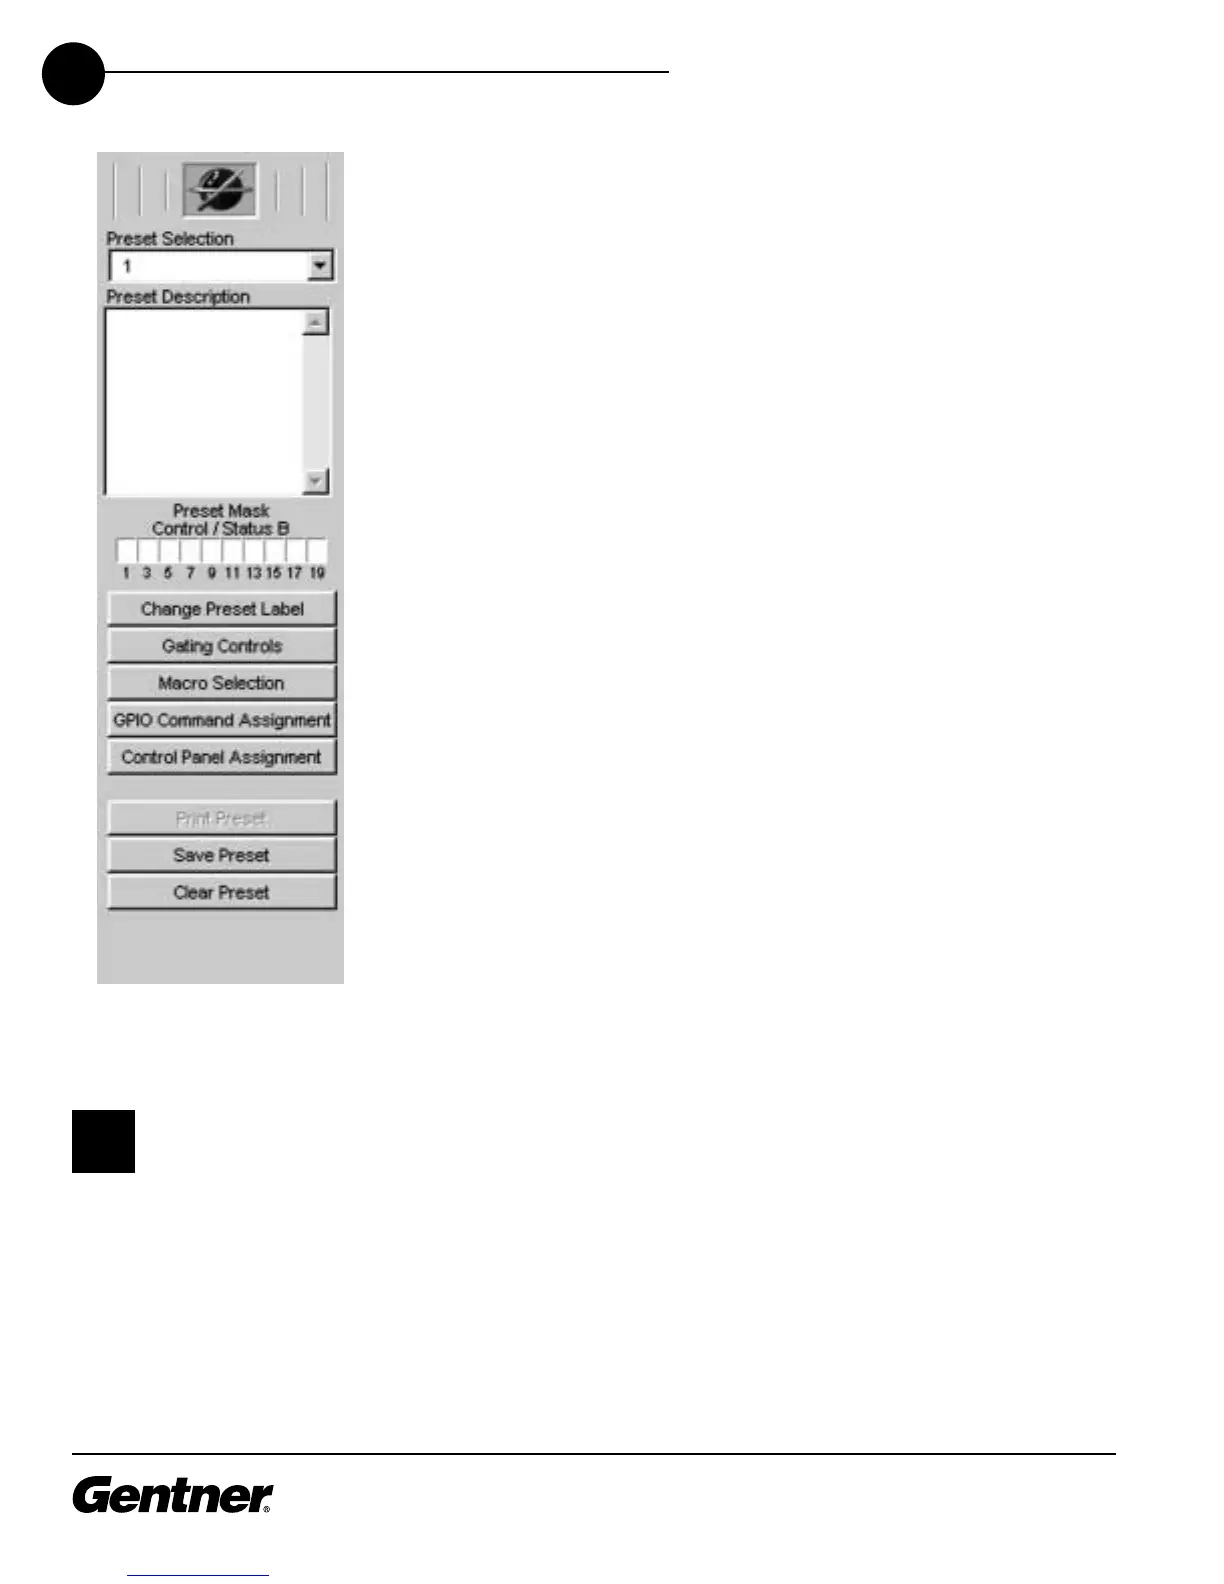
The Preset Configuration window is used for establishing presets to enable you to
make programming changes on the fly. It writes the gate, non-gate, and cross point
settings, as well as any input, output, or processing parameters associated with the
cross points, into a Preset memory. You can establish up to 32 presets, and switch
between them to accommodate changes in room configuration or audio
source(s)—instantly.
A good way to think of presets is to consider each one as a single room
configuration. A preset does not indicate the state of the XAP 800 unit; it
represents a self-contained group of customized parameters that operates
independently of other operations in the unit. This means you can use different
presets for separate sound venues simultaneously without conflicts.
In the Preset mode, the Routing Key is grayed out because no cross points within
the matrix are selectable with the cursor at this point. However, buttons 1-12, O-Z,
and A-H down the left side of the matrix can be selected. Also, the Input, Output,
Expansion Bus, and Processing buttons can be selected.
Begin preset configuration by selecting which preset to configure in the Preset
Configuration pane. Next, configure the Preset Routing Key by establishing the
routing parameters in the matrix.
The number of cross points you select for a preset can be affected by the number
of nested macros you configure for the preset. If you exceed the preset storage
space, G-Ware will alert you when you try to save the preset. You will be asked to
reduce the number of cross point changes or the number of macros in the preset.
As a general rule, if you make cross point changes to three-fourths of the matrix,
you can establish a maximum of 128 nested macros for a given preset.
Click the number (1, 2, 3, etc.) or letter (O, P, Q, etc.) of each input, Expansion Bus,
and processor you wish to place in your first preset. Note that each row selected
becomes white. These highlighted areas reflect the gate, non-gate, and cross point
settings you established in the G-Ware Configuration Routing Key. You can
customize these settings by clicking the boxes you wish to change. As with the G-
Ware Configuration matrix, you can right-click on a box to open the Cross Point
menu, allowing you to set the attenuation level.
When you finish configuring the routing parameters, click the In 1-8 button and set
the Mute, AGC/SL, AEC, Filter, and other controls, as described in the G-Ware
Configuration section. Also configure the other input, output, Expansion Bus, and
processing parameters for the Preset Matrix as described in the G-Ware
Configuration section.
When you have established Preset 1, click Save Preset to save the settings.
Preset Configuration Pane
Stand-alone pre-
sets are config-
urable only for
use within the local
XAP 800 unit. However, if
a preset is part of a
macro, another macro can
be used to activate that
preset in another XAP 800
unit.
✍
 Loading...