TECHNICAL SUPPORT: 1.800.283.5936 (USA) OR 1.801.974.3760
ADVANCED OPERATION • MACRO EDITOR
66
Delete removes the selected macro.
Replace replaces the selected macro with the one you’re editing.
You can also move commands simply by clicking on them and dragging
them to the location you desire.
Note that the pull-down menus below the Insert and Replace buttons
change to reflect editable variables for each command you select in the
Command menu. Also, when you select one of the command variables,
the Argument Description field displays the description. Use these menus
to tailor the macro to suit the requirements of your application(s).
Run Macro runs the selected macro so you can check for problems. The
macro must be saved before you can run it (see Save As and Save below).
Clear Macro erases the macro from the window.
Save As opens the Save Macro window. Here, you select which macro
number you wish to use. Then click Save, which saves the macro and
returns G-Ware to the G-Ware matrix window.
Save saves the macro changes you have made.
Close returns G-Ware to the G-Ware matrix window.
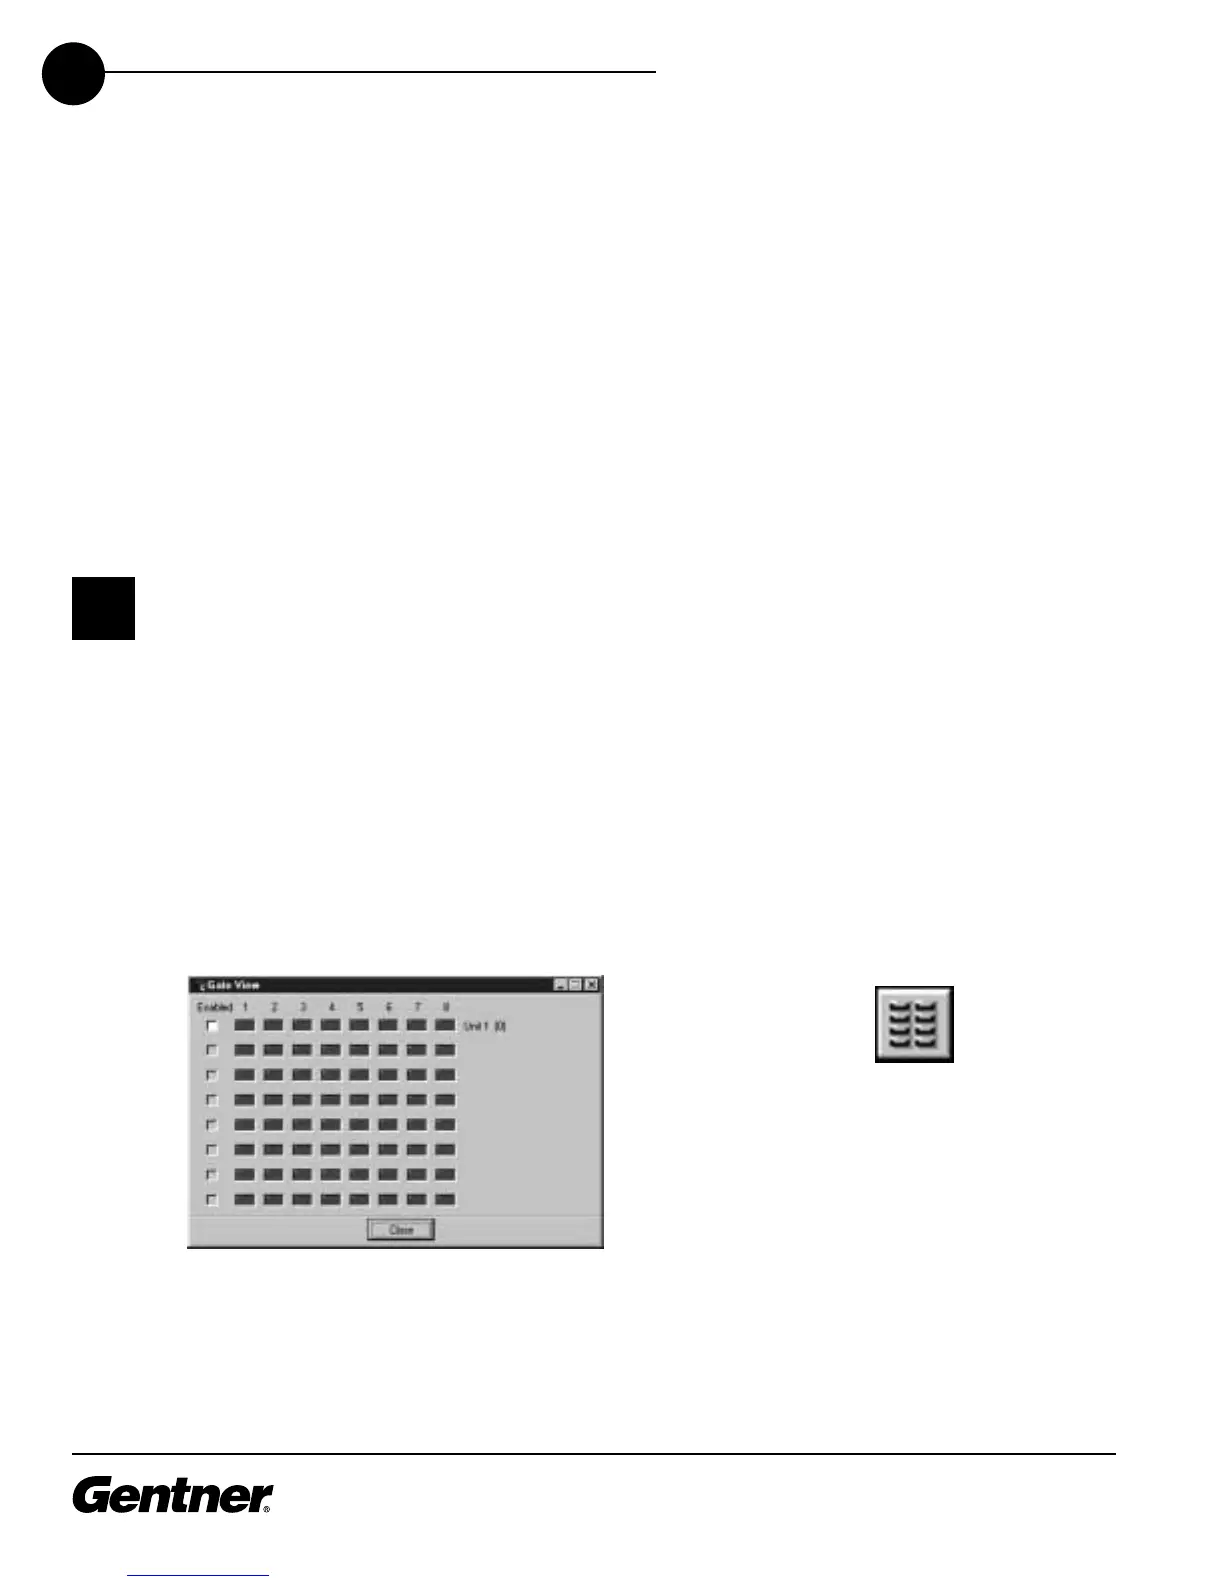
Gate View
The Gating button opens the Gate View window, which allows you to view
gating activity at each mic input.
Gate View Window
Select the Enabled box for each XAP 800 unit you wish to observe
input gating information for. Note that the window shows gating activity
only for units which have been added to G-Ware. The gate indicator for
each input is dark green in the gate-off condition and light green if the
input is gated on. Click Close to save the settings and exit.
Gating Button
An asterisk (*) appears
before the name of a
saved macro.
✍
 Loading...