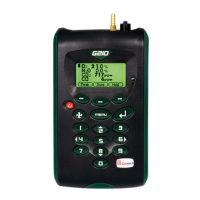
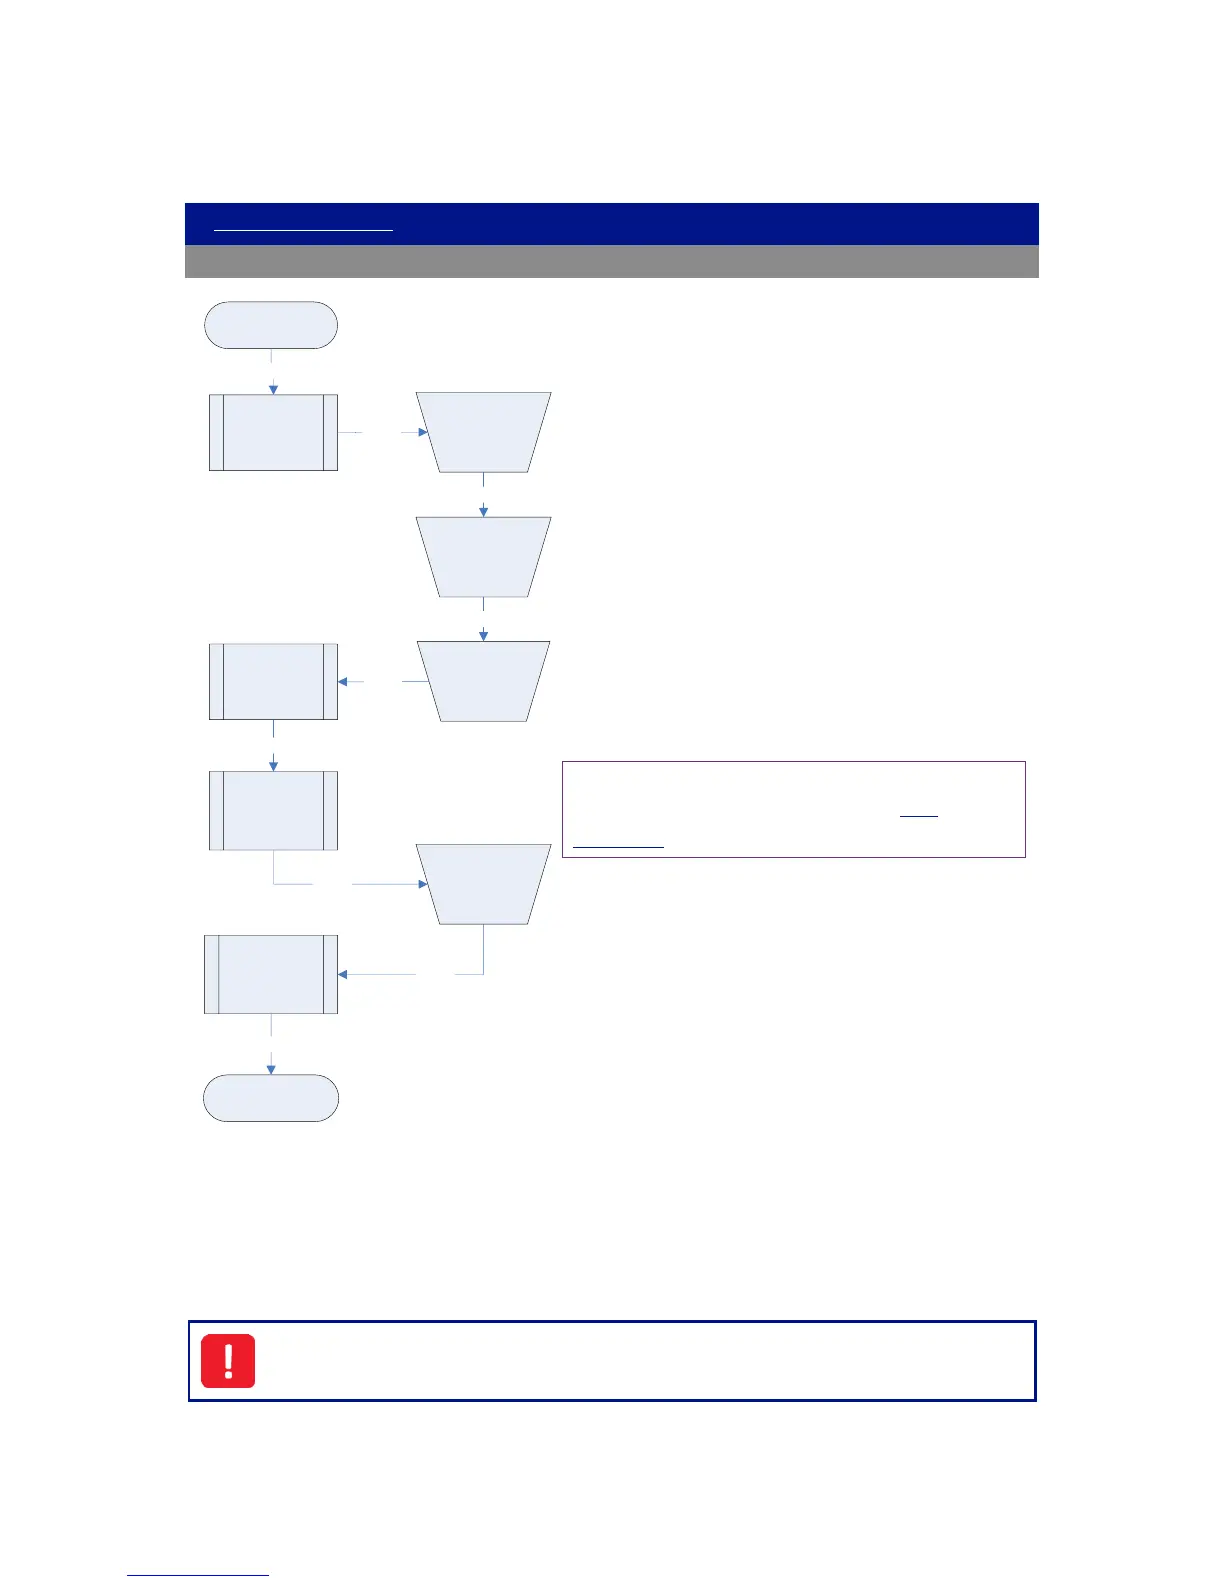
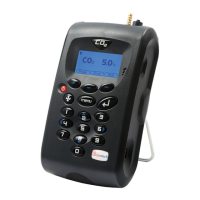
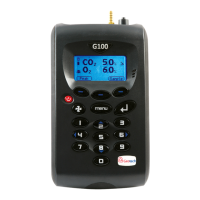
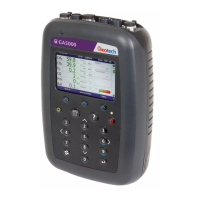
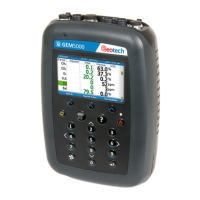
Prior to use, it is good practice to ensure that:
Step 1 The instrument has the correct time and date
set.
Step 2 Check that the sample filter is fitted and that it
is clean and dry.
Step 3 Attach the soda lime CO2 filter (G200 model
only).
Step 4 Attach the pressure regulator (G210 model
only).
Step 5 The battery has a good charge (minimum 25%
charge, even if only a few readings are required).
Step 6 The memory has sufficient space available
(G210 model only).
Step 7 Verify that the main gases have been auto-
zeroed, without gas concentration present.
Note: The unit should be left to reach thermal
equilibrium before zeroing, see note in Zero
Calibration.
Step 8 Verify the span calibration with a known
concentration calibration-check gas.
Step 9 Instrument is ready to take readings.
Do protect the instrument from strong direct sunlight
which will quickly raise the temperature of the
instrument beyond its operating range and the LCD
display will appear almost black. The contrast setting
cannot then alter the contrast.
Do remember to always use the sample filter! If the
sample filter becomes contaminated, change it and
ensure all sample tubes are clean and dry before re-
use.
Do not place the instrument against anything hot as
this may cause excessive internal temperatures, which
can lead to erroneous readings.
Do not get the instrument wet, for example exposure
to rain.