20
GB
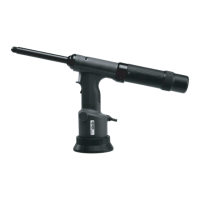
10. Maintenance and care
The complete jaw mechanism must be maintained regularly.
10.1 To clean or change the jaws
• Disconnect the tool from the compressed air supply.
• Unscrew steel head sleeve (No. 2) and clean inside if necessary.
• Use 17 mm and 14 mm open-ended spanners to release jaw housing (No. 3) from lock
activator (No. 16), clean or replace if worn.
• Remove jaws (No. 4), clean and oil sliding surfaces; replace if worn.
• Check jaw pusher (No. 5) for wear; replace if necessary.
• Reassemble the jaw mechanism in reverse order; screw together No. 3 & 16; tighten No. 2.
10.2 To top up oil
• Unscrew steel head sleeve (No. 2) and jaw housing (No. 3).
• With the trigger button (No. 30) pressed, disconnect the riveting tool from the compressed
air supply (air piston in upper end position).
• Undo oil rell screw plug (No. 8) and push lock activator (No. 16) into the rear end
position by hand.
• With supplied rell bottle – t ller piece deep into the tool head – top up oil free of bubbles.
• Moderately tighten the rell screw plug with seal.
• Connect the riveting tool to the compressed air supply.
• Drain off overlled oil by releasing the rell screw plug (No. 8) and then moderately
tighten again.
• Fit jaw housing (No. 3) and, with the trigger button (No. 30) pressed, t and tighten steel
head sleeve (No. 2).
10.3 Storage
• Store the riveting tool in a dry place where there is no danger of frost.
 Loading...