4
Use
Positioning the light
36 / 60
LUCEA 50-100
IFU 01741 EN 11
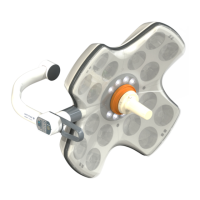
Excisions, incisions, biopsies, sutures
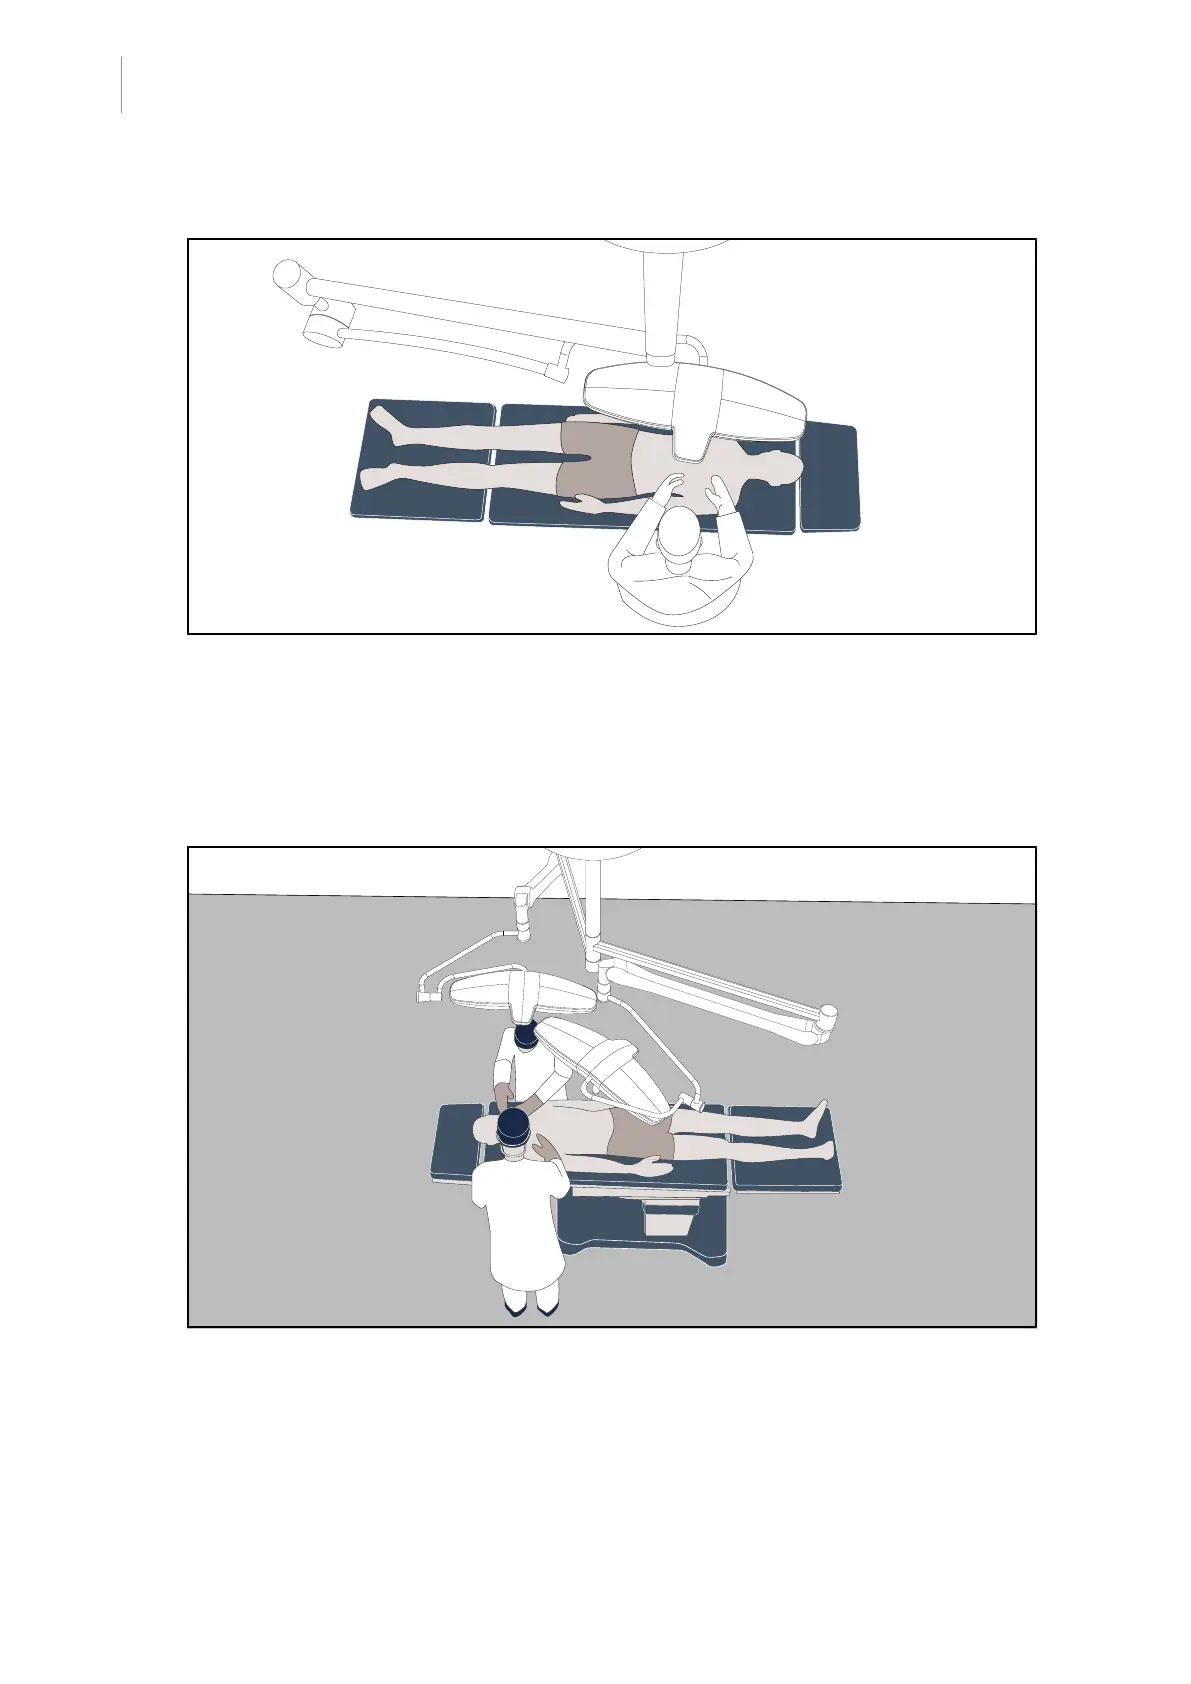
Fig.27: Pre-positioning for excisions, incisions, biopsies, and sutures
• The lighting is positioned perpendicular to the area of interest, taking care not to obstruct the
LEDs with the surgeon's head.
• In the event that the single-fork lighthead is controlled by the sterile team, it is preferable to
position the fork on the side opposite to the operator.
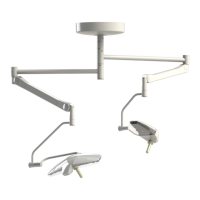
ENT, neurology, stomatology, ophthalmology
Fig.28: Pre-positioning for ENT, neurology, stomatology, or ophthalmology
The lights should be positioned above the area of interest:
• The main lighthead must be perpendicular to the cavity, taking care not to obstruct the LEDs.
This component provides in-depth vision.
• The secondary lighthead must also be tilted so as to point to the cavity. It should preferably
be controlled so as to direct the light beam at different angles inside the cavity.