37
Girard Systems © 2005
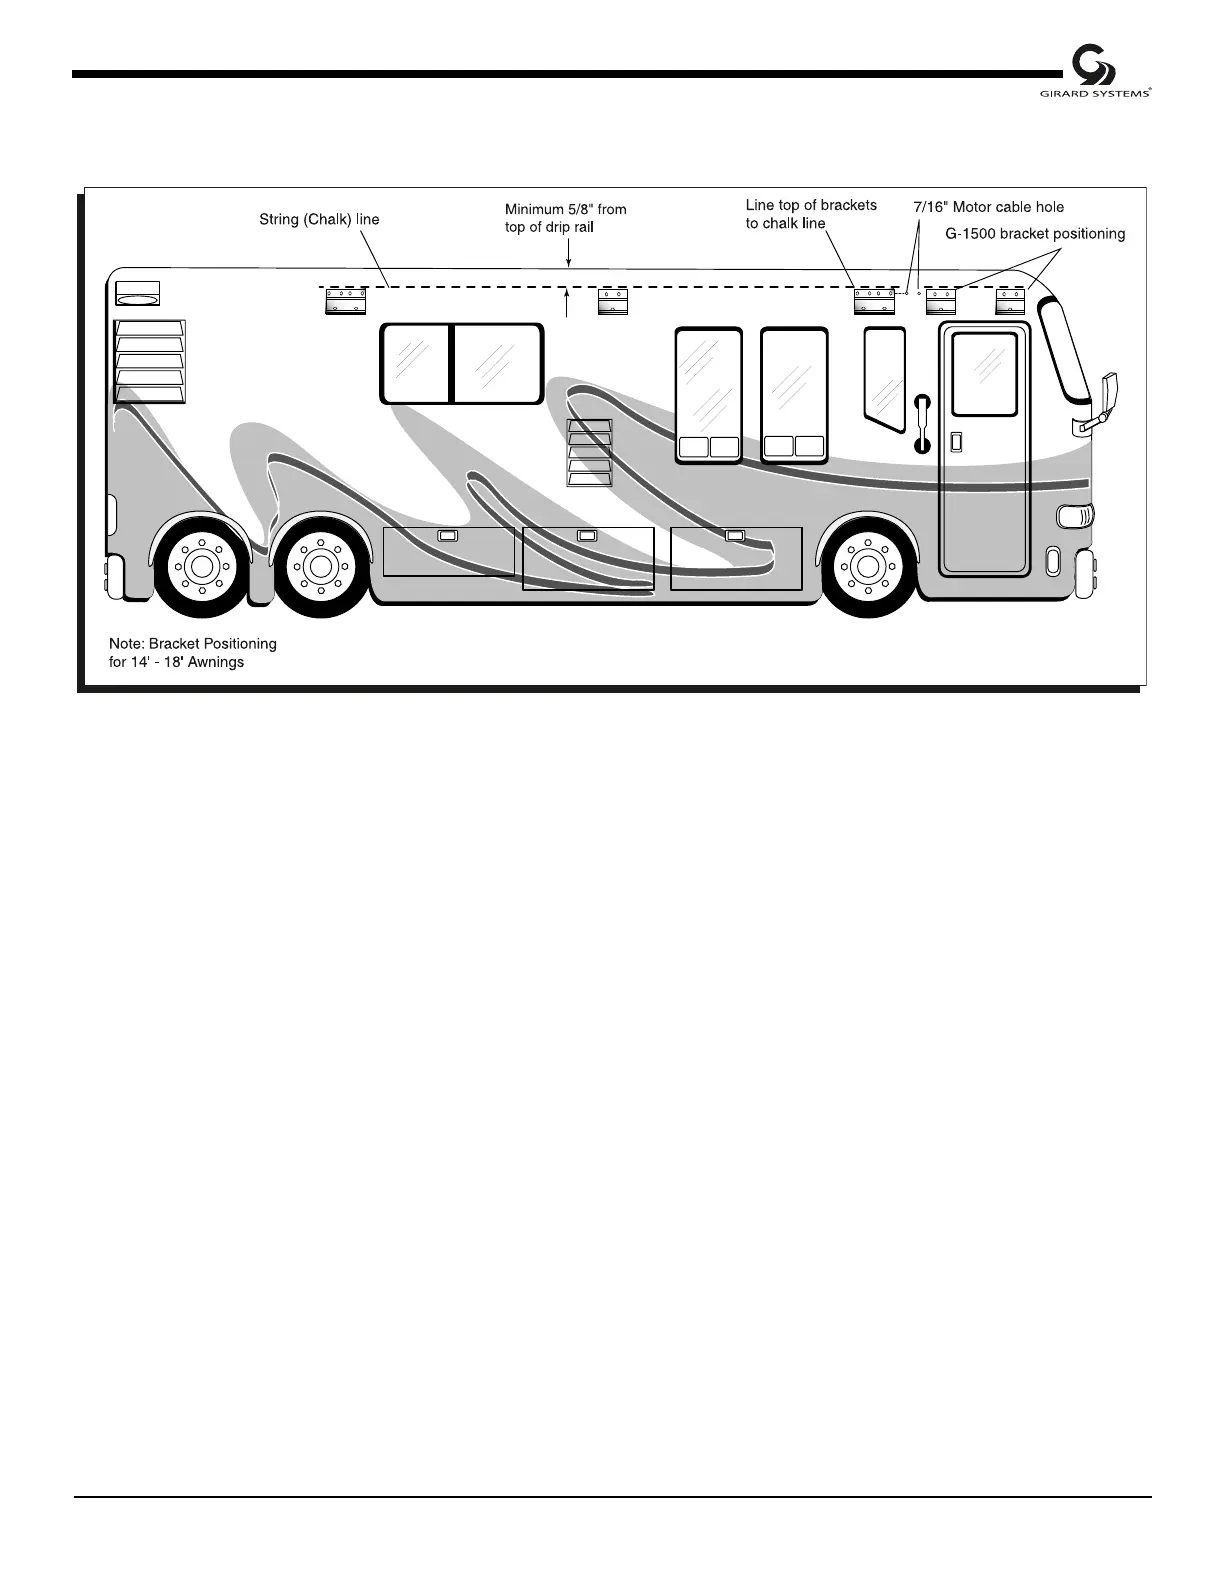
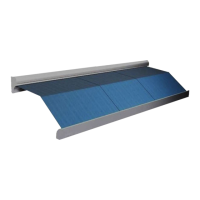
Figure 21
RV Side View
6. Measure location inside RV for placement/attachment of backing plate, washers, and nuts.
Consider accessibility within vehicle; avoid all electrical lines.
7. Pre-drill pilot holes using 1/8" bit (8" long). Inside RV, verify placement and location of
backing plates to be installed.
8. Pre-drill six (6) 7/16" diameter holes per bracket through side of RV.
9. Drill a 7/16" hole for the awning motor cable to enter RV near the electronics.
10. Apply a liberal amount of silicone around each hole prior to installing brackets.
11. Install the two (2) outer brackets first, and the center (small) bracket (if required) last with
six (6) 7/16" diameter (carriage) bolts, washers, and lock nuts, along with two (2) backing
plates per bracket (see Fig. 23).
12. Fasten brackets with 7/16” carriage bolts backing plate’s washers and nuts (see Fig. 23).
13. Silicone top edge and both sides after tightening bolts.