In the figure above, the user extension range is set with a starting extension of 100 and ending at 195. This
allows up to 196 extensions to assign to users. We have also created a conference extension range from 196
to 199, which gives 4 conference bridges. Users can configure any extension range as they desire. Here we’ve
configured it to use three digit extensions with a leading 1.
Click “Save” at the bottom. Then remember to click on “Apply Changes” at the top so that our extension range
will be ready for the next steps.
Batch & Single User Creation
So now that there are extension ranges configured, we can now begin creating users to prepare for the
provisioning process. There are two methods of creating a user. One method would be creating a single user.
The other method would be creating a batch of users.
Steps on Adding Single User
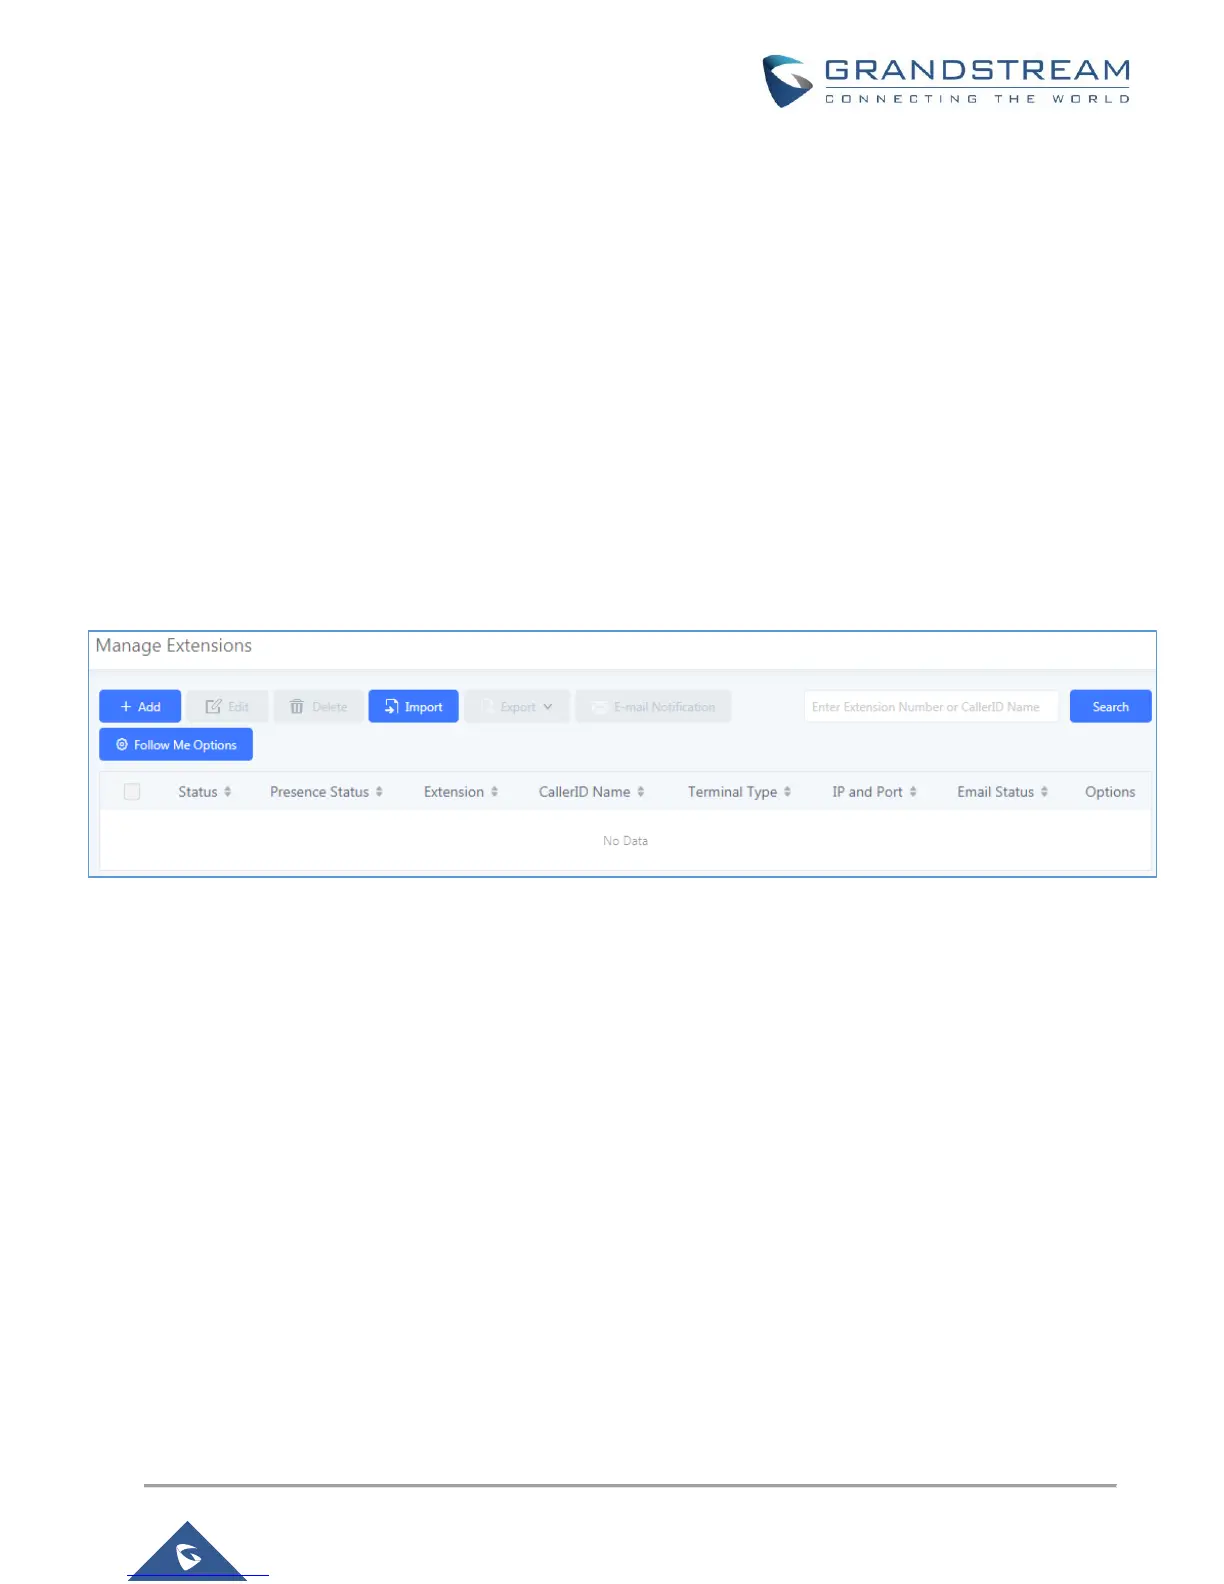
1. Navigate to Extension / TrunkExtensions. For first time setups users will see “No Data”.
Figure 5: Create User Extension – Extensions
2. Click on “Add”.
3. Choose an Extension Type from the “Select Extension Type” dropdown.
4. On the “Create New Extension” screen, users can enter in quite a few options, but they are not required for
this tutorial. Click “Save” at the bottom of the page.
 Loading...