Greenlee Textron / Subsidiary of Textron Inc.
13
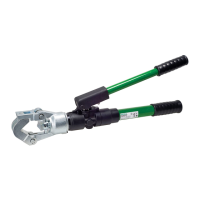
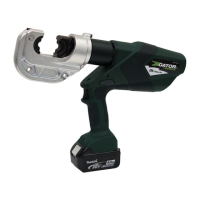
1990 Dieless Hydraulic Crimping Tool
Pressure Release Assembly
1. Assemble O-ring (69) to pressure release shaft (70).
Assemble O-ring (71) to pressure release body (72).
2. Slide shaft assembly into body assembly.
Serial Code YM: Set washer (30) into recess in
pump block.
3. Install spring (73) and 9/32" ball (74) into the pump
block.
4. Assemble pressure release assembly to pump
block. Torque to 8 to 9.25 Newton-meters
(6 to 7 foot-pounds).
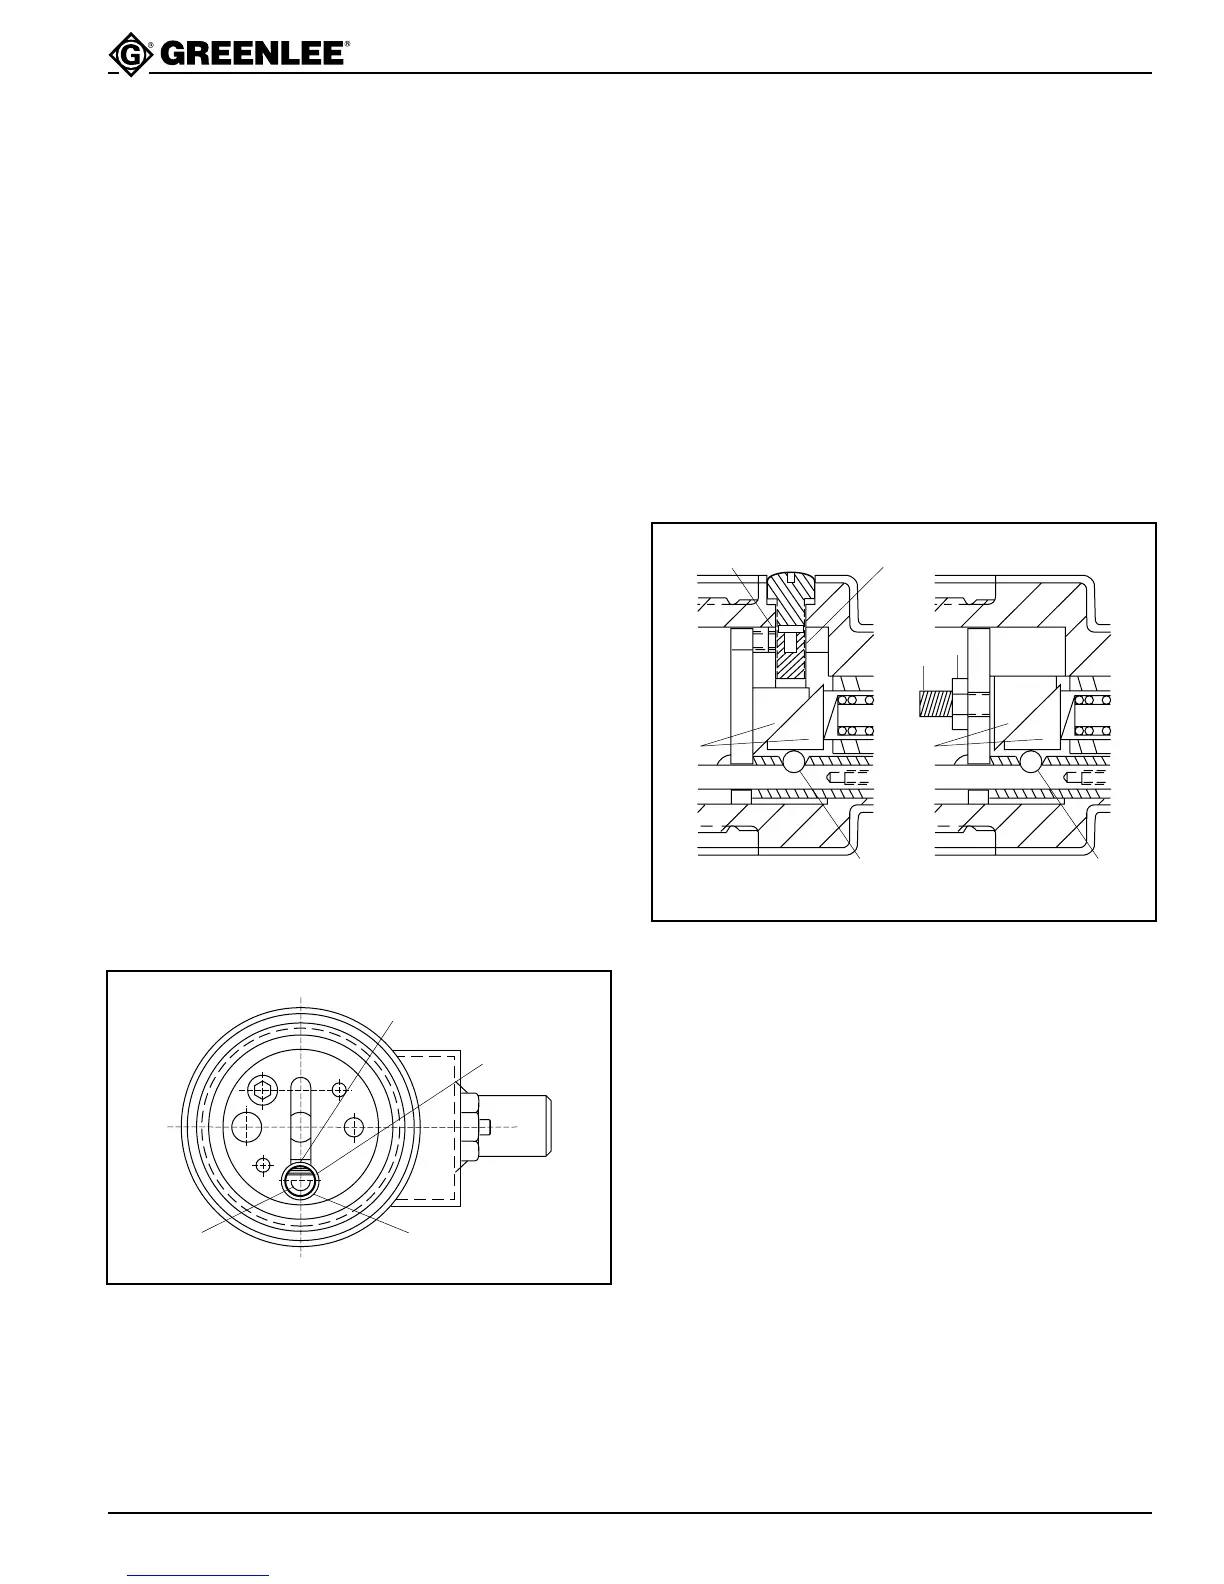
Relief Valve/Pressure Control Assembly
1. Assemble low-pressure relief components:
Serial Code WH: Clamp the pump block in the vise
with the threaded end upward. Install ball (77),
spring (78) and jam screw (79). Turn jam screw
clockwise until it is flush with the surface.
Serial Code YM: Install ball (77), spring (78) and
plug (79) to the side of the pump block.
2. Set the pressure-adjusting valve body (80) on a
hard surface. Insert the valve plunger (81) into the
body. Using a punch and hammer, tap the plunger
with a moderate amount of force to seat it in the
body.
Note: Using excessive force will damage the body.
3. Install the copper washer (82) and relief valve body
(80) to the pump block. Torque to 27.25 to 32.5
Newton-meters (20 to 24 foot-pounds).
4. Insert the roller guide (83) into the pump block. Slide
the stepped rod (84) into the roller guide.
88
84 83
Flat Side
5. Tilt the tool so that the roller guide is at the bottom
side. Insert the valve spring (85) and spring cap
(86).
6. Install relief valve cap (87).
Serial Code WH: Screw the set screw (93) into
valve cap until three or four threads are showing
above the surface. Secure it with the jam screw
(92).
7. Install the roller (88) in the notch of the roller guide
(83).
8. Insert the two slides (89) into the slot against the
roller and spring cap. See the illustration for proper
orientation. Use care so that the roller remains in its
slot.
WH
93
92
88
Notch
YM
92
93
88
Notch
8989
9. Install the relief valve cover (90) and adjust it so
that the stepped rod moves freely. Secure the cover
with two machine screws (91).
Serial Code YM: Install set screw (93) and secure it
with jam nut (92).
Assembly (cont’d)