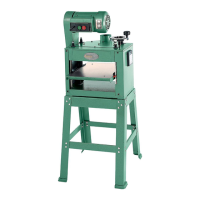
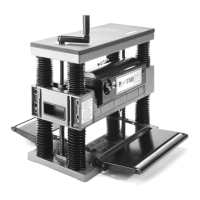
G1037Z 13" Planer/Moulder -15-
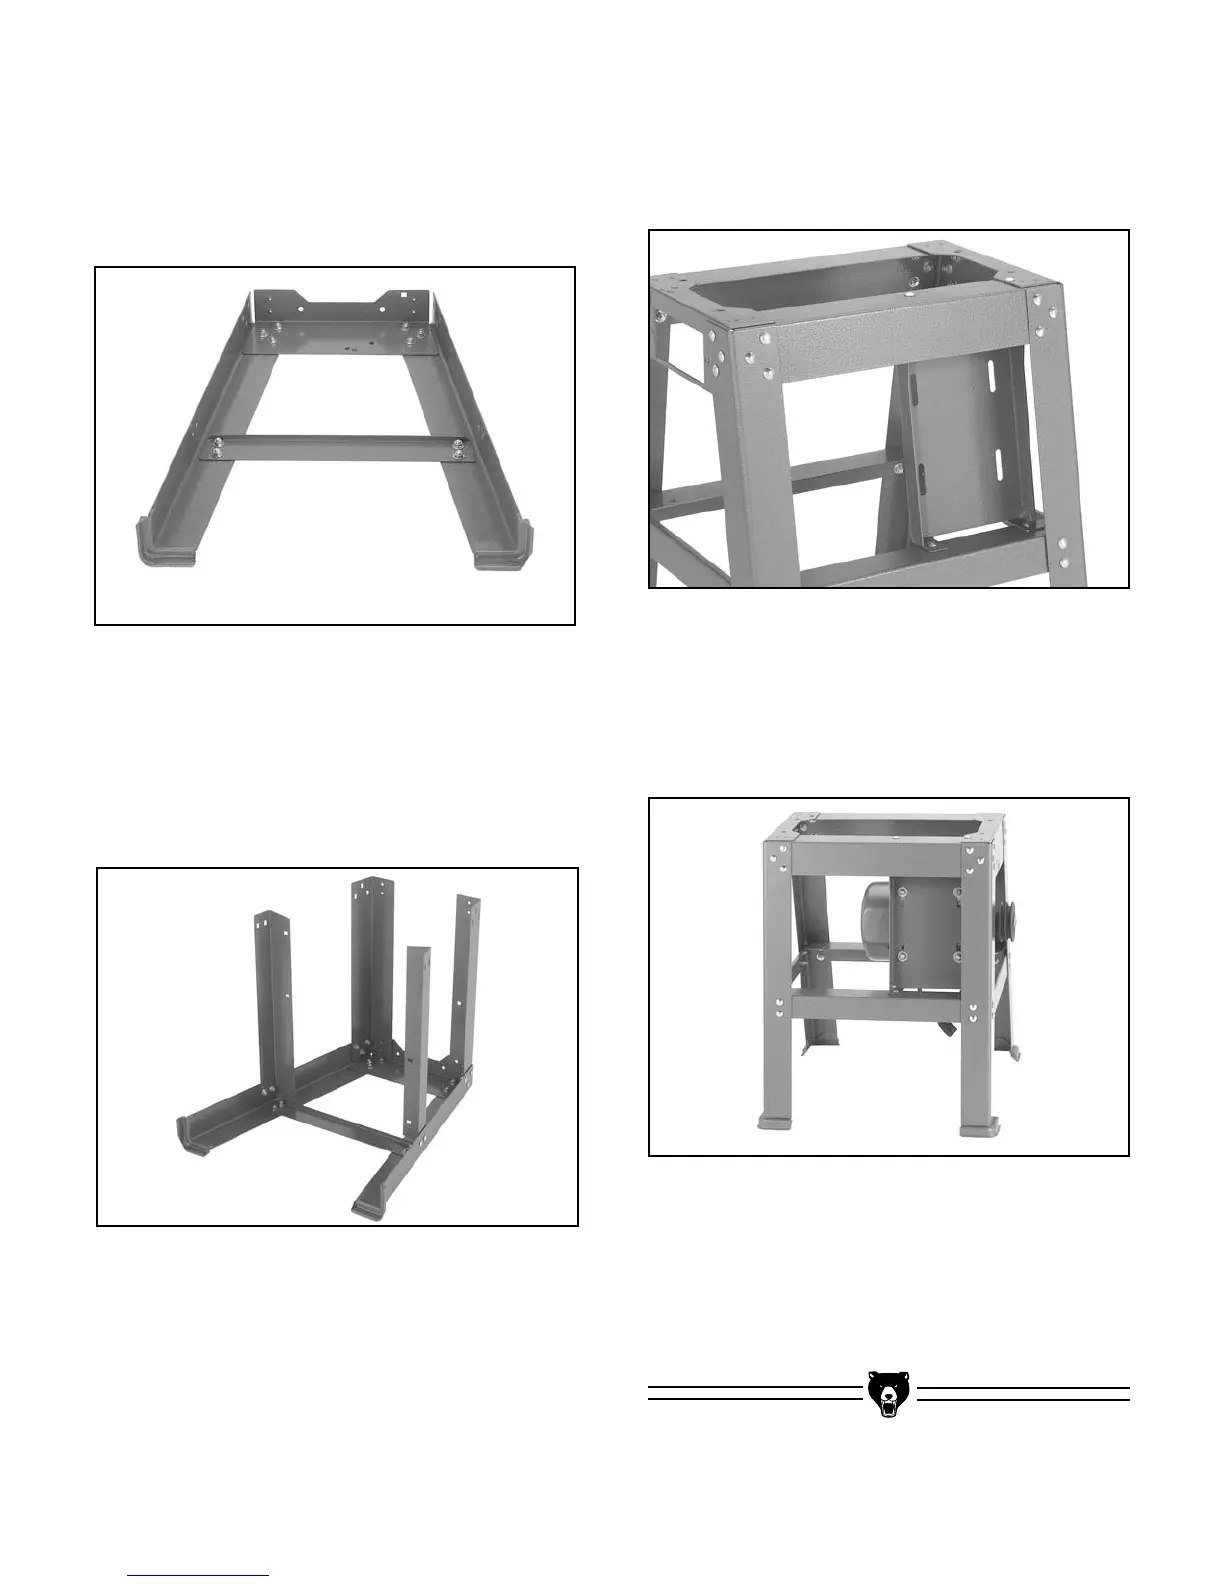
Figure 8. Side braces attached to one of the
stand assemblies.
2. Attach the upper (C) and lower (D) end braces
(2 each) to the inside of the assembled legs
using 10 carriage bolts, 10 flat washers and
10 hex nuts as shown in Figure 8. Note–The
upper side brace (A) overlaps the top of the
upper end brace (C).
3. Bolt the stand assemblies together using 10
carriage bolts, 10 flat washers and 10 hex
nuts. Do not fully tighten the bolts.
4. Attach the motor mount on the end that does
not have a Z series label as shown in Figure 9.
Use 4 carriage bolts, 4 flat washers and 4
hex nuts. Insert the carriage bolts from the
top of the end brace.
Figure 9. Motor mounting plate.
5. Lay the stand assembly down on blocks with
the motor mount on the bottom.
6. Place the motor on the motor mount and line
up the holes. The pulleys must extend
beyond the stand as shown in Figure 10.
Figure 10. Attaching the motor
7. Bolt the motor to the motor mount using the
3
⁄4" carriage bolts, the 4 large flat washers, 4
lock washers and 4 hex nuts. Do not fully
tighten the bolts.
8. Tilt the stand upright.
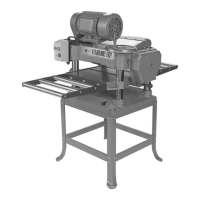
Figure 7. Partially assembled stand.
To assemble the stand:
1. Bolt the upper (A) and lower (B) side braces
to the legs E & F using 20 carriage bolts, with
flat washers and 20 hex nuts as shown in
Figure 7. Do not fully tighten the bolts.
 Loading...