-16-
Components and Hardware Needed: Qty
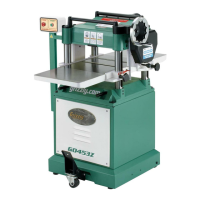
Planer/Moulder Unit ..........................................1
Assembled Stand ..............................................1
Cap Screw M8-1.25 x 20 ..................................4
Lock Washer 8mm ............................................4
Tools Needed:
6mm Hex Wrench ..............................................1
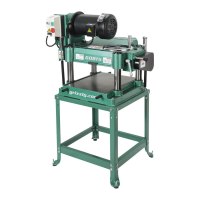
To mount the planer/moulder:
1. Place two 2x4 boards under the cutterhead
of the planer/moulder unit. Note—Make sure
that the boards are long enough so that they
protrude from the planer/moulder at least 16"
on each side.
The planer unit represents a heavy load.
Seek assistance before mounting the plan-
er/moulder.
2. With one person on the end of each 2x4,
carefully lift the planer/moulder unit onto the
stand.
3. Line up the holes in the top of the stand with
the holes under the planer/moulder unit.
4. Attach the planer/moulder to the stand with 4
cap screws and 4 washers.
5. Tighten down the carriage bolts on the stand
that were finger tightened in the previous
section.
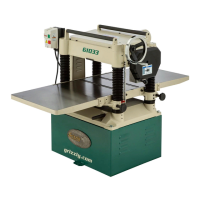
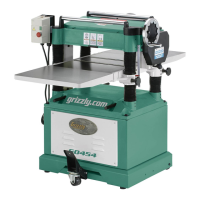
G1037Z 13" Planer/Moulder
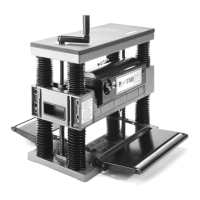
Figure 11. Switch installation.
Components and Hardware Needed: Qty
Switch ................................................................1
Phillips Head Screw M4-.7 x 15 ........................2
Flat Washer........................................................2
Hex Nut M4-.7....................................................2
Tools Needed:
Screwdriver ........................................................1
8mm Wrench (Not included) ..............................1
To install the ON/OFF Switch:
1. Put the female plug through the hole and
place the switch assembly in the stand.
2. Thread the two Phillips head screws through
the switch assembly and stand, and into the
two hex nuts and washers. Hold the nuts on
the inside of the stand with the 8mm wrench
and tighten with the screwdriver as shown in
Figure 11.
3. Connect the male plug from the motor to the
female plug from the switch.
SwitchMounting
Planer/Moulder

 Loading...