-24-
G1037Z 13" Planer/Moulder
Components and Hardware Needed: Qty
Moulding Knives (Not included)........................3
Tools Needed:
Hex Wrench 4mm ............................................1
Drift ..................................................................1
“L” Gauge..........................................................1
Moulding cutter knives are available in many
sizes and profiles in the Grizzly catalog. Knives
that are larger than 2" wide are generally
1
⁄4" thick
and come with their own set of gibs. The knives
that are less than 2" wide will be
1
⁄8" thick and use
the included gibs.
Moulding knives and planer knives are
extremely sharp. Handle with care.
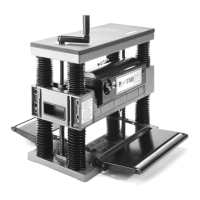
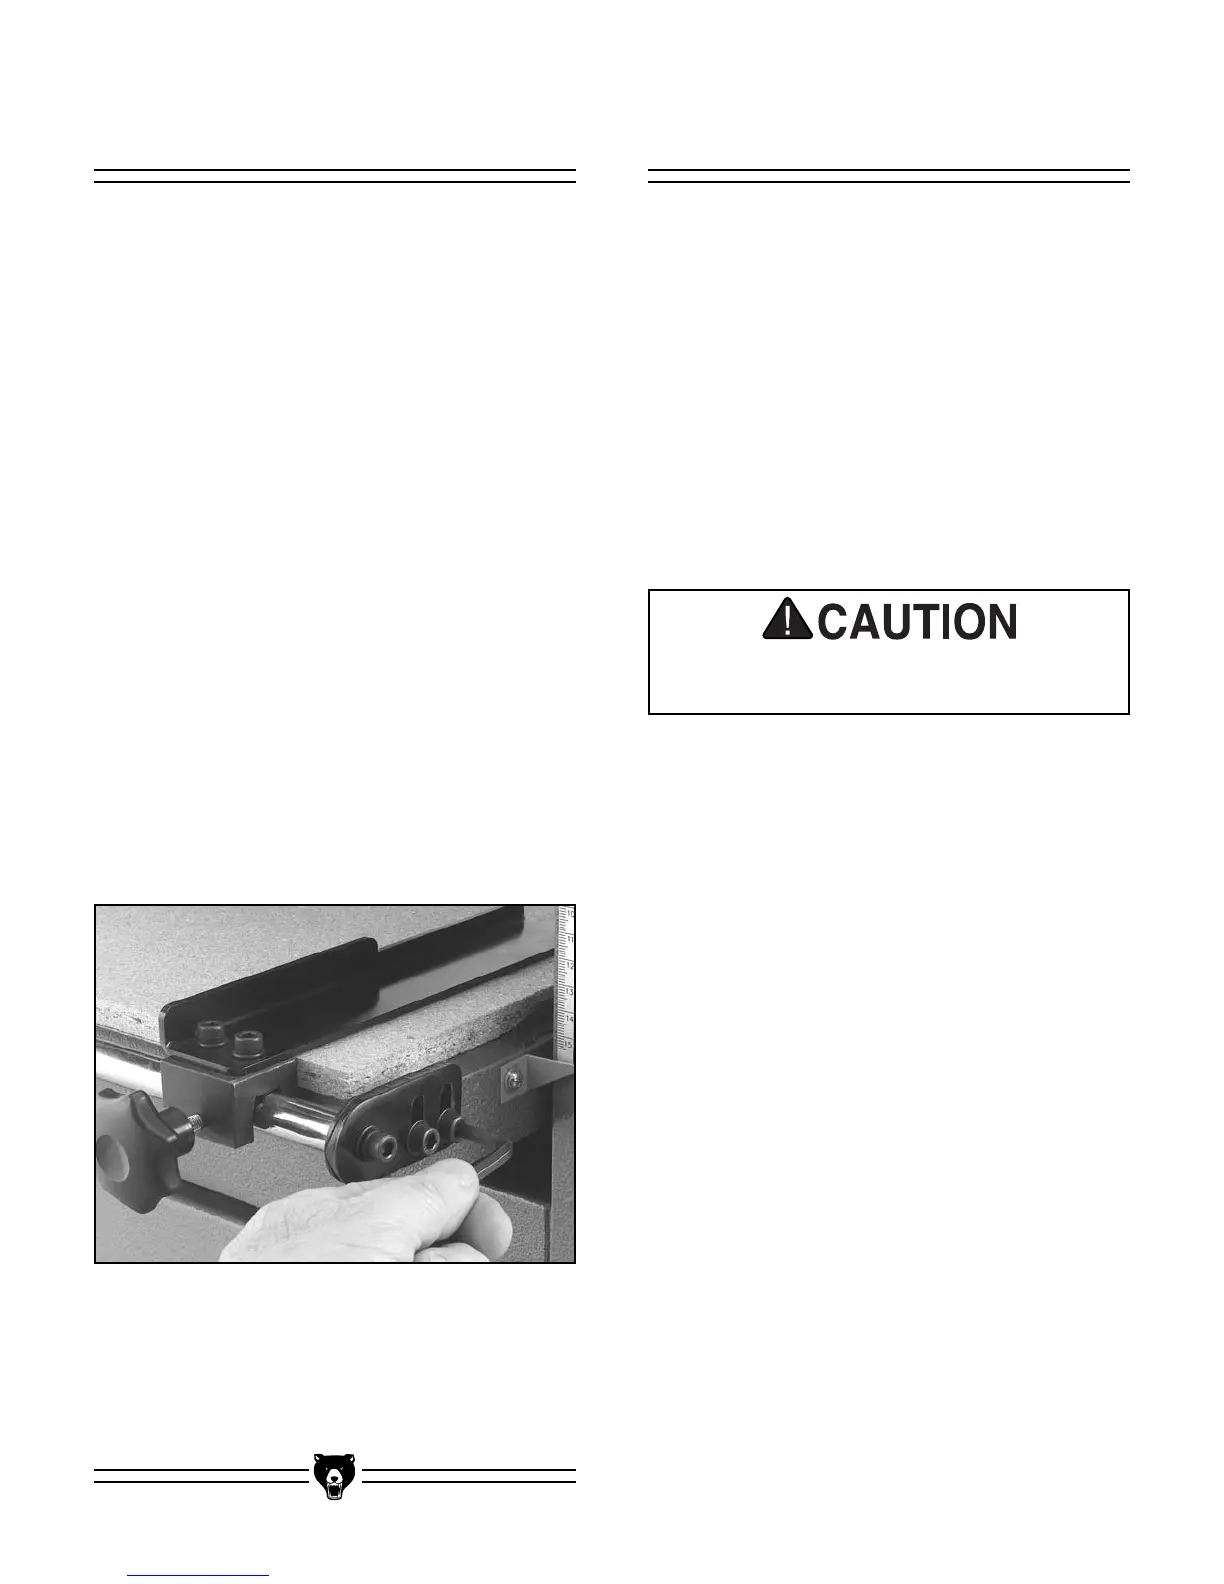
Figure 19. Fence rod brackets
Components and Hardware Needed: Qty
1
⁄4" to
1
⁄2" Plywood or MDF (Not included) ..........1
1
⁄2" Screws (Not included) ..................................4
Washers (Not included) ....................................4
Tools Needed:
Screwdriver ........................................................1
Saw (Not included) ............................................1
5mm Hex Wrench ..............................................1
A bedboard is essential to prevent the moulding
knives from coming into contact with the work
table and damaging the moulding knives, cutter-
head, and work table.
To build the bedboard:
1. Cut
1
⁄4" -
1
⁄2" thick plywood or MDF that has a
smooth surface to 13"W x 17
3
⁄4"L.
2. Center the bedboard on the work table.
Fasten the bedboard to the work table from
underneath with the screws and washers.
3. Loosen the fence rod brackets shown in
Figure 19 and slide the brackets up. Finger
tighten the cap screws.
4. Install the fence rails.
5. Adjust the fence rod brackets until the fences
lie flat on the surface of the bedboard and
tighten the cap screws.
Moulding KnivesBedboard
To install the moulding knives:
1. Disconnect the machine from the power
source!
2. Loosen the wing nuts holding the chip guide
and slide the chip guide towards the infeed
side of the planer/moulder. Tighten the wing
nuts.
3. Remove the dust collection assembly and
the chip deflector.
4. Set the feed speed to 12 FPM. (See pg 22)
5. Loosen the set screws that secure the gibs
with the 4mm Hex wrench. If you are using
moulding knives that are smaller than 2" only
loosen the gibs on the center section. For
moulding knives larger than 2" loosen all the
gibs in the cutterhead slot.
 Loading...