6. Starting up the product
1. Fill the system with liquid and vent it.
2. Make sure the required minimum inlet pressure is available at
the pump inlet.
3. Switch on the power supply.
4. Check if the external controller sends a signal to the pump.
You can change the settings on the operating panel or via Grundfos
GO. We recommend to follow the guided setup in Grundfos GO.
Related information
6.1 Venting the product
7.1 Operating panel
9.2 Connecting the product to Grundfos GO
6.1 Venting the product
Small air pockets trapped inside the pump may cause noise when
starting up the pump. However, because the pump is self-venting
through the system, the noise ceases over a period of time. We
recommend venting the pump in new installations or when the pipes
have been emptied and refilled with water. You can vent the pump
via Grundfos GO.
• If you follow the guided setup, you are asked if you want to vent
the pump now.
• If you do not follow the guided setup, you can access the
venting settings via the Settings menu.
The pump must not run dry.
You cannot vent the system through the pump.
Related information
6. Starting up the product
7.1 Operating panel
9.2 Connecting the product to Grundfos GO
6.2 Dry-running protection
The dry-running protection protects the pump against dry running
during startup and normal operation.
Startup
If water has not been detected before (new pump), the pump does
a detection cycle to verify that water is present. If water is not
detected during the first cycle, the pump retries several times.
If water is still not detected, the pump stops, the warning and alarm
symbol on the operating panel is flashing red and the error code E4
is displayed on the operating panel.
Normal operation
If dry running is detected during normal operation, the pump retries
several times. If dry running continues, the pump stops, the warning
and alarm symbol on the display is flashing red and the error
code E4 is displayed on the operating panel
The pump can be restarted by pressing the Selection button on
the pump. The pump repeats the dry-running detection every 25
hours to verify that the pump is not running dry. Note: The pump
can sustain 25 hours of dry-running operation.
6.3
Robust start
The non-magnetic shaft and bearings reduce the risk of blockages
from dirt or magnetite, while the bearing system helps prevent
limescale build-up. In the unlikely case of a blocked pump, the
motor continuously attempts to start at the highest possible torque,
ensuring startup in tough conditions.
7. Control functions
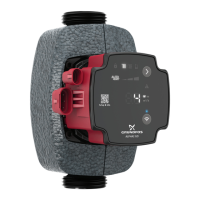
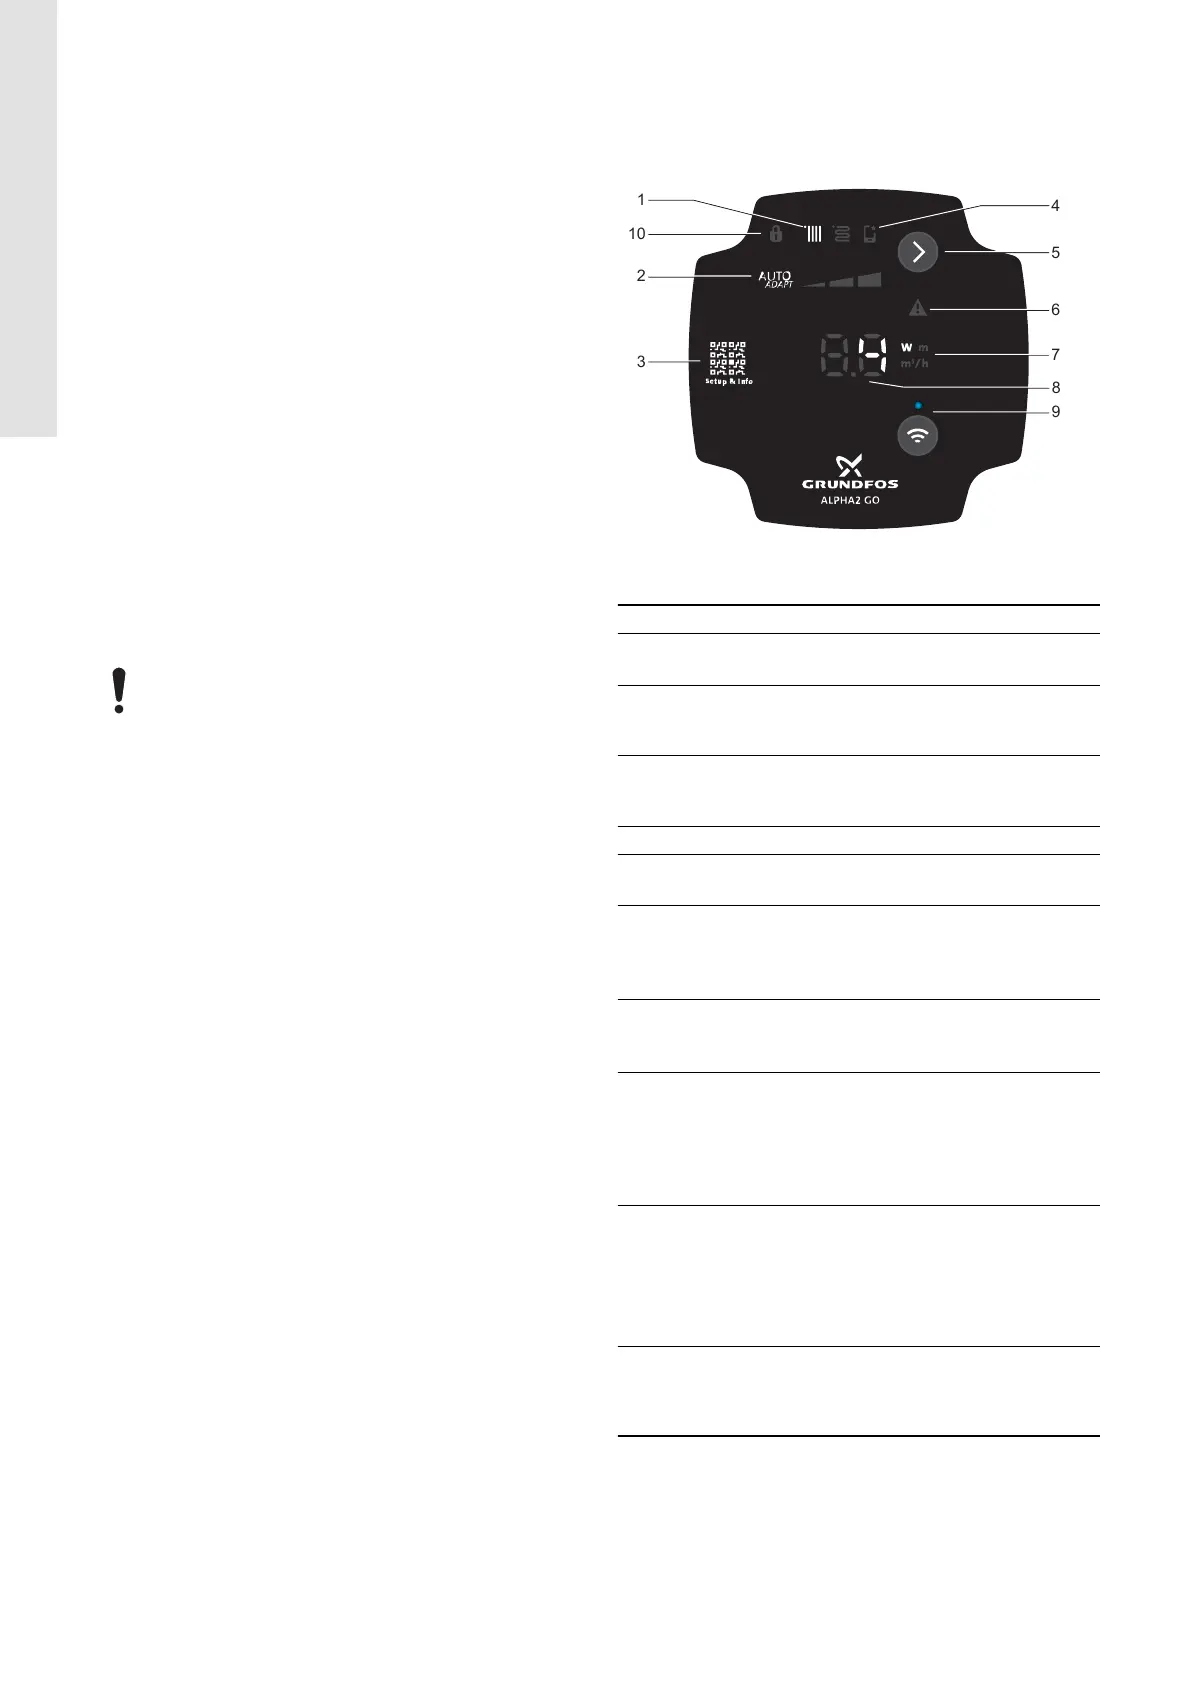
7.1 Operating panel
LEDs and buttons on the pump display.
TM087129
ALPHA2 GO
Pos. Description
1
Control mode
The LED shows the operating mode of the product.
2
Settings for the selected control mode
Use the Selection button to toggle between I, II, III and
AUTOADAPT.
3
QR code
The QR code links to information about the pump and
how to set it.
4 If lit, the pump has been set via Grundfos GO.
5
Selection button
Use this button to select control mode and settings.
6
Warning and alarm
A warning is indicated with yellow, and the pump
continues operation.
An alarm is indicated with red, and the pump stops.
7
Unit
The LED shows the unit used for the number to the
left. W = watt, m = metre, m
3
/h = cubic metre per hour.
8
The LED indicates:
• power consumption [W]
• head [m]
• flow rate [m
3
/h]
• error code
9
Connect button
Use this button to activate and deactivate the wireless
Bluetooth connection.
• Press the button once to activate Bluetooth.
• Press and hold the button for 15 seconds to
deactivate Bluetooth.
10
Lock
The LED indicates that the operating panel is locked and
no buttons can be used. The operating panel can only be
locked and unlocked via Grundfos GO.
Related information
6. Starting up the product
6.1 Venting the product
7.1.1 Overview of LEDs
8. Control modes
9. Setting of the product
12
English (GB)