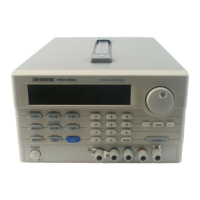
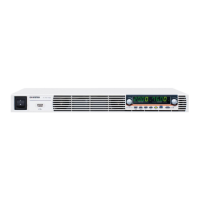
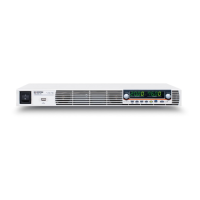
PSH Overview
17
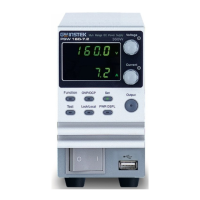
5 Vset/ Iset/
Enter key
Switches between voltage setting mode and
current setting mode, or confirm the entered
value in the menu mode (see page44).
Vset (edit Voltage)
OCP
SET 2
.58V 2.01A
Iset (edit Current)
OCP
SET 2.58V 2
.01A
6 F/C (Fine/
Coarse) key
Switches the editing location and resolution:
before (coarse) or after (fine) the decimal point.
Fine (after decimal)
OCP
SET 2.58
V 2.01A
Coarse (before decimal)
OCP
SET 2
.58V 2.01A
7 Menu key
Enters into the menu mode. For details, see
page44.
Default mode
OCP OUT
CV 2.58V 2.01A
Menu mode (OVP setting)
Set OVP
* 21.10V
8 Local key
Switches from remote control mode to local
operation mode (page56), OR releases OVP/OCP
error messages and go back to normal operation
(page37), OR enters the calibration mode when
pressed for more than 5 seconds (page61).
Error message example
OCP Error! Press
“Local” to reset
Calibration mode
Calibration
Voltage
PSH User Manual
18
Rear Panel
1 Ground
Terminal
Connect the output line shield (page25) and
the remote sensing line shield (page32).
2 Output
Terminal
Connect DUT (Device Under Test). For details,
see page24.
3 Sense Terminal
Connect the feedback line to compensate for
cable loss. For details, see page24 (theory),
page32 (cable connection).
4 RS232/ GPIB
Terminal
Connect the remote control line. For remote
control details, see page52. GPIB requires an
optional module. For installation details, see
the service manual.
Note: Only one interface module (RS232 or
GPIB) can be installed at a time.
5 AC input
Terminal
Connect the AC power input cable. For
details, see page22.
 Loading...