11
Mounting the switch on a wall
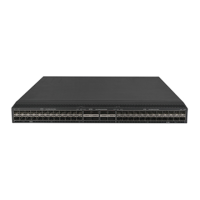
1. Affix the installation positioning sticker horizontally to the wall with the arrow on it facing
downwards.
Figure 5 Installation positioning sticker
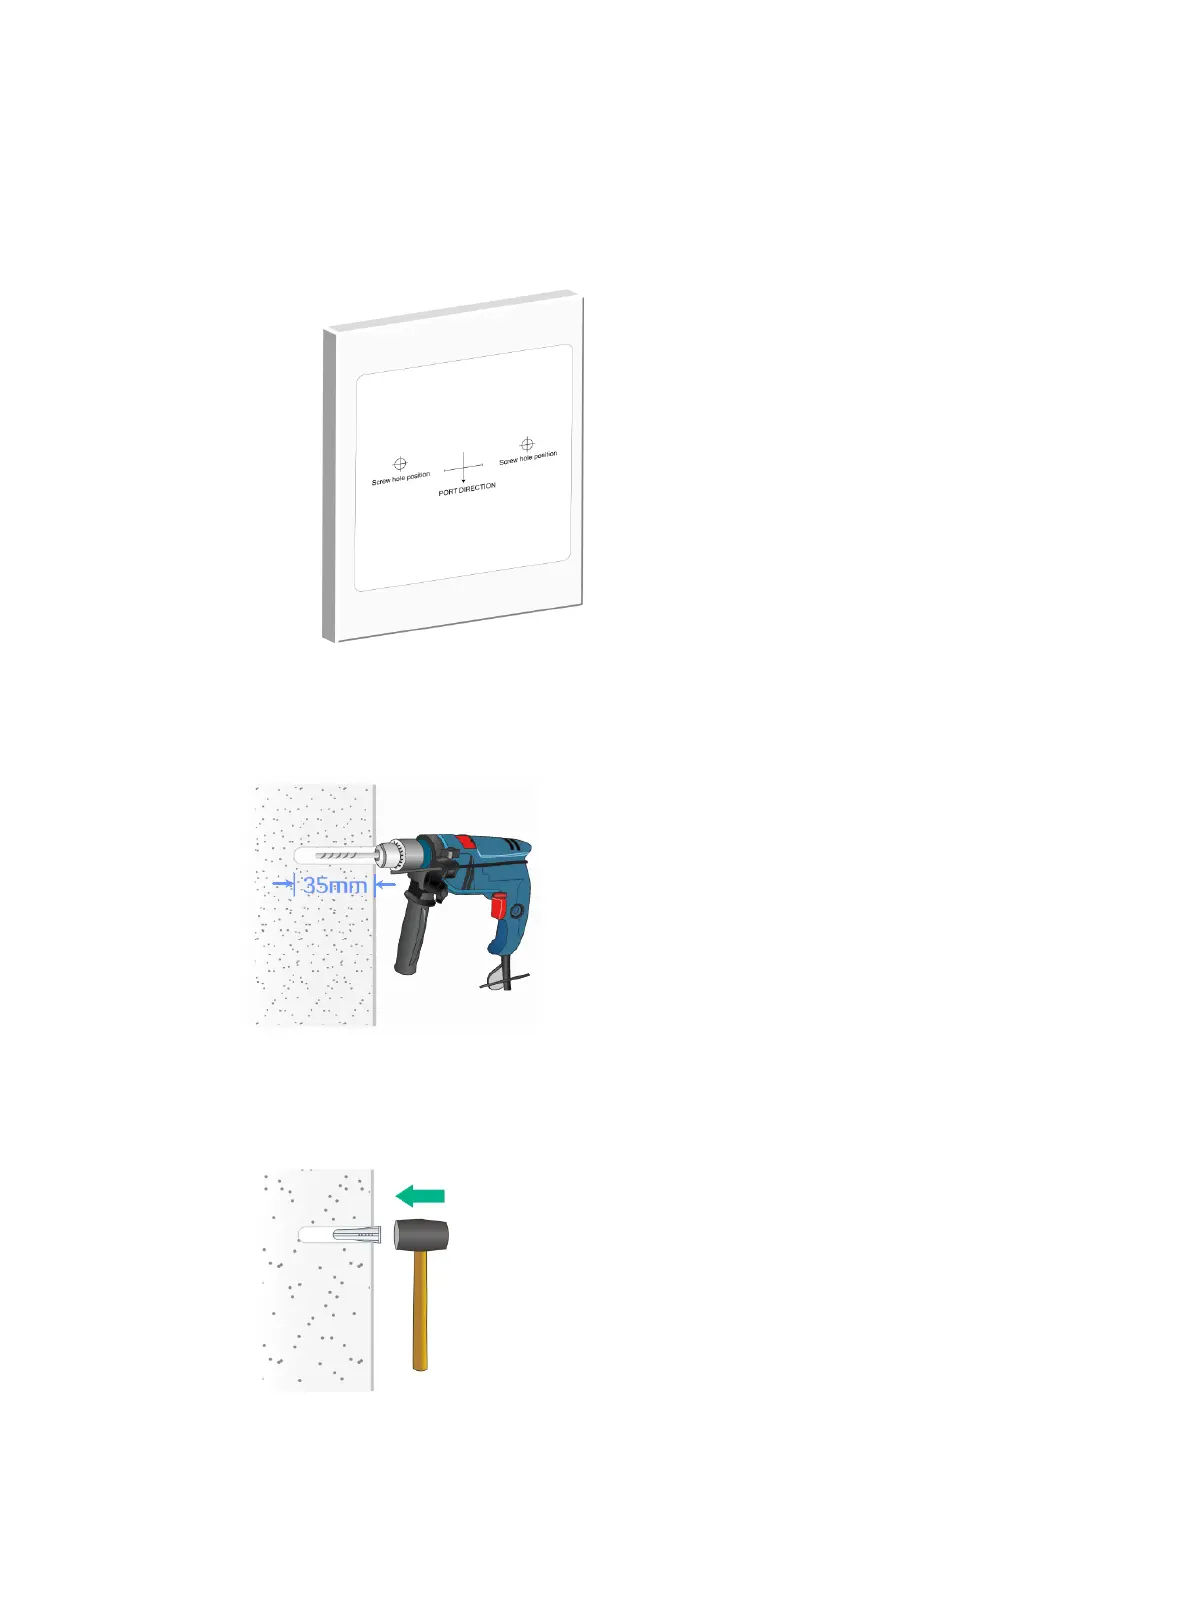
2. Drill two holes with a diameter of 6 mm (0.24 in) and a depth of 35 mm (1.38 in) at the screw
hole locations on the positioning sticker, and then remove the positioning sticker.
Figure 6 Drilling holes on the wall
3. Insert a screw anchor into each hole, and tap the screw anchor with a rubber hammer until it is
all flush with the wall surface.
Figure 7 Securing the screw anchors
4. Fasten a screw into each screw anchor. Leave 3.5 to 5 mm (0.14 to 0.20 in) between the screw
head and the wall for hanging the switch.

 Loading...