16
●こて先について
1 こて先温度
必要以上に高い温度でのご使用は、こて先の劣化を
早め、熱に弱い部品にダメージを与えることがあり
ます。はんだ付けの場合には常に、可能な限り低い
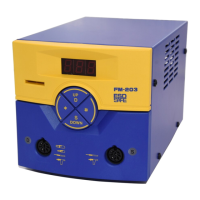
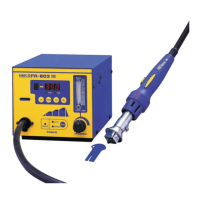
温度を使用してください。ハッコー FM-203 はこ
て先の温度回復力が優れているため、低めの設定温
度で十分に作業が可能です。
7.メンテナンス
2.クリーニング
はんだ付けの前に、ハッコー 599B こて先クリー
ナー , またはきれいな湿らせたクリーニングスポン
ジ ( 品番 A1536) を用いてこて先に付着している古
いはんだやフラックスを取り除いてください。こて
先に付着した不純物は、はんだ付け不良の原因とな
り、またこて先の熱伝導が悪くなるためこて先温度
を上げねばならず、こて先と基板を傷めることにな
ります。
3.終了後
使用後、こて先をきれいにし、こて先の酸化を防ぐ
ため新しいはんだで先端を覆ってください。
4.中断(オートパワーシャットオフ
機能を使用していない時)
こてを高温にして、長時間無負荷状態のままにし
ないでください。こて先のはんだメッキが酸化さ
れてしまいます。長時間使用しない時は電源スイッ
チを切ってください。数時間使用しない場合には、
電源プラグも抜いてください。
5.メンテナンス
a.温度を 250℃に設定します。
b.温度が安定したら、クリーニングスポンジまた
はクリーニングワイヤーでこて先をぬぐい、こ
て先を点検します。ひどい磨耗や変形がある場
合には、交換してください。
c.こて先のはんだメッキ部分が黒い酸化物で覆わ
れている場合には、フラックスを含んだ新しい
はんだを送ってもう一度こて先をクリーニング
してください。酸化物が取れるまでこの作業を
繰返し、その後こて先を新しいはんだで覆って
ください。
注意
d.電源を切り、耐熱パッドを使ってこて先を外し、
冷ましておきます。
e.こて先軸の黄色い変色など残留酸化物は、アル
コールなどでふき取ってください。
酸化物を除去するためにこて先を決してやすりで削らな
いでください。
67
To change the off set value with the
control card in the station:
●
Press and hold the
button for at least one
second.
The current offset value is displayed, and
then the hundreds digit begins to flash one
second later. This indicates that the station
has entered the off set entry mode.
Follow steps 3 and 4 of page 10 for setting
the off set value of the tip temperature.
●
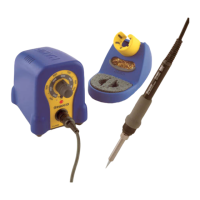
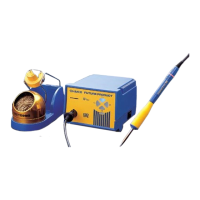
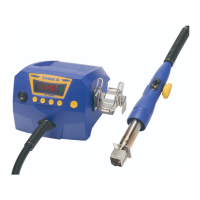
Replacing the tip
CAUTION
The tip may be hot. Avoid holding the hot tip for a long time even if using the heat-resistant pad. Otherwise burns may result.
Removing the tip:
●
Hold down the lock release buttons in the
sleeve assembly, pull out the tip together with
the sleeve assembly from the connector.
CAUTION
• Be sure to keep the lock release buttons held down
while pulling out the sleeve assembly. Failure to do so will
damage the locking mechanism.
• Be sure to pull out the tip only after separating the sleeve
assembly from the connector. Otherwise, the sleeve
assembly may fall down and break.
●
While holding the front end of the sleeve
assembly, pull out the tip.
Inserting the tip:
●
Holding the front end of the tip, insert it into
the sleeve assembly.
CAUTION
Insert the tip into the sleeve assembly until it clicks into
place. When you hear it clicks, avoid forcing the tip into the
sleeve assembly.
●
Insert the tip securely into the connector.
NOTE:
Improper insertion of the tip will cause to appear
on the display.
Remove the tip from the connector while pressing this part.
Hold the front part of the sleeve assembly to remove the tip.
Hold this part to insert the tip into the sleeve assembly.
Hold this part to insert the tip into the connector.
CAUTION
When holding the head of the tip, there is a danger of burn.
Be sure to use the heat-resistant pad.
NOTE:
• If the
button is not pressed and held for at least one
second, the current set temperature is displayed, and
then the tip temperature is displayed.
• The default off set value is 0.
English
中文 日本文
日本文 中文
English