52
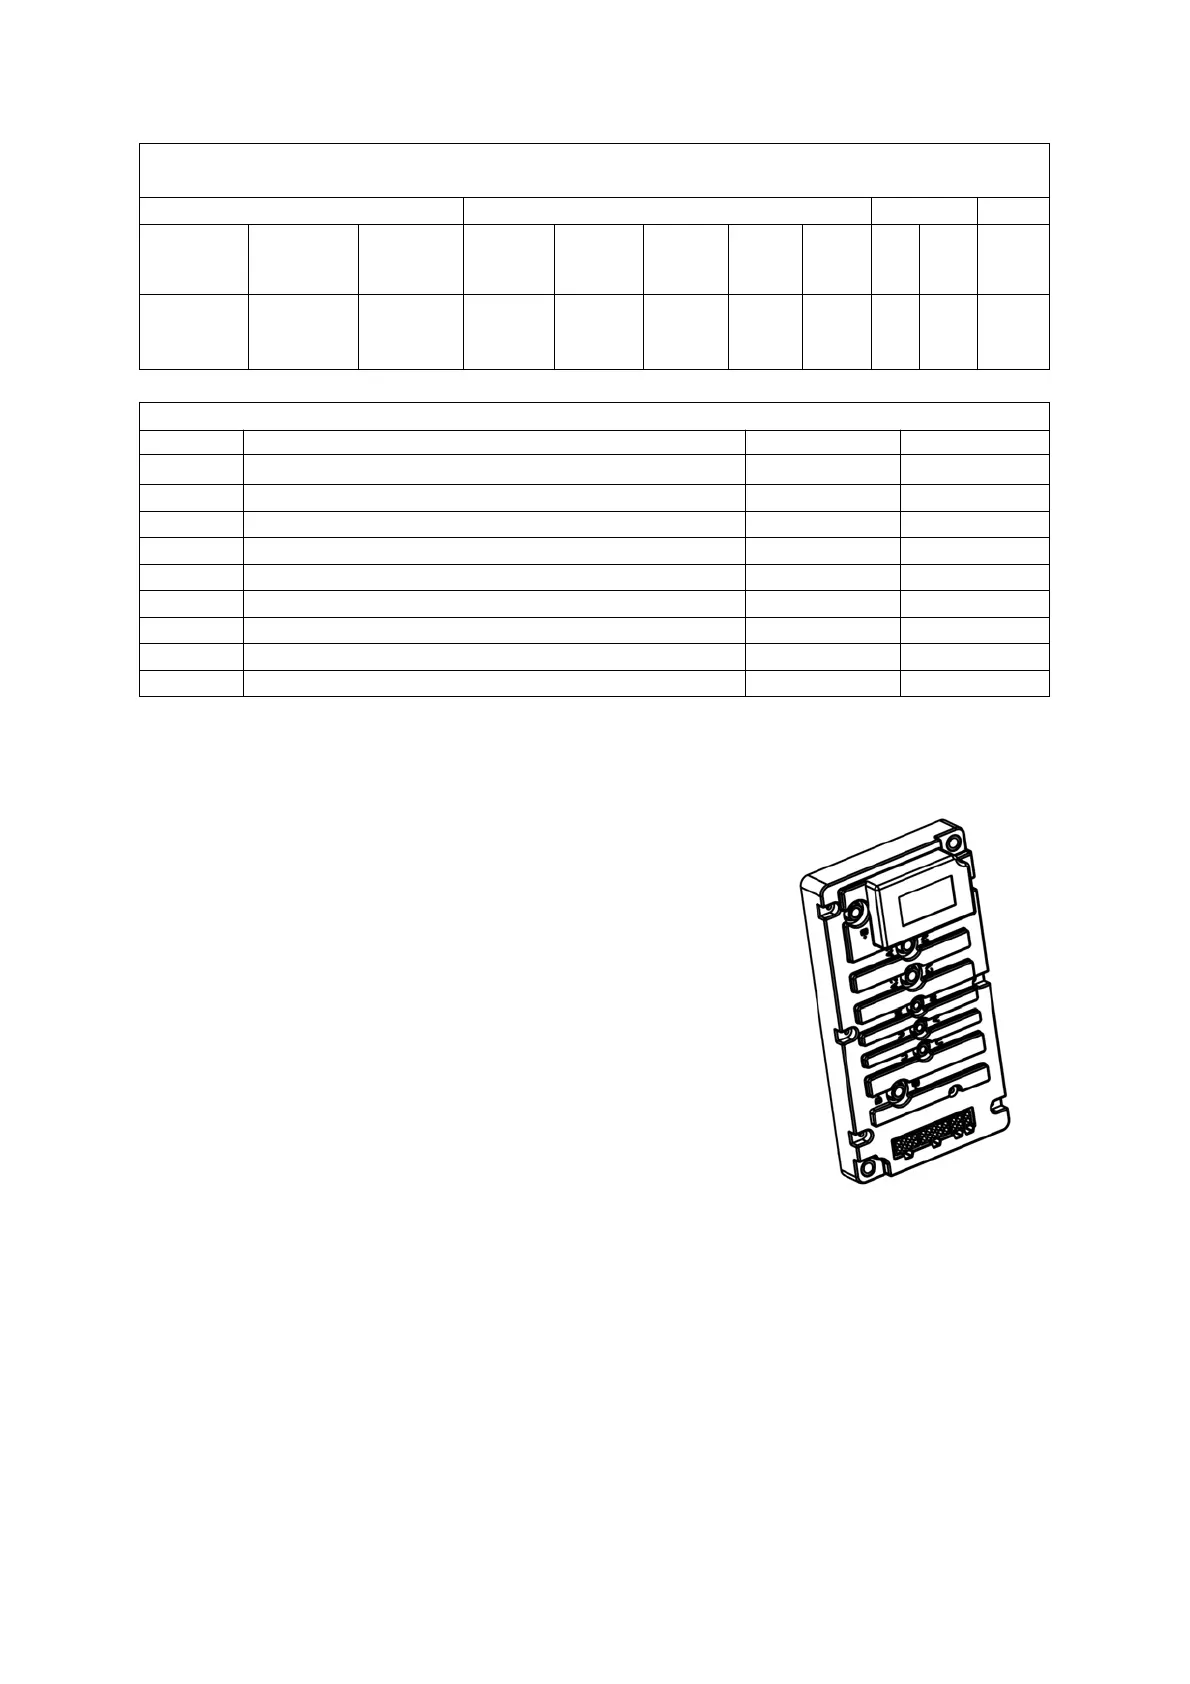
Detailed description of the controller port definition
(from the perspective of the direction of the plug in line and the outline)
J1 J2 J3 J4
Lowering
solenoid
valve-3
Lowering
solenoid
valve-2
Lowering
solenoid
valve-1
Logic
power
supply
24V+
Horn
output
RX 14V- Brake+
Drive motor
temperature
sensor+
Temperature
sensor +
Hydraulic
motor
temperature
sensor+
Key
switch
input
Key
switch
output
Lifting
speed
limit
switch
TX 14V+ Brake-
Controller Control Part - Functional Port Wire Number Comparison Table
Category Communicate with the handle J3-1,2,3,4 31,32,33,34
Input Communication with the handle, temperature sensor travel J1-6,J1-7 16,17
Input Temperature sensor lifting/lowering J1-8,J1-7 18,17
Input Key switch J2-6,J2-7 26,26A,27
Input Speed limited switch J2-9,J2-4 29,24
Output Brake J4-1,J4-2 41,42
Output Lowering solenoid valve-1 J2-3,J2-4 23,24
Output Lowering solenoid valve-2 J2-2,J2-4 22,24
Output Lowering solenoid valve-3 J2-1,J2-4 21,21A,24
Output Horn J2-5,J2-4 25,24
3.2 Drive controller
3.2.1 Maintenance
► The controller has no user repair accessories. Do not
attempt to open, repair, or otherwise change the controller.
This will damage the control and invalidate the warranty.
► It is recommended to regularly keep the controller clean
and dry, and regularly check and clear diagnostic history files.
► Regular cleaning of the outside of the controller can help
prevent corrosion or other electrical control failures caused by
dirt, dust, and chemicals, which are part of the environment
and often occur in battery powered systems.
► Before operating a battery powered vehicle, pay attention
to safety. These include but are not limited to: proper training,
wearing protective goggles, and avoiding loose clothing and
jewelry.
► Follow the cleaning steps below to carry out the maintenance process. Never use a
high-pressure flushing machine to clean the controller.
– Remove the battery to power off.
– By connecting a load (such as a contactor coil or horn) between controller B+and B -,
discharge the capacitor inside the controller.
– Remove dirt or corrosion at the power and signal terminals. Wipe the controller with a damp
cloth and dry it before connecting the battery. control
– The controller cannot be subjected to the impact of pressurized water flow.
– Make sure the wiring is correct and tightened.