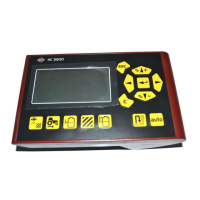
4 - System setup
62
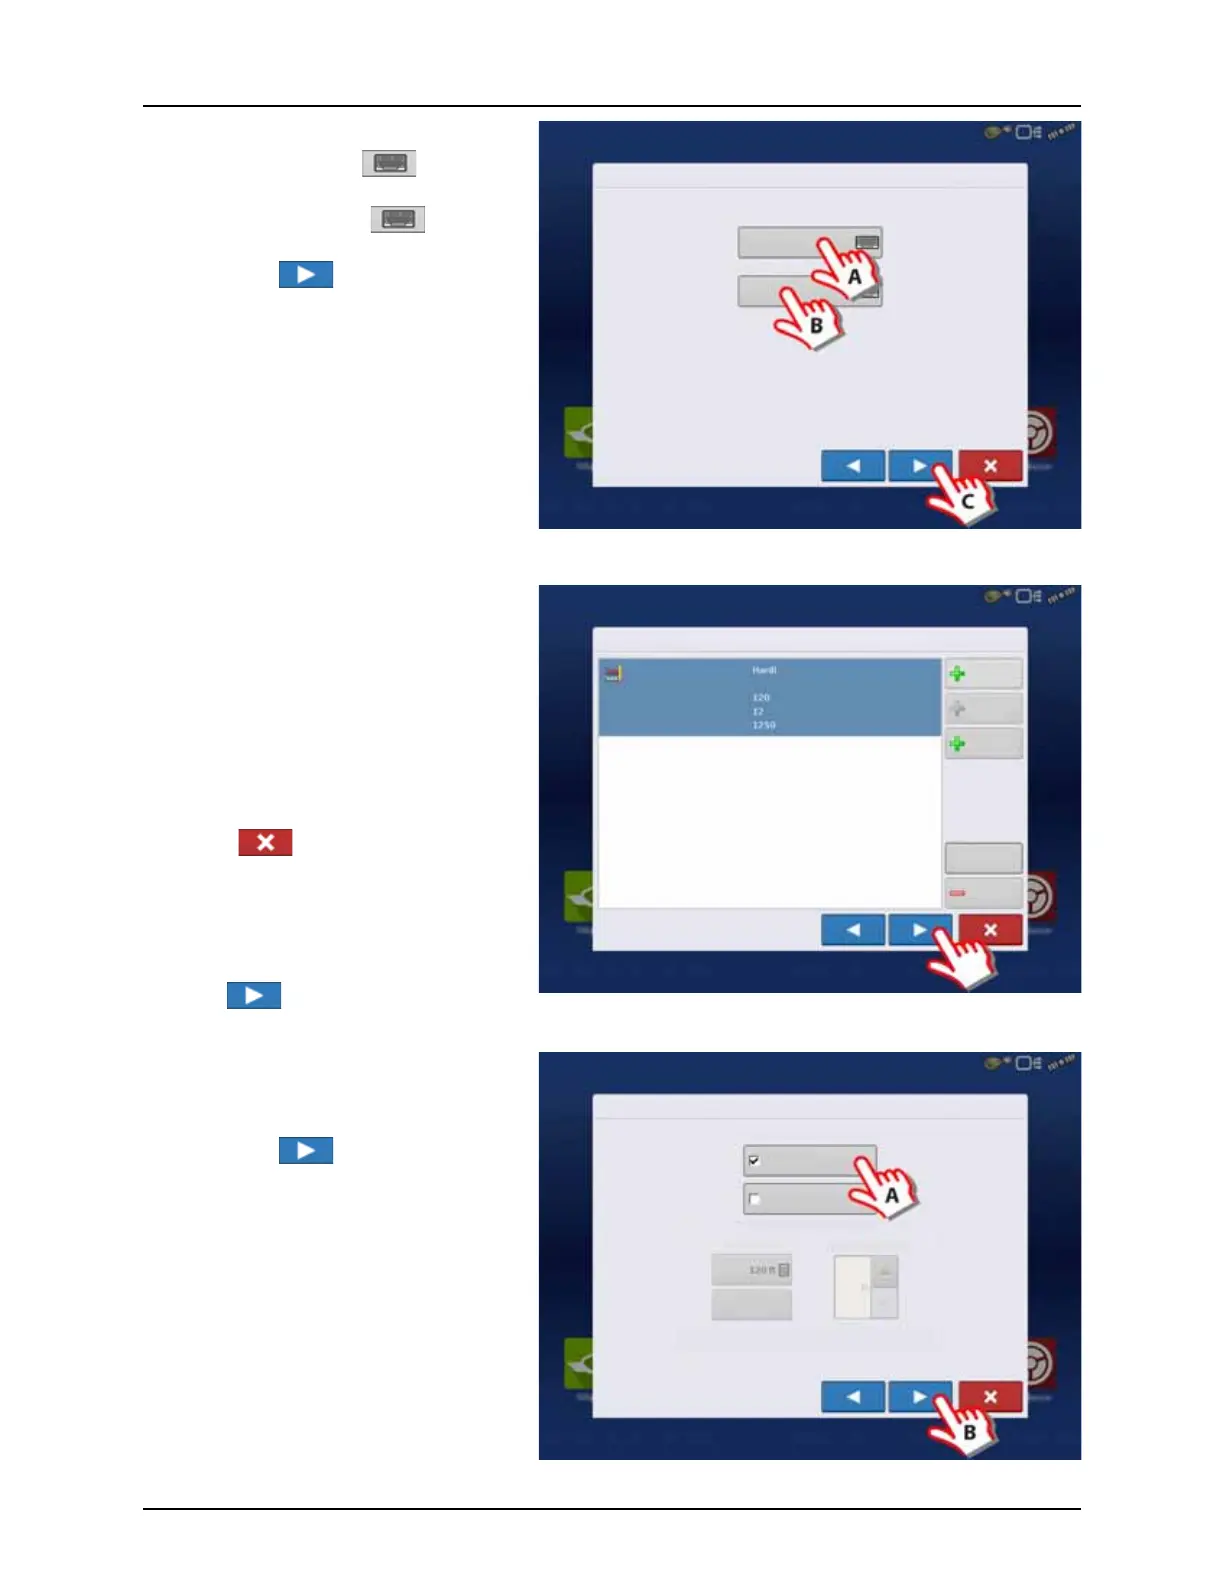
7. Enter Vehicle Information:
A. Press the “Make” to type in the
vehicle name.
B. Press the “Model” to type in
the vehicle model.
C. Press to confirm.
8. Sprayer data is auto populated from the
JobCom/C2C module.
Check that Swath Width (Boom Width),
Number of Sections and Tank Capacity are
correct.
÷
NOTE! If this screen appear blank (no text
highlighted with blue) no data could be
obtained.
If the JobCom is not powered ON, then
press to cancel the setup. Power On
the JobCom and continue from step 5.
μ
ATTENTION! The JobCom/C2C module has
to be set up prior to doing this wizard. See
“Before Setup” on page 48.
Press to confirm selection.
9. Additional devices:
A. Press “Norac UC5” button to enable
the use of AutoTerrain/AutoHeight.
B. Press to continue.
μ
ATTENTION! If the “Norac UC5” is not
enabled, the AutoTerrain/AutoHeight will
not be shown in the working screen.
Vehicle Wizard: Make and Model
Make
Model
Enter Vehicle Information
Implement Wizard: Application Channels
Device
Application
Swath Width (ft)
Number of Sections
Capacity (gallons)
Liquid
Application
Direct
Injection
Granular
Application
Remove
Edit
Container
Liquid
Implement Wizard: Additional Devices
Norac UC5
OptRx Crop Sensor
Crop Sensor Settings
Sensing Width
Number of Sensors
Swath
Offsets
Note: Sensing Width should typically be set to the same
width as the implement.
 Loading...