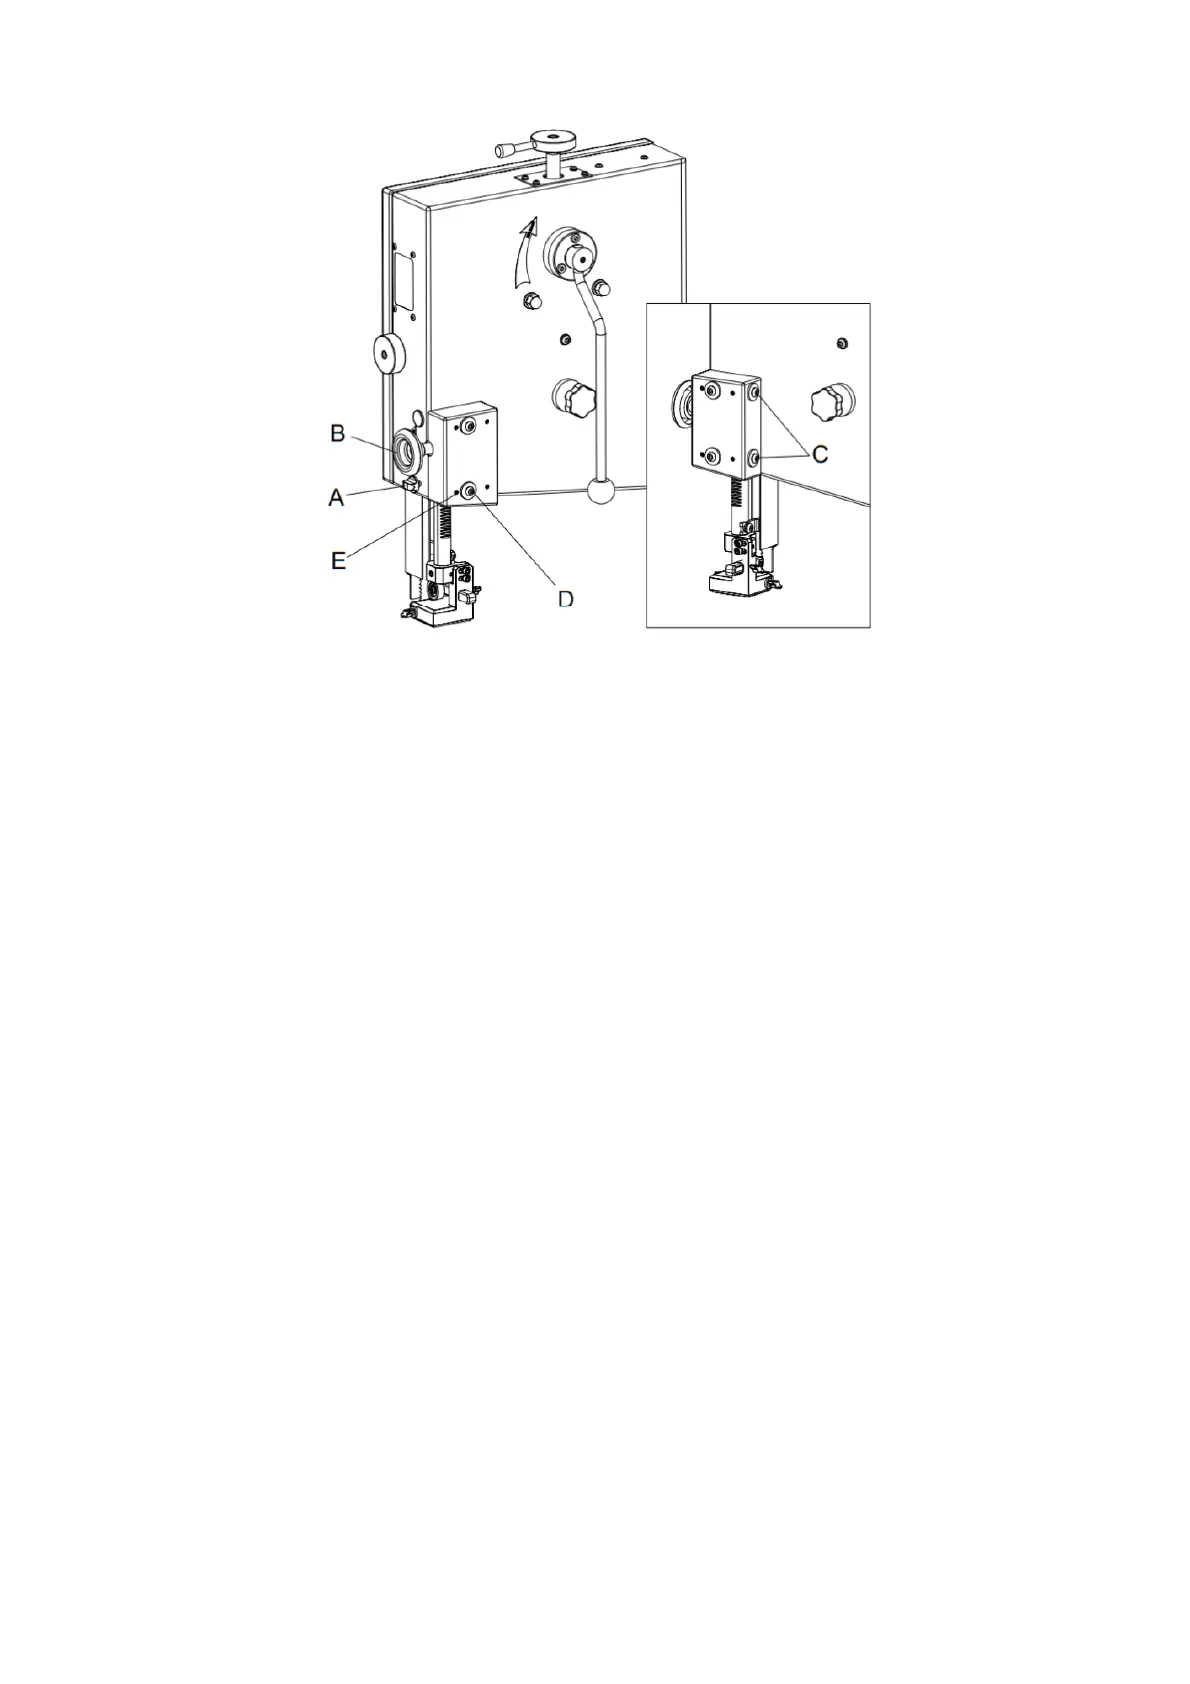
13
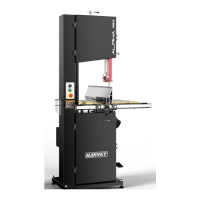
Fig. 12
Refer to Figure 12.
1. Disconnect the machine from the power source.
2. Fully tension the blade.
3. Lower the upper blade guide assembly and make sure it is properly adjusted.
4. Loosen the guide post locking handle (A) and raise the guide post to the highest
position.
5. Confirm that the guide post travels straight up and down, and the guide bearings
maintain the gap to the blade.
6. If the guide post does not move straight up and down (the blade begins deflecting when
the guide post is raised), slightly loosen the four locking screws (C and D).
7. The left and right adjustment is accomplished using a combination of four set screws (E);
forward/back adjustment is accomplished using the four set screws .
8. When the adjustments are finished, securely tighten the locking screws (C and D).
9. Re-check the setting by raising and lowering the guide post.