EN
Installation instructions, only for experts p. 17/48
Observe the following points when connecting the power to the sauna control unit:
● Installation may only be performed by a qualied electrician or similarly quali-
ed person.
Please observe that in the event of a guarantee claim, a copy of the bill
from the electrician performing the work must be presented.
● Work on the sauna control unit may only be performed when the power has
been disconnected.
● There must be a xed connection for the electrical power supply.
● An all-pole disconnecting device with full cut-off compliant with overvoltage
category III must be tted on-site.
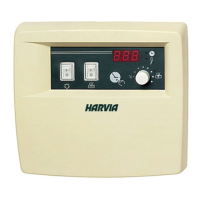
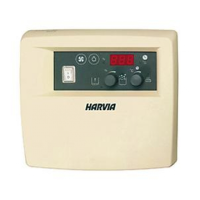
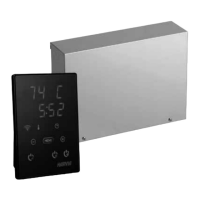
● Observe the connection diagram (Fig. 4) on page 23.
5.1. Connecting the power supply cable and heater cable
1. Guide the power supply and heater cable through the cable bushings 9
and 8 into the connection area for 230 V/400 V f.
2. Connect the power supply cables to the terminal strip c in accordance
with the connection diagram. Observe the operating instructions for the
respective devices.
5.2. Connecting the light
1. Guide the light cable through the cable bushing b into the connection area
for 230 V/400 V f.
2. Connect the light cable to the terminal strip d in accordance with the con-
nection diagram. Observe the operating instructions for the respective device.
5.3. Connecting the fan (optional)
1. Guide the light cable through the cable bushing b into the connection area
for 230 V/400 V f.
2. Connect the fan cable to the terminal strip d in accordance with the connec-
tion diagram. Observe the operating instructions for the respective device.