USER MANUAL | NOVA TRANSMITTERS
12
5. Operating Your Transmitter
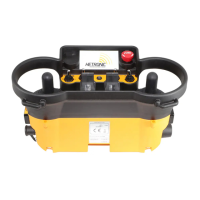
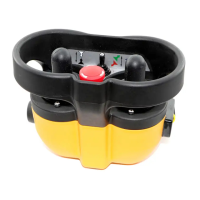
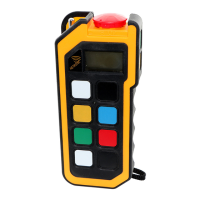
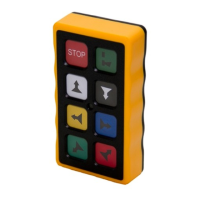
5.1 Holding Your Transmitter
Hold the transmitter upright with the front facing you. Confirm that you are able to easily read and understand any operation text
or symbols. Complete the following procedures once a day, before the start of an operation and at all shift changes.
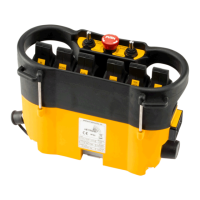
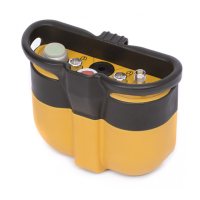
5.2 Visually Checking Your Transmitter
Always check the transmitter, batteries and accessories for any physical damage before any operation. Check
equipment for wear or damage and confirm that you can read and understand all of the safety labels. Never operate a
transmitter with worn out or damaged parts.
5.3 Powering ON and Starting Your Transmitter
NOTE: When the transmitter is not being used by the operator, it must be stored in a safe place.
1. Confirm that all safety measures required by the equipment manufacturer have been followed.
2. Insert a battery adapter with fresh batteries into the battery compartment of the transmitter.
3. Make sure that the STOP switch (#6) is not pressed and that no other switch is in the operational position.
3. Insert the black key cap supplied with the transmitter in the key switch and turn it to the ON (I) position.
4. Turn ON the receiver.
5. Press START (#7). The transmitter will perform a routine initialization upon start up.
Note: The Start button is usually on the right hand side of the transmitter as indicated above, however, it can also take the form
of a momentary toggle switch or round push button anywhere on the top face with the symbol ◼. This can and is usually paired
with the horn function .
Note: For the powering up and starting procedure for the standard Nova-S transmitter refer to the respective section in the
Nova S appendix.
5.4 Transmitter Initialization with Standard Status LED Indicator
Upon turning the transmitter ON, all the LEDs light up as solid colours, the buzzer beeps twice (approximately two seconds
apart) and then the LEDs switch off before the unit performs the routine initialization.
During initialization, if the coder finds an error in the radio module, address, configuration or feedback, the transmitter will boot
up and the failure will be displayed as a blinking RED status LED at the baud rate. The transmitter (all Nova L, Nova XL and
Nova XXL variants) may then be connected to Hetronic PC-Link (refer to Programming and Servicing Manual for instructions)
for the Error to be corrected.
Note: If the buzzer output remains continuously ON, this shows that the Address module is not present, not plugged in correctly
or in error state.
After a successful initialization, the transmitter will enter Normal Operation Mode. The Green LED will blink at the baud rate i.e.
the LED toggles on with every transmitted telegram frame. All other LEDs switch off. Test all machine functions. Refer to your
machine, transmitter and receiver documentation as needed.
5.5 Transmitter Initialization with Graphic User Interface (TFT) and Standard Status LED
Indicator
Upon turning the transmitter ON, the TFT screen turns ON and the LEDs light up as solid colours and then switch off before the
unit performs the routine initialization.
During initialization, if the coder finds an error in the radio module, address, configuration or feedback, the transmitter will boot
up and the failure will be displayed as a blinking RED status LED at the baud rate. The transmitter (all Nova L, Nova XL and
Nova XXL variants) may then be connected to Hetronic PC-Link (refer to instructions in Programming and Service Manual) for
the Error to be corrected.
Note: If the buzzer output remains continuously ON, this shows that the Address module is not present, not plugged in correctly
or in error state.
After a successful initialization, the NOVA transmitter will enter Normal Operation Mode and display the software version and
the splash screen (if present).
The basic home screen will then be displayed and the Green LED will also blink at the baud rate i.e. the LED toggles on with
every transmitted telegram frame. All other LEDs switch off. Test all machine functions. Refer to your machine, transmitter and
receiver documentation as needed.