11.2 Installing the Rail Kit
For the installation of the rack mount rails in into the rack, the following hardware is required:
Note: While handling ESD sensitive components, it is recommend that you are using proper ESD
equipment.
Table 15: Rail Kit Hardware
QuantityPart Description
2Rack mount rails
4Cage Nuts
4M5 Hex ange Phillips head screw
For the installation of the rack mount rails into the rack, the following tools are required:
Table 16: Required Tools for Installing the Rail Kit
Number 2 Phillips-head screwdriver with torque measuring capabilities
Level
To install the rack mount rails into the rack, do the following:
1.
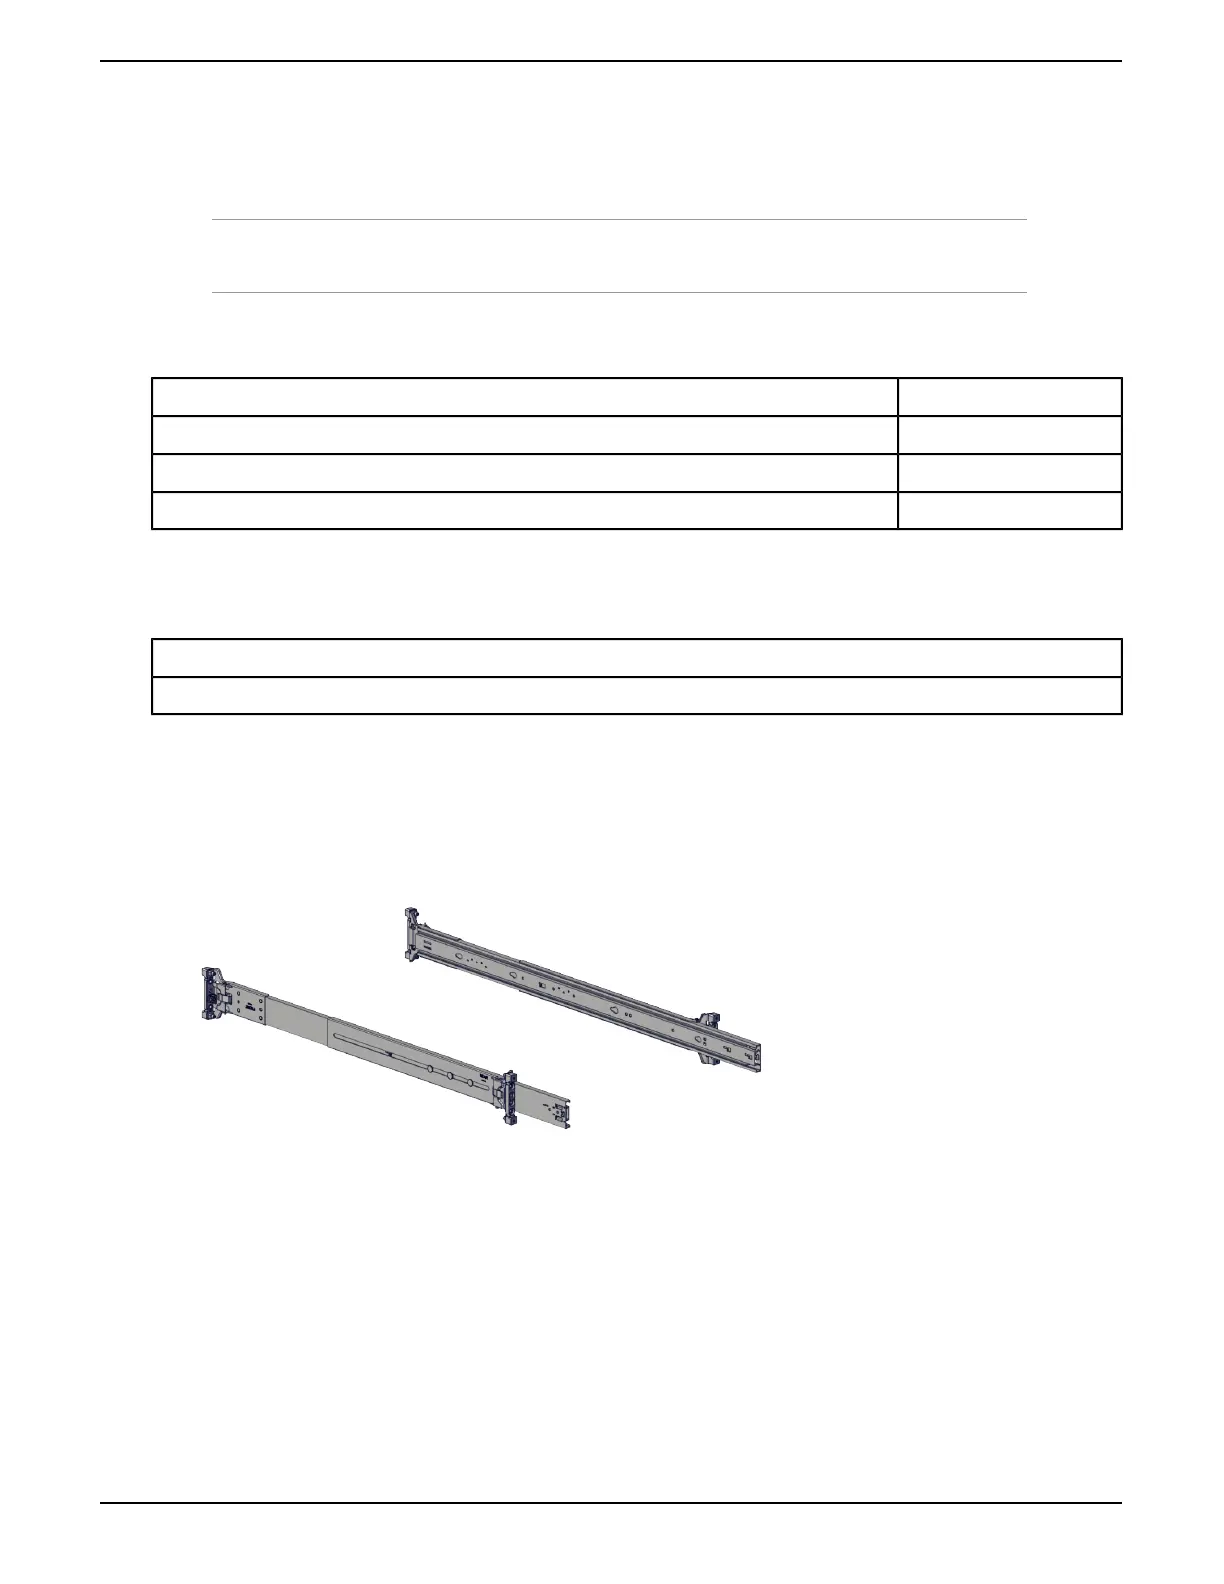
Remove the rail kit from the box and unpack hardware contained within the packaging.
Figure 5: Rail Kit
2.
Determine the 4U location in which you would like to install the enclosure.
30
Installation Guide 11 Installing the 4U60 Storage Enclosure
 Loading...