4.
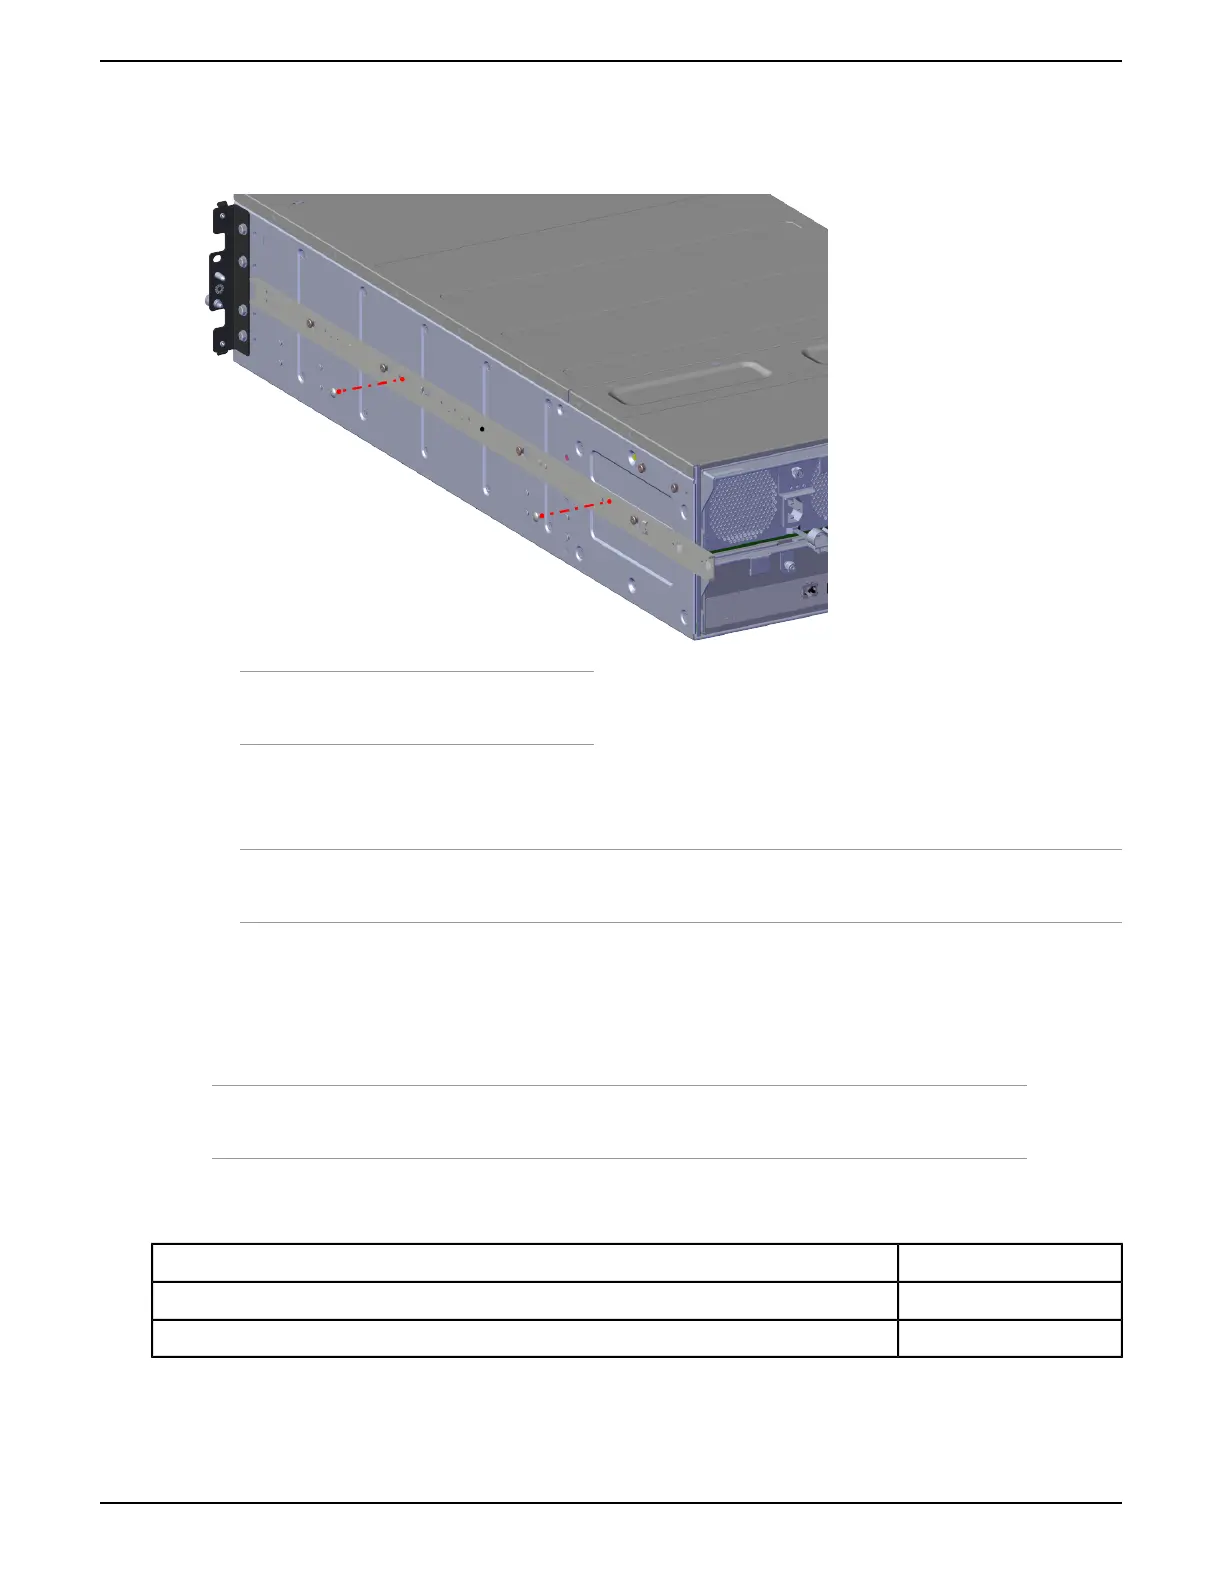
Using the M4 truss-head screws, attach the inner rail to the chassis.
Figure 15: Attaching the Inner Rail
Note: Each side contains 2, M4 truss-head
screws.
5.
Verify that the screws have been tightened until snug.
6.
Follow the same procedure to install the remaining inner rail.
Attention: The remaining parts of rack mount rails will be used in a later portion of the installation. Please store
in a safe place until needed.
11.4 Attaching the Cable Management Assembly Brackets to the Chassis
For the installation of the cable management assembly (CMA) brackets, the following hardware is required:
Note: While handling ESD sensitive components, it is recommend that you are using proper ESD
equipment.
Table 19: CMA Brackets Hardware
QuantityPart Description
1Chassis
2Cable management system brackets
37
Installation Guide 11 Installing the 4U60 Storage Enclosure
 Loading...