15.
From the front of the enclosure, on the chassis cover, turn the thumb screws clockwise.
16.
Push the enclosure into the rack until fully seated.
17.
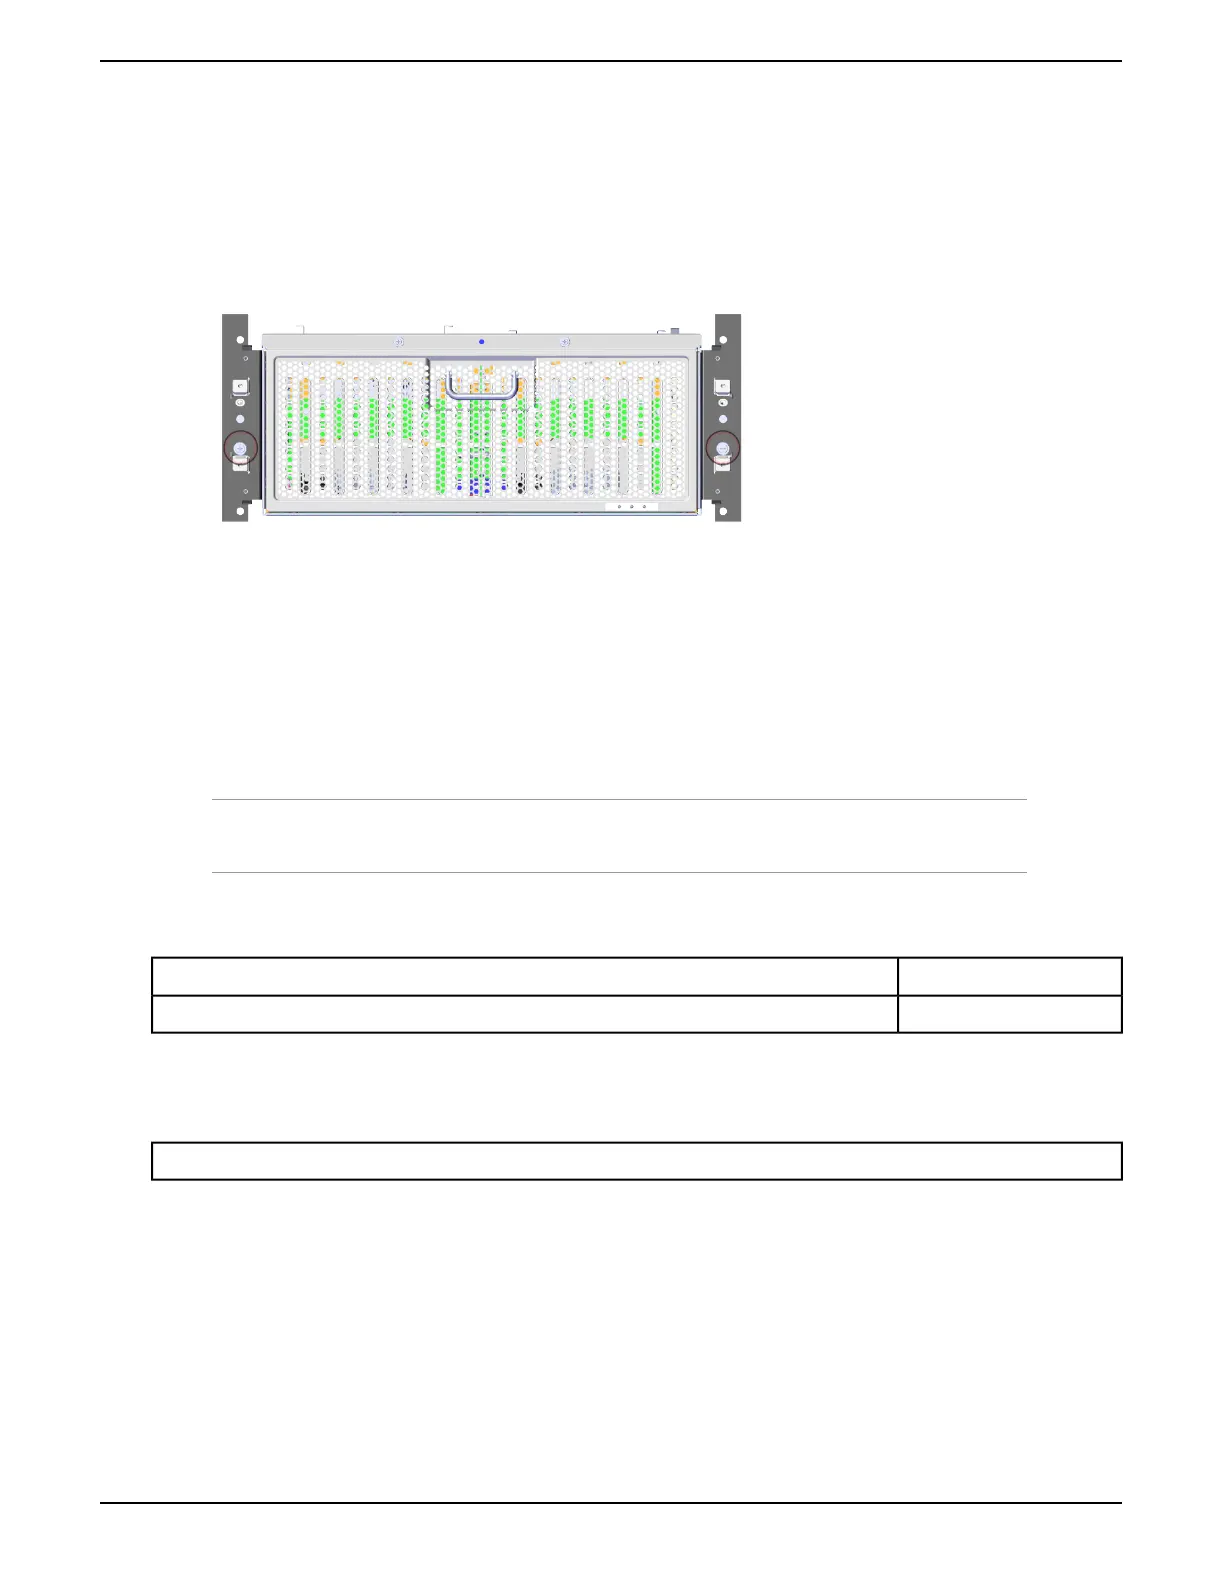
Turn the thumb screws that secure the enclosure in the rack clockwise.
Figure 30: Enclosure Thumb Screws (Counterclockwise)
18.
Verify that the thumb screws have been tightened until snug.
11.7 Installing the Cable Management Assembly
For the installation of the cable management assembly (CMA), the following hardware is required:
Note: While handling ESD sensitive components, it is recommend that you are using proper ESD
equipment.
Table 25: CMA Hardware
QuantityPart Description
2 armsCable Management Assembly
For the installation of the cable management assembly, the following tools are required:
Table 26: Required Tools for Installing the CMA
None
To install the CMA, do the following:
1.
Locate the CMA arm labeled Lower.
46
Installation Guide 11 Installing the 4U60 Storage Enclosure
 Loading...