2.
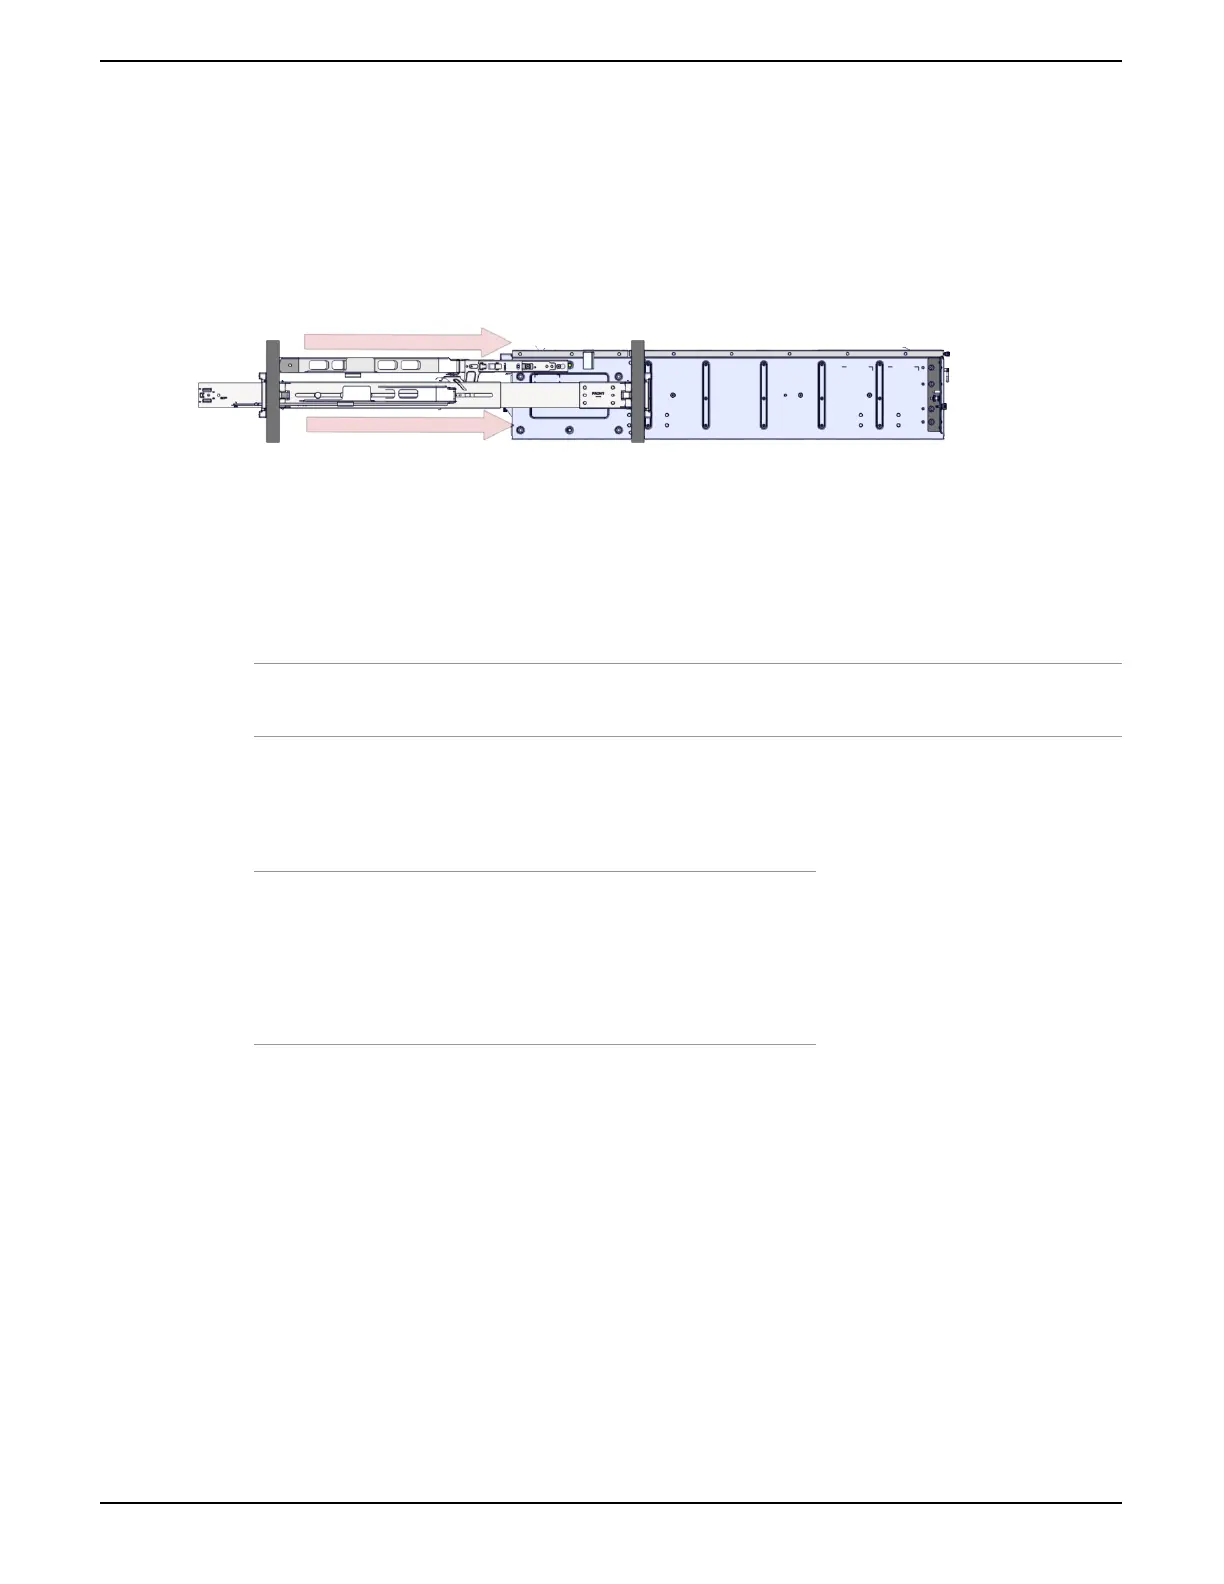
From the enclosure handle, pull the enclosure out until the rail kit is fully extended.
Figure 38: Extended Enclosure
3.
From the rear of the enclosure, plug the power cord into the Power Supply Unit (PSU).
4.
Loosely run the power cord through the cable management assembly (CMA).
Note: By the CMA design, the cables are intended to be installed into the CMA arm on the side of the PSU
or ESM.
5.
At the elbow of the CMA, ensure you leave about two inches of slack in the power cord.
6.
Using Velcro straps, attach the cable to the CMA.
7.
To ensure the power cord has the proper amount of slack, push the enclosure into the rack.
Note:
• If the cables appear to be too tight, increase the amount of slack in
the cable.
• If the cables appear to be too loose, decrease the amount of slack in
the cable.
8.
To install the remaining power cord, follow the same procedure on the opposite side.
51
Installation Guide 11 Installing the 4U60 Storage Enclosure
 Loading...