Page 8 of 38 September 2016
EntryProx User Manual, 4045-905, Rev. C.4
3 Installation
You can install the EntryProx unit by using a standard installation method or a secure installation
method. Both installation methods require that you mount the EntryProx unit to a wall or glass
surface.
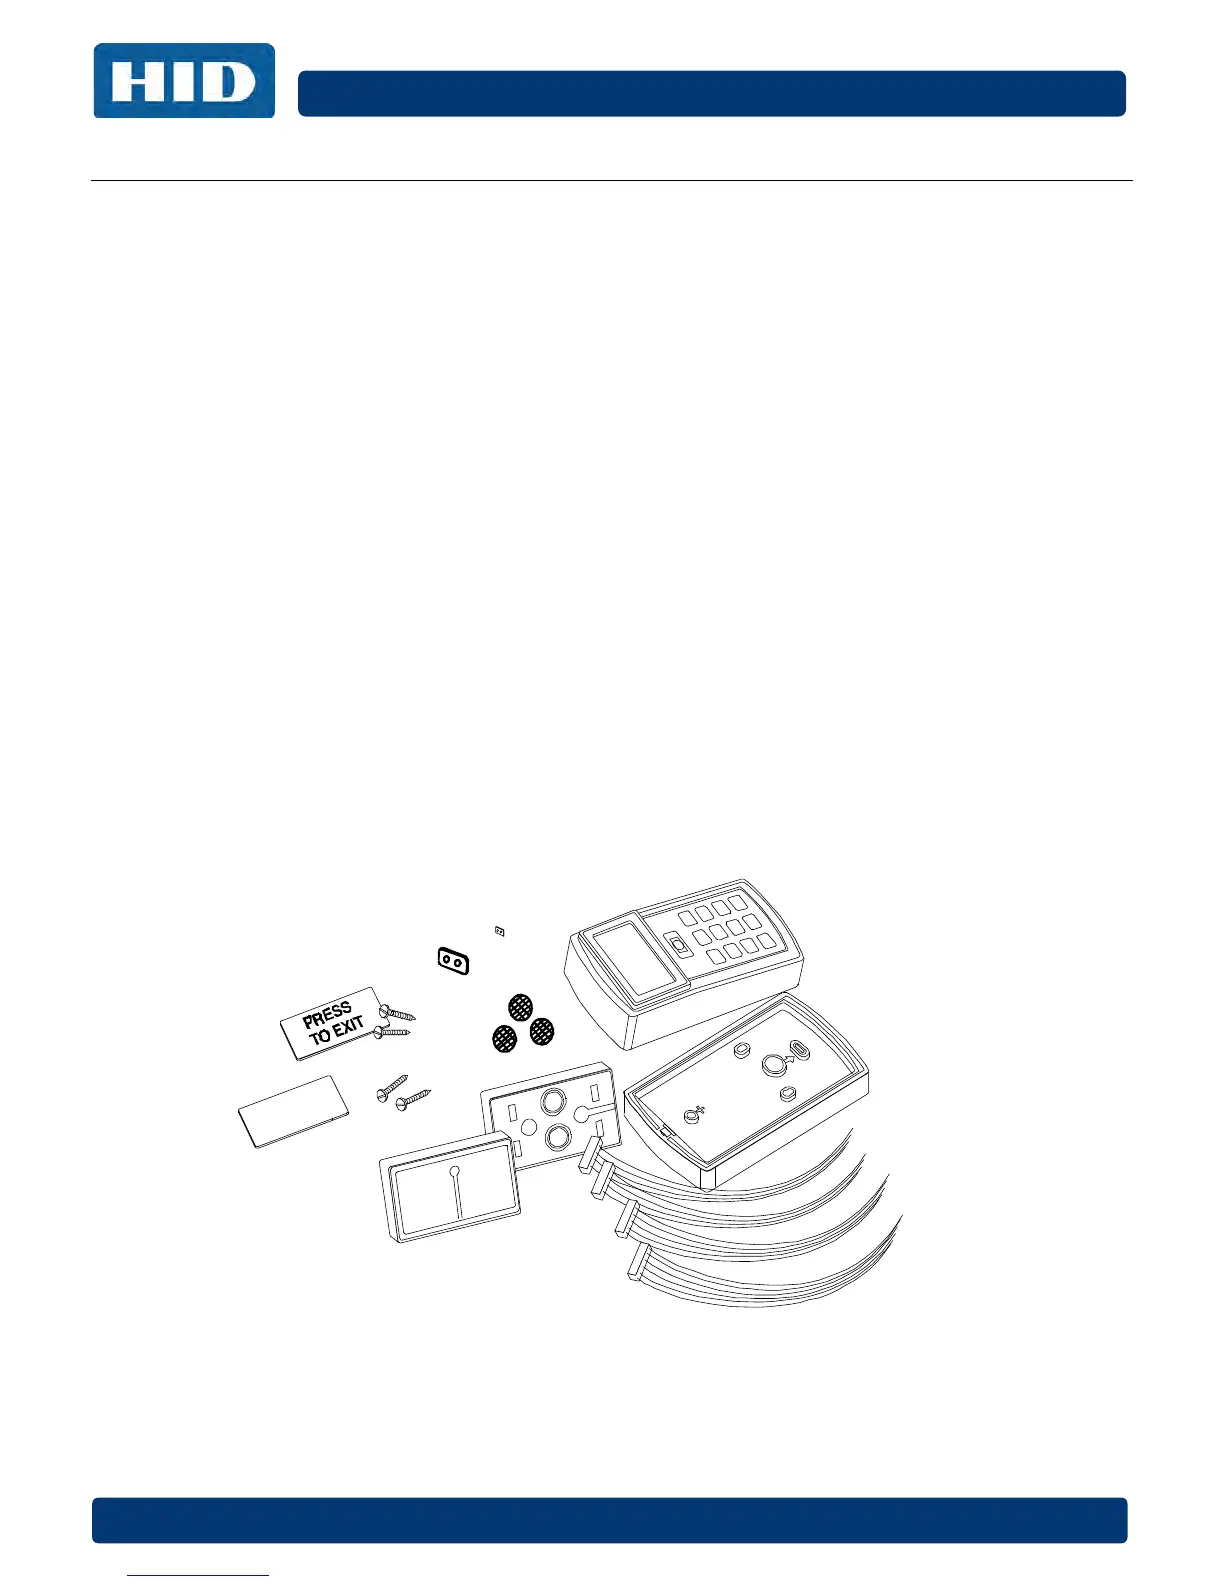
3.1 Assembly Parts
Before you install the EntryProx, be sure that you have the correct factory and installer supplied
parts listed and illustrated below.
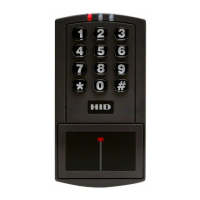
A. Controller Keypad Unit
I. Silicone Rubber Cushion
B. Controller Keypad Backplate
1
M. Lithium “Coin Cell” Battery
2, 3
N. Cover screws – hex and tamper
2
2
H. Press to Exit Label
1
Pre-installed on main board connector P2, pins 5 & 6.
2
Not shown in the following figure.
3
Caution: Replace Battery with Panasonic BR1225 only. Use of another battery may present a risk of
fire or explosion. Battery may explode if mistreated. DO NOT recharge, disassemble or dispose of
battery in fire.
Factory Supplied Parts