CameraLink Line Scan Camera·User Manual
2
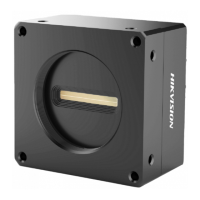
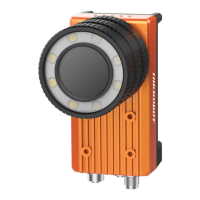
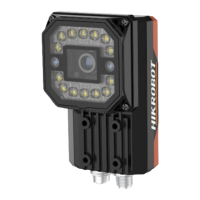
Table 1-1 Appearance
It is used to install lens. For specific lens mount, please refer
to the camera's specification for details.
It is used to fix the camera to the installation position.
● For type I camera, you should use M4 screw.
● For type II camera, you should use M3 screw.
It is used to update firmware.
Screw hole for CL
Interface
It is used to fix CameraLink cable.
It refers to the CameraLink1 with SDR interface, and it is used
to transmit data and provide serial communication.
It refers to the CameraLink2 with SDR interface, and it is used
to transmit data.
It indicates the camera's status.
12-Pin Power and I/O
Interface
It refers to the 12-pin Hirose connector that provides power,
input/output signal, etc.
 Loading...