Steps
1.
Click Network → Basic Sengs → TCP/IP to enter the sengs page.
2.
Congure the network parameters.
-
Check DHCP, the device will get the parameters
automacally.
-
Set the IPv4 Address, IPv4 Subnet Mask and IPv4 Default Gateway manually.
3.
Select Network Card.
4.
Congure the DNS server.
5.
Click Save to enable the sengs.
Port Sengs
Steps
1.
Click Network → Basic Sengs → Port to enter the sengs page.
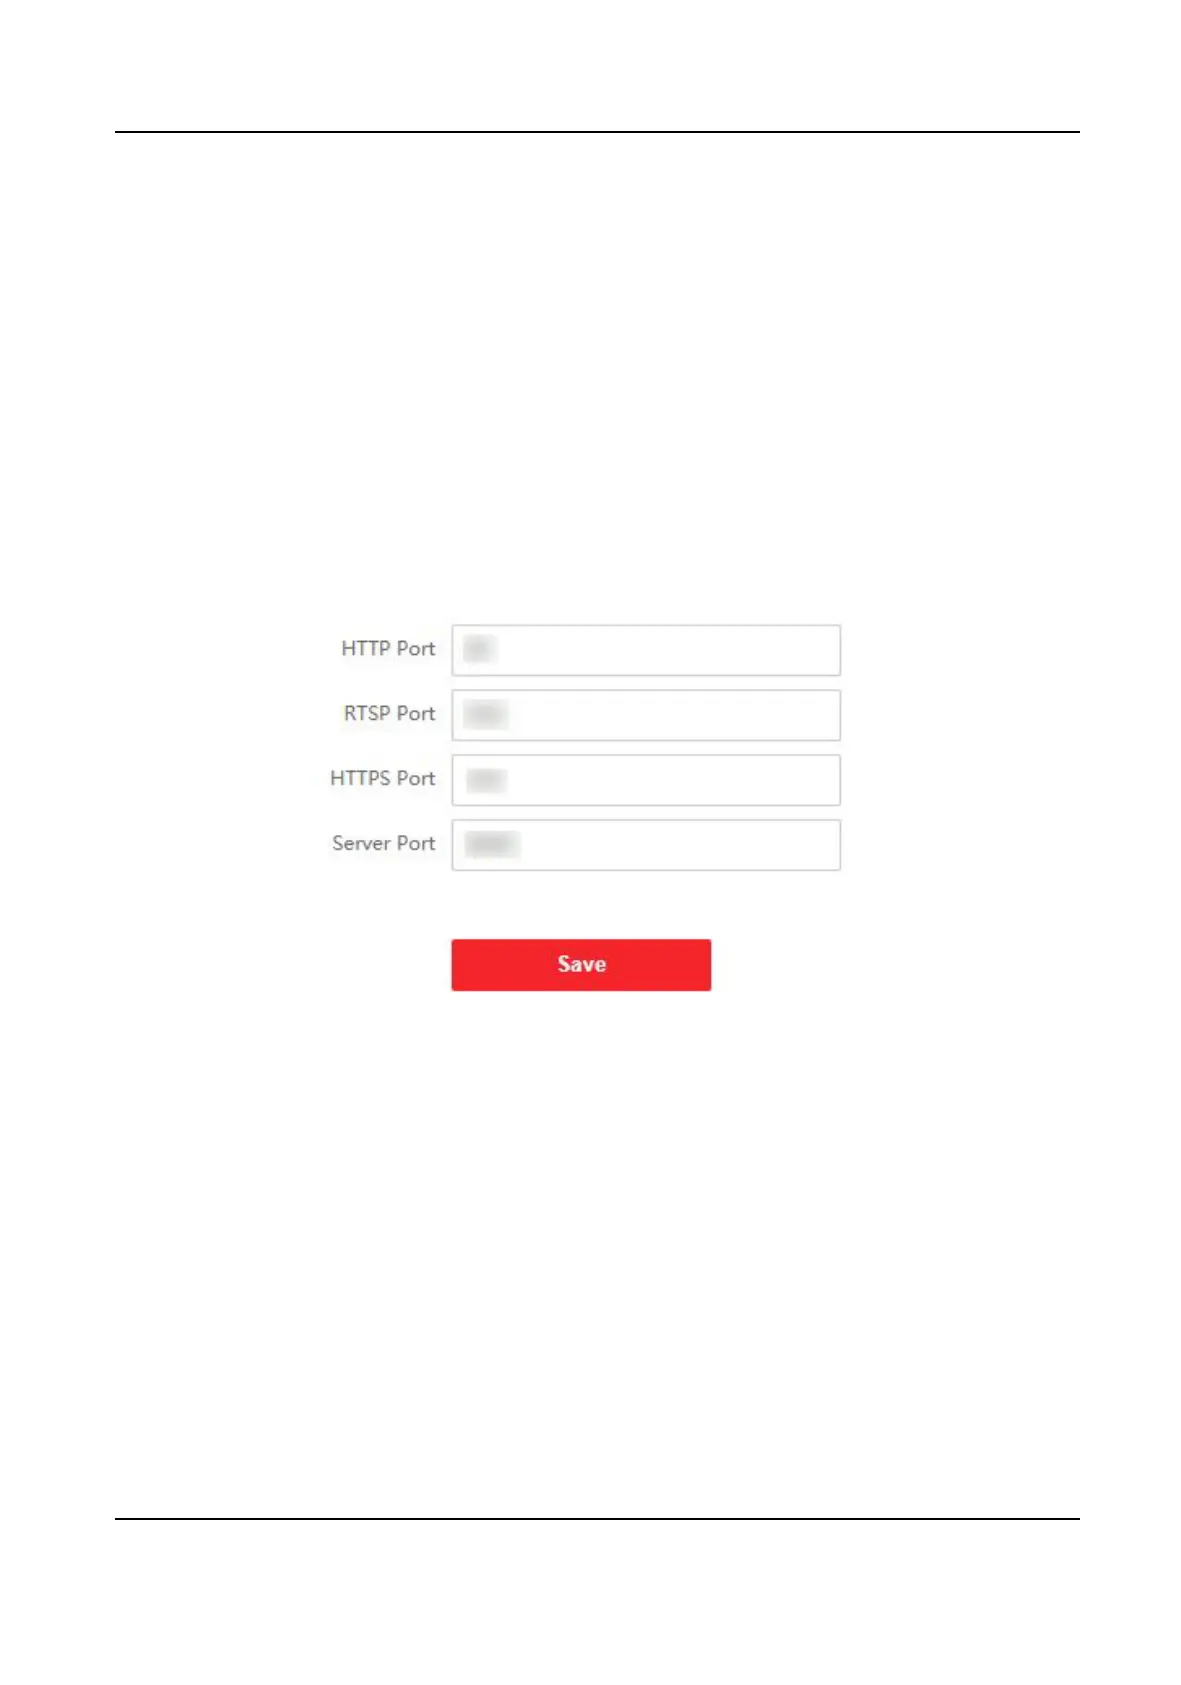
Figure 6-5 Port Sengs
2.
Set the ports of the device.
HTTP Port
The default port number is 80, and it can be changed to any port No. which is not occupied.
RTSP Port
The default port number is 554.
HTTPS Port
The default port number is 443, and it can be changed to any port No. which is not occupied.
Server Port
The default server port number is 8000, and it can be changed to any port No. ranges from
2000 to 65535.
3.
Click Save to enable the
sengs.
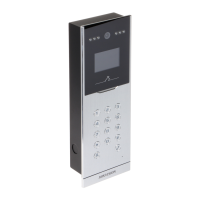
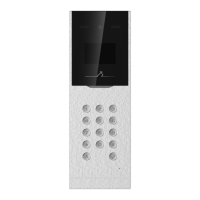
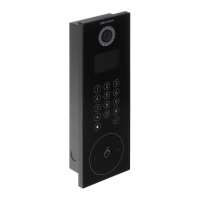
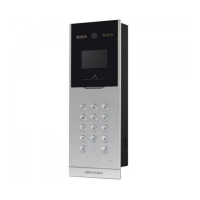
DS-KD8003 Series Module Door Staon User Manual
82

 Loading...