36
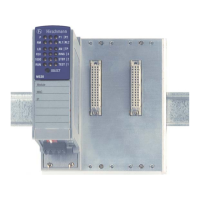
Installation MS20/MS30
Release
11
07/2013
DIP switch Function State on delivery
RM (redundancy
manager)
a
,
b
a. You can use the "RM" and "Stand-by" switches on the 3-pin DIP switch to switch the
following functions on and off (see table 7)
b. All three DIP switches ON: Software configuration
When the HIPER-Ring function is
switched on, you can switch the RM
(Redundancy Manager) function on and
off (see "User Manual - Redundancy
Configuration").
OFF position (RM function
deactivated)
Ring port
b,c
c. The "Ringport" switch on the 3-pin DIP switch enables you to select the ring ports for the
HIPER-Ring (see table 6)
Selecting the ports for the HIPER-Ring
MS30: In the ON position, ports 1 and 2 in
module 2 form the connection for the
HIPER-Ring.
MS20: In the ON position, port 1 from
modules 1 and 2 form the connection for
the HIPER-Ring.
OFF position (ports 1 and 2 in
module 1 form the connection
for the HIPER-Ring).
Stand-by
a,b
With the redundant coupling of rings, you
assign the redundancy function to the
MICE in the redundant line (see "User
Manual - Redundancy Configuration").
OFF position (normal function)
Switch "Ring port" MICE device Ring ports for the HIPER-Ring
OFF MS20 Module 1/ port 1 and module 1/ port 2
ON MS20 Module 1/ port 1 and module 2 / port 1
OFF MS30 Module 1/ port 1 and module 1 / port 2
Table 8: Selecting ring ports for the HIPER-Ring
RM
switch
position
Stand-by
switch
position
Ring
redund
ancy
Coup-
ling
switch
Ring
manager
Coupling
manager
Ring
port
Control
port
Coup-
ling port
OFF OFF on on off off see
above
ON OFF on on on off see
above
OFF ON on on off on see
above
Module 1/
port 3
(MS20)
module 2/
port 3
(MS30)
Module 1/
port 4
(MS20)
module 2/
port 4
(MS30)
Table 9: Switching redundancy mode and stand-by on/off

 Loading...